The hardest part of growing garlic is often knowing when should I harvest garlic. The bulbs are hidden underground, the leaves start looking tired just as the garden is hitting its stride, and waiting one more week can feel tempting. But garlic gives you clear signals if you know where to look. Read the leaves, check the calendar only as a rough guide, and harvest before the outer wrappers begin to break down.
When Should I Harvest Garlic?
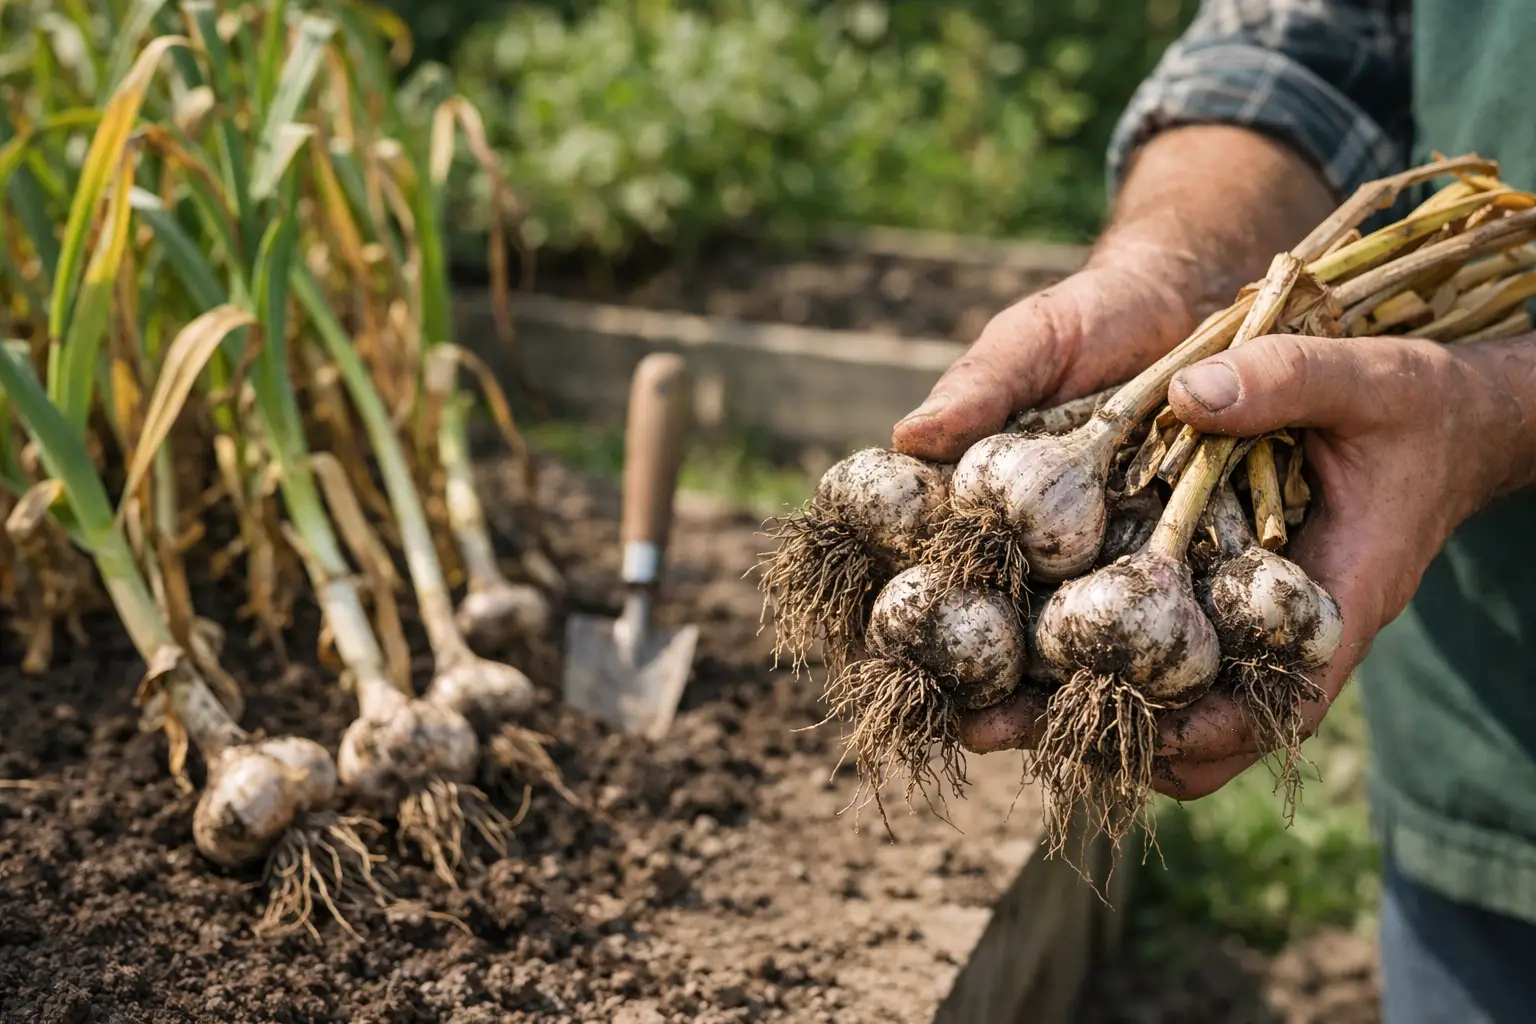
For most home gardens, garlic is ready when the lower one-third to one-half of its leaves have turned brown or yellow while at least four or five upper leaves remain green. In many parts of the US, that falls between late June and July for fall-planted garlic, though weather, variety, and planting date can shift the timing.
Each green leaf above ground corresponds to a papery wrapper around the bulb below. If you harvest while too many leaves are still green, the bulb may be smaller than it could be. Wait until nearly all the leaves have died back, though, and those protective wrappers can rot or split apart in the soil. A split bulb is still perfectly good to eat, but it will not store as long.
Think of the leaf pattern as your best harvest window: brown from the bottom up, green enough at the top to protect the bulb.
Why the calendar is not enough
Seed garlic packages and planting charts can offer a general harvest month, but they cannot see what is happening in your bed. A warm spring may move harvest forward. A cool, wet season can slow it down. Hardneck varieties often mature a little earlier than softnecks, and garlic planted in a container may behave differently from garlic in deep, rich garden soil.
Use the date as a reminder to start watching. Let the leaves make the final call.
Check One Test Bulb Before You Harvest
When the leaf pattern looks right, gently dig up one bulb from an edge of the bed. Do not pull it by the stalk. Slide a garden fork or hand trowel several inches away from the plant, loosen the soil deeply, and lift the whole bulb out.
Brush away enough soil to inspect the bulb without stripping its wrappers. A ready garlic bulb should feel firm and look well filled out. On hardneck garlic, the individual cloves may create a lightly segmented shape beneath the outer skin. You want distinct, plump cloves, but not cloves pushing so hard that the wrapper has split.
If the bulb looks small and the wrappers are still tight around an undeveloped head, give the remaining plants another seven to 10 days. Check again rather than guessing. This small sacrifice is much better than pulling an entire crop too early.
The Signs You Waited Too Long
Garlic does not usually go from perfect to ruined overnight, so do not panic if harvest day gets away from you. Still, overmature bulbs have a few recognizable signs. Their outer wrappers may be thin, loose, or split. The cloves can begin separating from one another, and the stalk may be almost entirely brown.
Harvest these bulbs right away. Eat the split ones first, since their shortened storage life makes them poor candidates for the pantry. Save intact, firm bulbs with several layers of papery skin for long-term storage or for replanting in fall.
Wet weather adds another reason not to wait. Mature garlic sitting in soggy soil is more likely to develop rot, especially in heavy clay beds. If several days of rain are forecast and your leaves are already in the harvest range, it is usually wiser to lift the crop before the storm.
Hardneck vs. Softneck Garlic Timing
Hardneck and softneck garlic follow the same basic leaf rule, but a couple of differences are worth knowing.
Hardneck garlic sends up a curly flower stalk called a scape in late spring or early summer. If you want larger bulbs, cut the scapes once they make a full curl but before they straighten and become woody. This redirects more energy toward bulb growth. Scape harvest is not the same as bulb harvest. After cutting scapes, most hardneck varieties still need another two to four weeks before the bulbs are ready.
Softneck garlic does not normally make a true scape. It often matures a little later and is the type commonly grown for braiding. Because its leaves can stay greener longer, pay close attention to the bottom leaves rather than waiting for the whole plant to look dry.
Elephant garlic is another exception worth mentioning. Despite its name, it is more closely related to leeks than true garlic. It needs a similar approach, but its huge bulbs can take longer to mature. Check a test bulb rather than assuming it is ready with your other garlic.
How to Harvest Garlic Without Damaging It
Choose a dry morning if possible, after dew has dried. Soil that is slightly dry is easier to shake from the roots, and bulbs are less likely to get muddy or bruised.
Never yank garlic from the ground by its leaves. Even loose soil can hold the bulb more firmly than expected, and pulling can break the stalk away from the head. That makes curing and storing more difficult.
Instead, push a garden fork into the soil 4 to 6 inches away from the stalk. Lift and loosen the soil beneath the bulb, then pull the entire plant free by supporting it near the base. Keep the roots, stalk, and dirty outer skin attached. Those parts protect the bulb while it cures.
Resist the urge to wash your fresh harvest. Simply knock off large clumps of soil with your hands. If a bulb is especially muddy, let the soil dry first and brush it away later. Washing adds moisture where you do not want it and can encourage mold during curing.
Cure Garlic for Flavor and Storage
Freshly harvested garlic is edible, but curing is what gives it that familiar papery skin and improves its storage life. It is also where many otherwise beautiful bulbs are lost to moisture, so give this step a little attention.
Lay plants in a single layer on a screen, hang them in small bundles, or place them on a rack in a shaded area with good airflow. A covered porch, open shed, or dry garage can work well. Avoid direct sun, which can scorch the bulbs, and avoid humid, closed spaces with poor ventilation.
Let garlic cure for two to four weeks. It is ready when the roots feel brittle, the neck is fully dry, and the outer wrappers are papery. In humid climates, curing can take longer. Good airflow matters more than rushing the process.
Once cured, trim the roots and brush off loose dirt. For hardneck garlic, cut the stalk about 1 to 2 inches above the bulb. For softneck garlic, leave longer stems if you plan to braid them. Do not peel away clean, intact wrapper layers just to make the bulbs look prettier. Those wrappers are their natural storage protection.
Store finished garlic somewhere cool, dry, and dark with airflow. A mesh bag, wire basket, or open paper bag is far better than a sealed plastic container. Do not refrigerate whole cured bulbs unless your home is exceptionally warm, because refrigerator conditions can encourage sprouting.
Common Harvest Mistakes That Cost You Bulbs
The most common mistake is treating yellow leaves as a problem to fix. At harvest time, lower leaves turning yellow are not necessarily a sign that your garlic needs more fertilizer or water. They are part of the plant’s natural finish.
Another mistake is watering heavily right before harvest. Garlic needs steady moisture while it is actively bulbing, but once the lower leaves start browning, ease off. Drier soil near harvest helps prevent rot and makes lifting easier. If rain takes over, you cannot control that, but you can stop adding extra water.
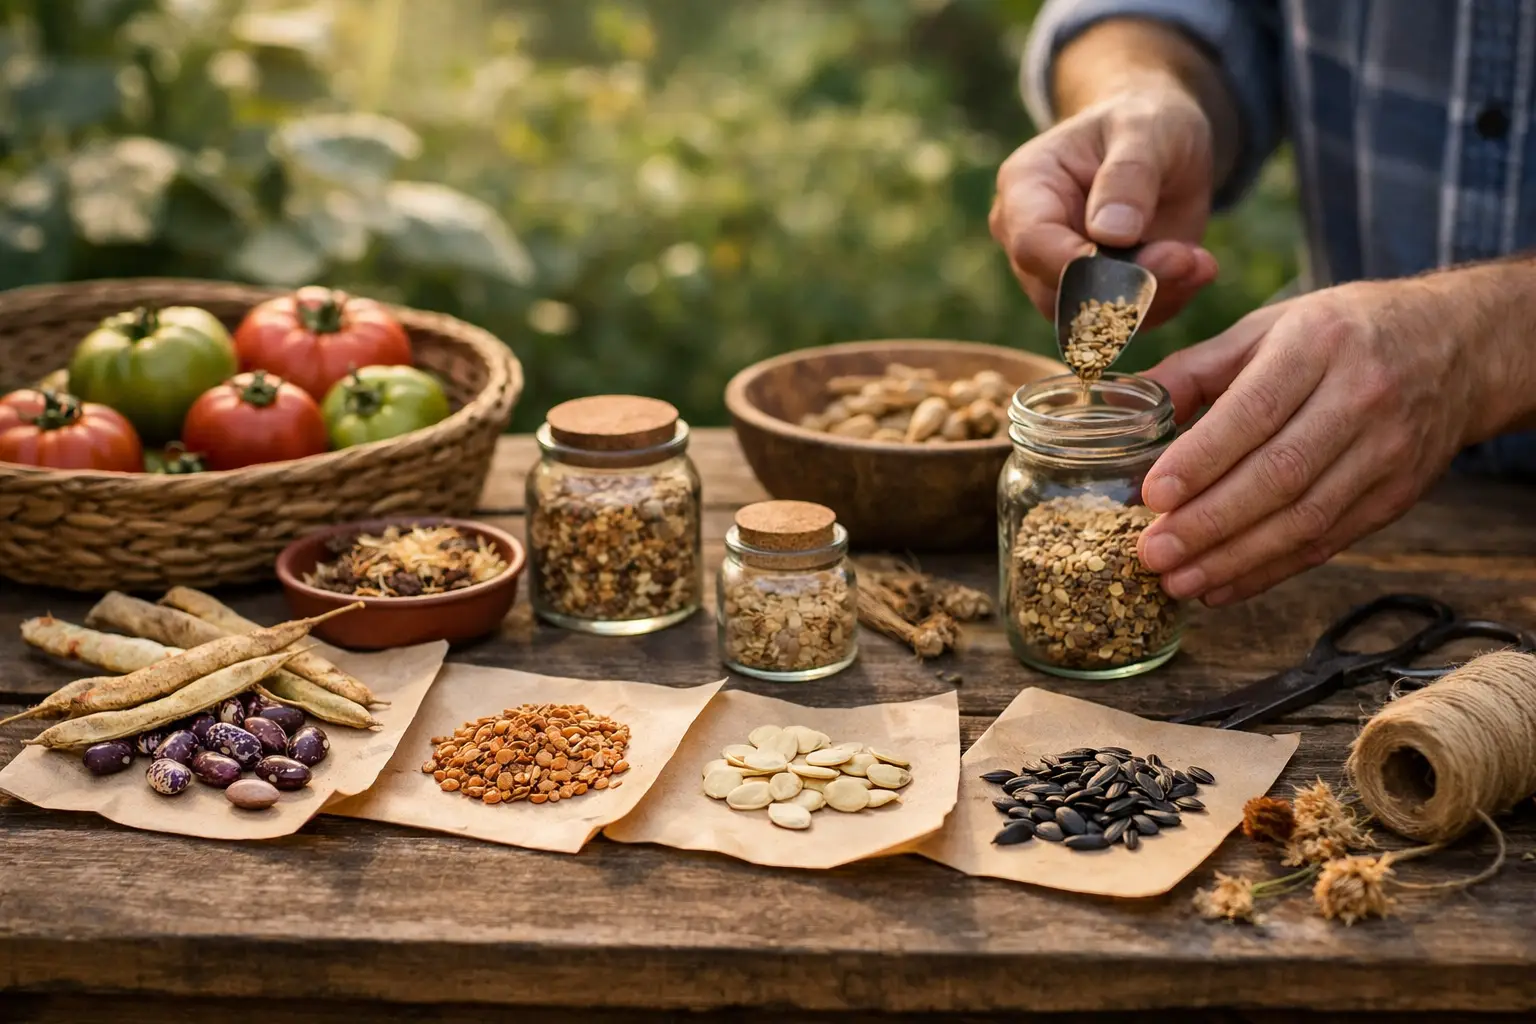
Finally, do not save your largest bulb automatically for planting. Choose seed garlic from healthy, well-formed bulbs that are true to the variety, free of disease, and well suited to your garden. Large cloves often do grow large bulbs, but health and good storage matter just as much.
A Quick Note on Garlic Scapes
If you grow hardneck garlic, do not overlook the scapes. These tender, curling stems are one of the garden’s best short-season treats. Snip them when they curl, then use them in pesto, stir-fries, scrambled eggs, or compound butter.
Removing scapes is optional, but most home gardeners find it worthwhile. The plant can put more energy into the bulb, and you get a flavorful bonus harvest weeks before the main event.
Garlic rewards patience, but it does not ask you to be perfect. Watch for browned lower leaves, lift one test bulb, and trust what the plant is telling you. A few minutes of careful checking now can give you firm, flavorful garlic to enjoy well after the summer garden has faded.