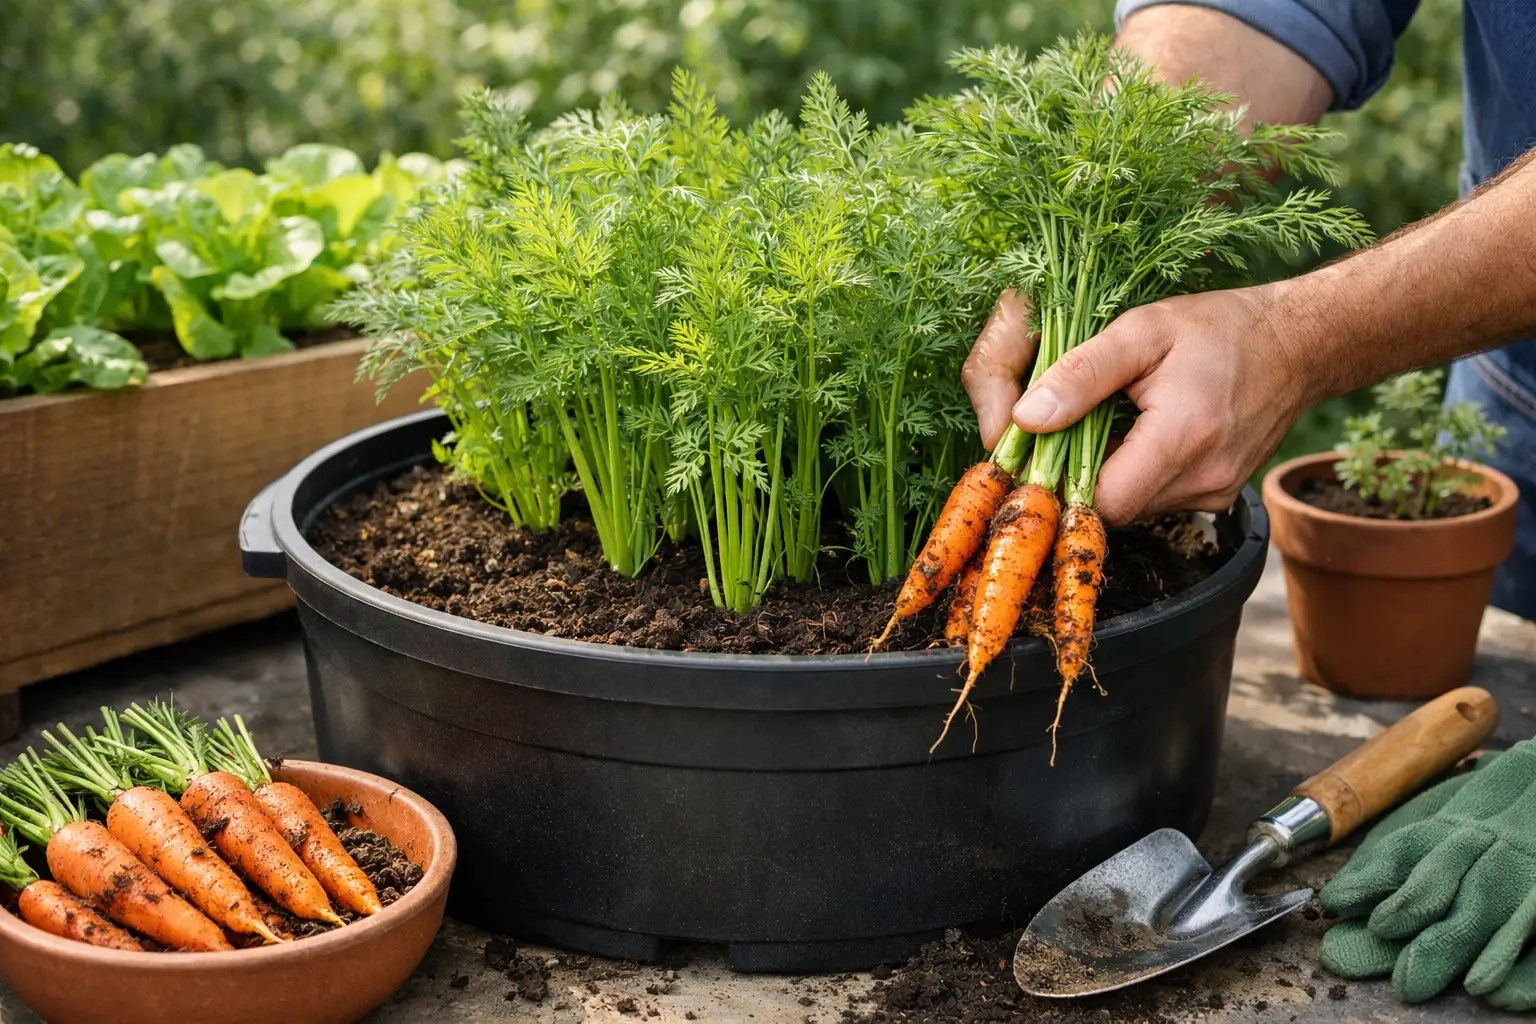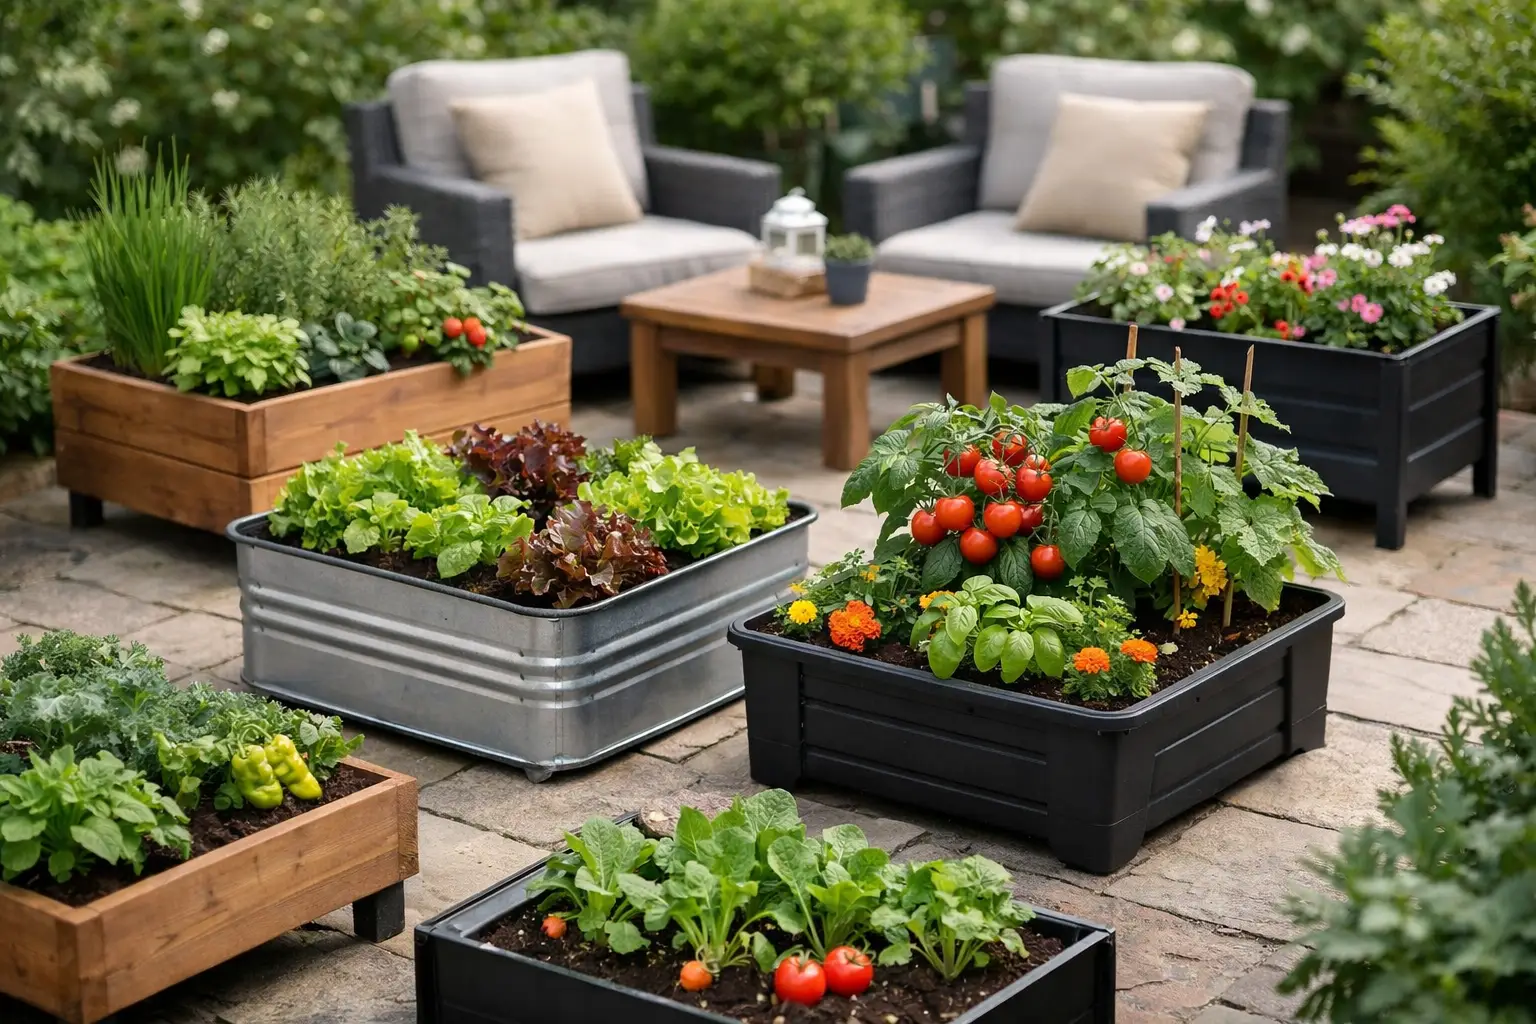
A tomato plant can look hungry even when the soil is full of nutrients. Yellow leaves may come from low nitrogen, but they can also happen when the soil pH keeps roots from taking up the nutrients already there. That is why soil testing for gardens is one of the most useful jobs you can do before buying another bag of fertilizer.
A simple test replaces guesswork with a clear starting point. Instead of treating every slow-growing plant with more compost, more fertilizer, or more lime, you can make one measured change that fits what your garden actually needs. It saves money, protects nearby waterways from nutrient runoff, and often leads to healthier plants with less fuss.
What a Soil Test Can Tell You
A basic garden soil test usually measures pH, phosphorus, potassium, calcium, magnesium, and several micronutrients. It may also report organic matter, soluble salts, and the soil’s cation exchange capacity, which is a technical way of describing how well soil can hold onto nutrients.
For most home gardeners, pH is the number worth noticing first. The pH scale tells you whether soil is acidic, neutral, or alkaline. Most vegetables are happiest around pH 6.0 to 7.0, with 6.5 being a comfortable middle ground for many crops. In that range, roots can usually access the nutrients they need.
A pH outside that range does not mean your garden is doomed. Blueberries, potatoes, and many ornamentals prefer more acidic conditions, while some western soils naturally run alkaline. The goal is not to force every bed to the same number. It is to understand what you have and grow or amend accordingly.
The nutrient results matter too, but they need a little restraint. High phosphorus is common in home gardens that have received years of manure, compost, or all-purpose fertilizer. Adding more when it is not needed will not produce bigger tomatoes. It can interfere with other nutrients and eventually wash into water systems. A test gives you permission to skip products your soil does not need.
When to Test Garden Soil
Early spring and fall are both good times to test. Fall gives amendments such as lime time to react before next year’s planting. Spring testing can work just as well if you need answers before preparing beds, but try to test several weeks before planting when possible.
Avoid taking a sample right after applying fertilizer, compost, manure, or lime. Those materials can temporarily skew the results. If you have recently amended a bed, wait a few months or tell the lab exactly what you applied and when.
For established vegetable beds, testing every two or three years is usually enough. Test annually if you are correcting a major pH issue, growing intensively in raised beds, or dealing with a persistent plant problem. Container soil is different: because it is refreshed and replaced more often, a test is helpful when plants repeatedly struggle, but a complete refresh with quality potting mix may be the simpler answer.
How to Take a Soil Sample That Gives Useful Results
The best lab cannot give useful advice from a poor sample. Soil varies from one part of a yard to another, especially if one area used to be lawn, another was filled during construction, and another has been a garden for years. Treat distinct areas as separate zones.
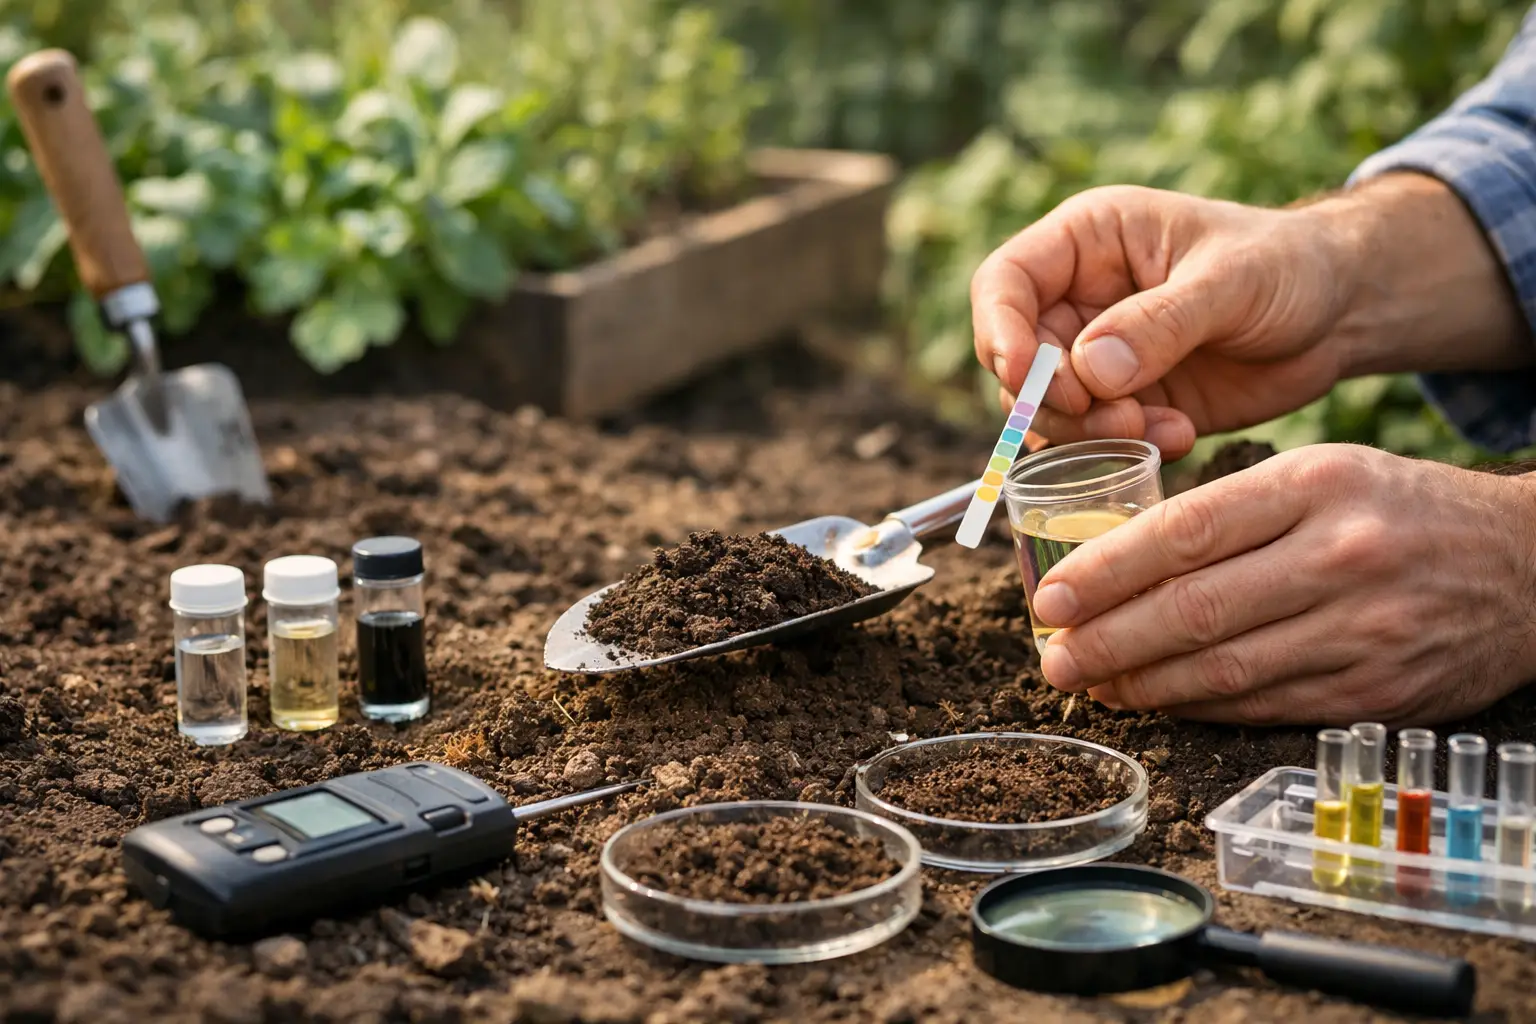
For a vegetable bed, use a clean trowel and a clean plastic bucket. Do not use a galvanized bucket or tools with fertilizer residue, since they can affect some results. Brush away mulch and surface debris, then take thin slices of soil from six to 10 spots across the bed. Dig to roughly 6 inches deep, which is where most annual vegetable roots are feeding.
Mix those slices thoroughly in the bucket. Remove stones, roots, and worms, then place the amount requested by your chosen lab in its sample bag or a clean container. Label it clearly with the bed name and date. A sample called “back garden” is less helpful next season than one called “raised bed – tomatoes and peppers.”
Do not combine soil from the vegetable garden with soil from under shrubs, the lawn, or a new flower border. Those spaces may have very different histories and needs. If one end of a large garden performs noticeably differently, send two samples rather than averaging the problem away.
Choosing a Testing Method
A mail-in soil test from a state university or local cooperative extension laboratory is often the most reliable and practical choice. These labs tend to provide recommendations based on regional soils and common crops. Many garden centers also sell mail-in kits that use reputable laboratories.
At-home test kits can be useful for a rough pH check or a quick classroom-style experiment, but their nutrient readings are often less precise. They are fine for satisfying curiosity. For deciding whether to add lime, sulfur, or significant fertilizer, a laboratory report is worth the small extra effort.
How to Read Soil Test Results Without Overreacting
When the report arrives, look first for the lab’s recommendations section. Numbers are useful, but the recommended action is what turns those numbers into a garden plan. Labs use different extraction methods and rating scales, so a phosphorus number that looks high on one report cannot always be compared directly to a number from another lab.
If pH is low, the report may recommend lime. Garden lime is usually calcium carbonate, and it raises pH gradually. Apply only the amount recommended and work it into the top few inches of soil if you can. More is not better. It is much easier to raise pH too far than to bring it back down.
If pH is high, lowering it is slower and more complicated, especially in naturally alkaline soil. Elemental sulfur can help in some situations, but it takes time and depends on soil microbes, moisture, and temperature. For a small bed, it may be wiser to grow plants that tolerate your native conditions and use compost to improve soil structure rather than chasing a perfect pH number.
For nutrients, focus on what is low or excessive. Low potassium may call for a targeted organic fertilizer such as sulfate of potash magnesia, depending on the lab recommendation. Low nitrogen is often handled during the growing season because nitrogen moves through soil quickly. Compost, legume cover crops, and a modest application of an organic nitrogen fertilizer can all help, but the right choice depends on the crop and timing.
Organic matter deserves attention because it supports nearly everything else. It helps sandy soil hold moisture, helps clay soil form better structure, feeds soil life, and stores nutrients more steadily. Still, compost is not a cure-all. Use it regularly in modest layers, usually about 1 to 2 inches worked into or laid over beds each year. If phosphorus is already high, choose lower-phosphorus soil-building materials and avoid piling on manure-based compost.
Turning Results Into a Gentle Garden Plan
Pick the one or two changes with the biggest payoff. A soil test that shows low pH and low potassium does not require a shelf full of amendments. Start with the recommended lime and a targeted potassium source, then keep using compost as a steady habit rather than an emergency fix.
It also helps to match your feeding plan to what you grow. Leafy greens appreciate available nitrogen. Fruiting crops such as tomatoes and peppers need balanced nutrition, but too much nitrogen can create huge leafy plants with fewer fruits. Root crops can fork or grow poorly in fresh manure. Your soil test explains the foundation; crop needs help you fine-tune from there.
Keep a small notebook or a note on your phone with test dates, amendments, and crop results. Next season, that record can be more valuable than a perfect-looking chart. You will start to see patterns: the bed that dries quickly, the corner where beans always thrive, or the spot that needs a little more compost each spring.
Healthy soil is built slowly, and that is good news. You do not need to fix everything in one weekend. Take an honest sample, make the smallest useful adjustment, and let your garden teach you what improves from there.