A compost bin does not need to be a fancy tumbler or a carefully managed science project. This beginner compost bin setup example uses an inexpensive outdoor bin, everyday kitchen scraps, and dry leaves to make a steady supply of soil-loving compost without much fuss.
The goal is not to create perfect compost in record time. The goal is to keep useful organic material out of the trash while building healthier soil for your vegetables, flowers, containers, or raised beds. Once you see how little effort the basic routine takes, composting starts to feel like another satisfying garden habit – right alongside saving seeds or watering in the cool of the morning.
A simple beginner compost bin setup example
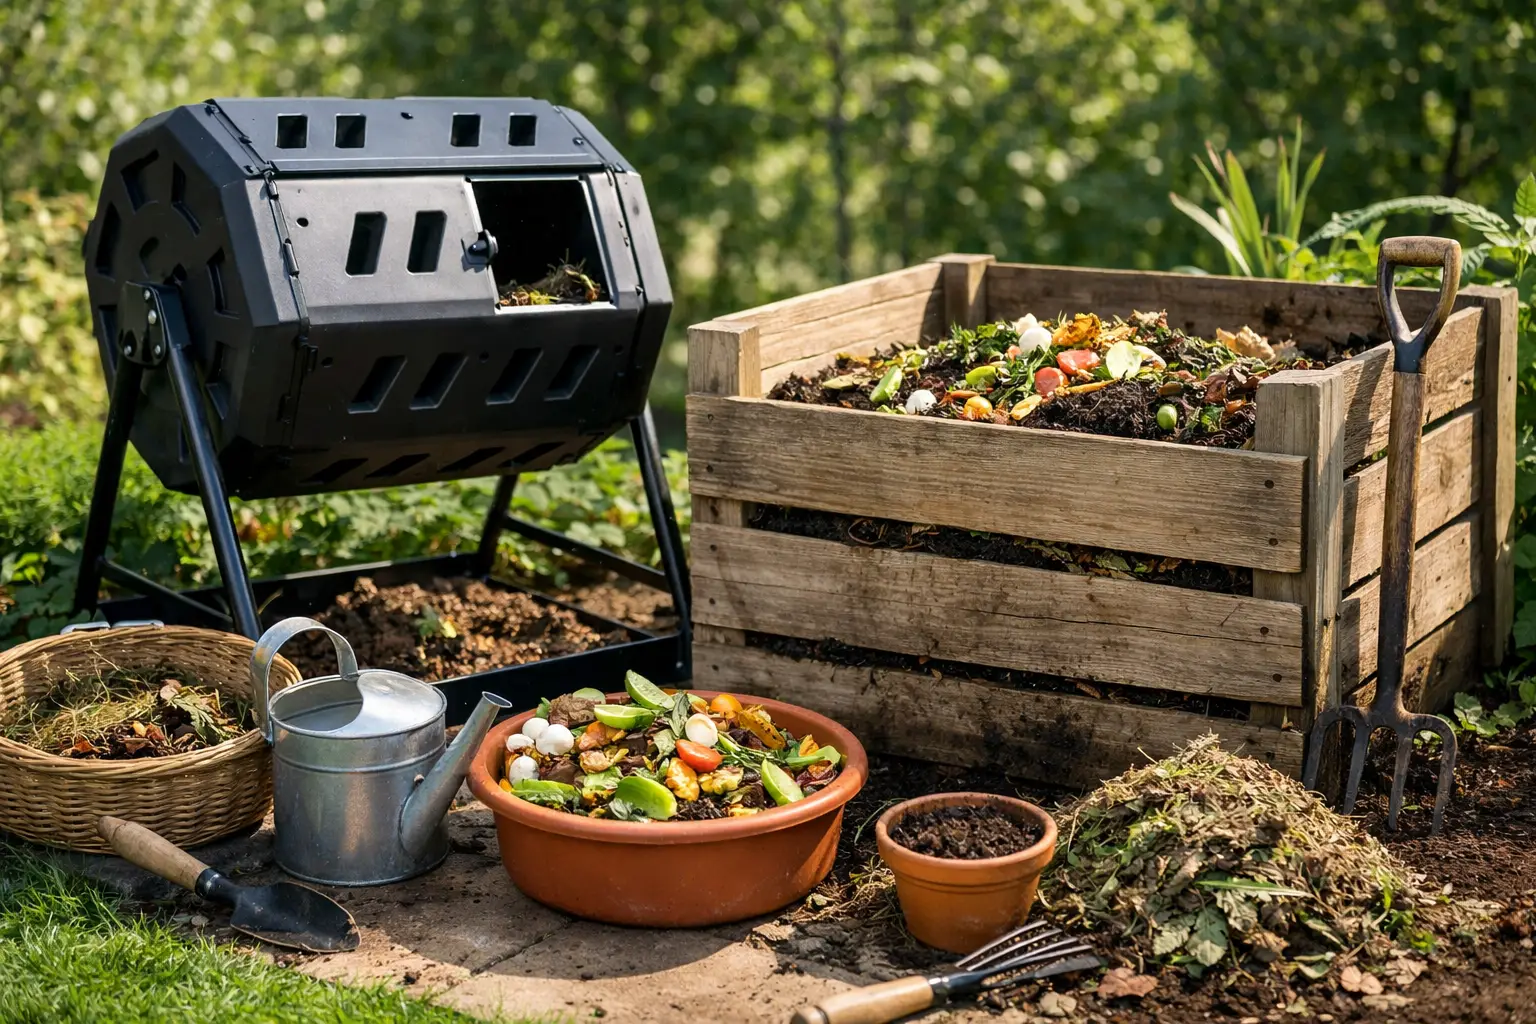
For a first bin, choose an open-bottom plastic compost bin or a basic wire enclosure placed directly on bare soil. A bin around 3 feet wide and 3 feet tall is plenty for most home gardens. It is large enough to hold heat and break down efficiently, but not so large that turning it becomes a dreaded weekend chore.
Put it somewhere convenient. The best compost bin location is usually not the farthest corner of the yard. Choose a spot you can reach easily from the kitchen and garden, with decent drainage and a little shade or dappled sun. Full sun can dry a pile quickly in hot parts of the country, while deep shade can keep it overly wet. A spot near a hose is helpful, too.
Start with a 4- to 6-inch layer of coarse brown material on the bottom. Small twigs, dry leaves, straw, or shredded cardboard all work. This creates air pockets near the base and helps prevent the soggy, compacted conditions that lead to unpleasant smells.
Then build your first small pile with roughly two parts browns to one part greens. Browns are dry, carbon-rich materials such as autumn leaves, torn paper egg cartons, shredded uncoated cardboard, straw, and untreated sawdust in small amounts. Greens are moist, nitrogen-rich materials like vegetable peels, coffee grounds, tea leaves, fresh grass clippings, and spent garden plants that are disease-free.
You do not need to measure each addition with a scoop. Think of browns as the bedding and greens as the food scraps. Every time you add a bucket of kitchen scraps, cover it with a generous layer of dry leaves or shredded cardboard. That simple habit does more for a beginner pile than obsessing over a perfect formula.
What the first layer might look like
A realistic first-day setup could be 5 inches of dry leaves, followed by a few inches of chopped vegetable scraps, coffee grounds, and grass clippings. Add another 4 to 6 inches of leaves or shredded cardboard on top, then sprinkle the pile lightly with water if it feels dry.
The finished pile should feel like a wrung-out sponge. It should be moist enough that the materials hold together when squeezed, but not wet enough to drip. If you live in a rainy area, keep a lid on the bin or cover the top with a tarp during long wet stretches. If your summers are dry, check the pile when you water nearby beds and give it a light soak when needed.
What to add to a beginner compost bin
Most everyday plant-based kitchen scraps are welcome. Fruit and vegetable trimmings, banana peels, crushed eggshells, coffee grounds, paper coffee filters, loose tea, and wilted flowers can all go in. Chop larger pieces, such as melon rinds or cornstalks, before adding them. Smaller pieces break down faster and are less likely to sit in a recognizable lump for months.
For brown materials, dry leaves are hard to beat. They are free, abundant in many yards, and easy to store in bags beside the bin. If you do not have leaves, keep a small stack of torn cardboard boxes or plain brown paper nearby. Avoid glossy or heavily printed paper, and remove tape and shipping labels first.
For a trouble-free beginner bin, leave out meat, fish, dairy products, oily foods, pet waste, and greasy leftovers. These can attract rodents and flies or create odors, especially in an open backyard bin. Also skip diseased plants and weeds that have already formed seeds. A casual pile may not heat up enough to reliably kill pathogens or weed seeds.
If you use grass clippings, add them in thin layers mixed with leaves. A thick slab of fresh grass can turn dense, slimy, and smelly surprisingly fast. This is one of the most common composting mistakes because grass looks so harmless when it comes off the mower.
The low-effort routine that keeps compost moving
Keep a small covered container on the kitchen counter or under the sink. Empty it into the outdoor bin every few days, then immediately cover the scraps with browns. This keeps fruit flies away from the kitchen pail and helps the outdoor pile stay balanced.
Aim to turn or fluff the compost every two to four weeks with a garden fork or sturdy shovel. Pull material from the edges toward the center and loosen any packed sections. Turning adds oxygen, which helps the microbes doing the real work. It also gives you a quick chance to check moisture.
That said, composting does not fail if you forget to turn it. An untouched pile will still decompose, just more slowly. If your gardening season is busy, add materials, cover them with browns, and turn when you can. Slow compost is still useful compost.
A pile that is actively working may warm up in the center, especially when it is at least 3 feet wide and has a good mix of greens and browns. But do not worry if yours never feels hot. Smaller household piles often work at cooler temperatures. They simply take longer to finish.
Fix the two problems beginners notice first
A compost bin should smell earthy, like damp forest soil. If it smells sour, rotten, or like ammonia, it usually has too much moisture or too many greens. Mix in a good amount of dry leaves, shredded cardboard, or straw, then turn the pile to bring in air.
If nothing seems to be happening and the pile looks dry and unchanged, add moisture and a few more greens. Coffee grounds, fresh grass clippings, or a layer of vegetable scraps can wake up a pile that is mostly dry leaves. Chop materials smaller if possible, since whole branches and large produce scraps take much longer to break down.
Seeing ants is not automatically a problem. They often indicate that the pile is on the dry side. A thorough watering and a turn may encourage them to move elsewhere. Flies usually mean exposed food scraps, so bury new additions in the middle or cover them with a thicker layer of browns.
When your compost is ready to use
Finished compost is dark, crumbly, and smells pleasantly earthy. You should not be able to recognize most of the original ingredients, although a few stubborn sticks, avocado pits, or eggshell pieces are normal. Depending on weather, materials, pile size, and how often you turn it, this can take anywhere from a few months to a year.
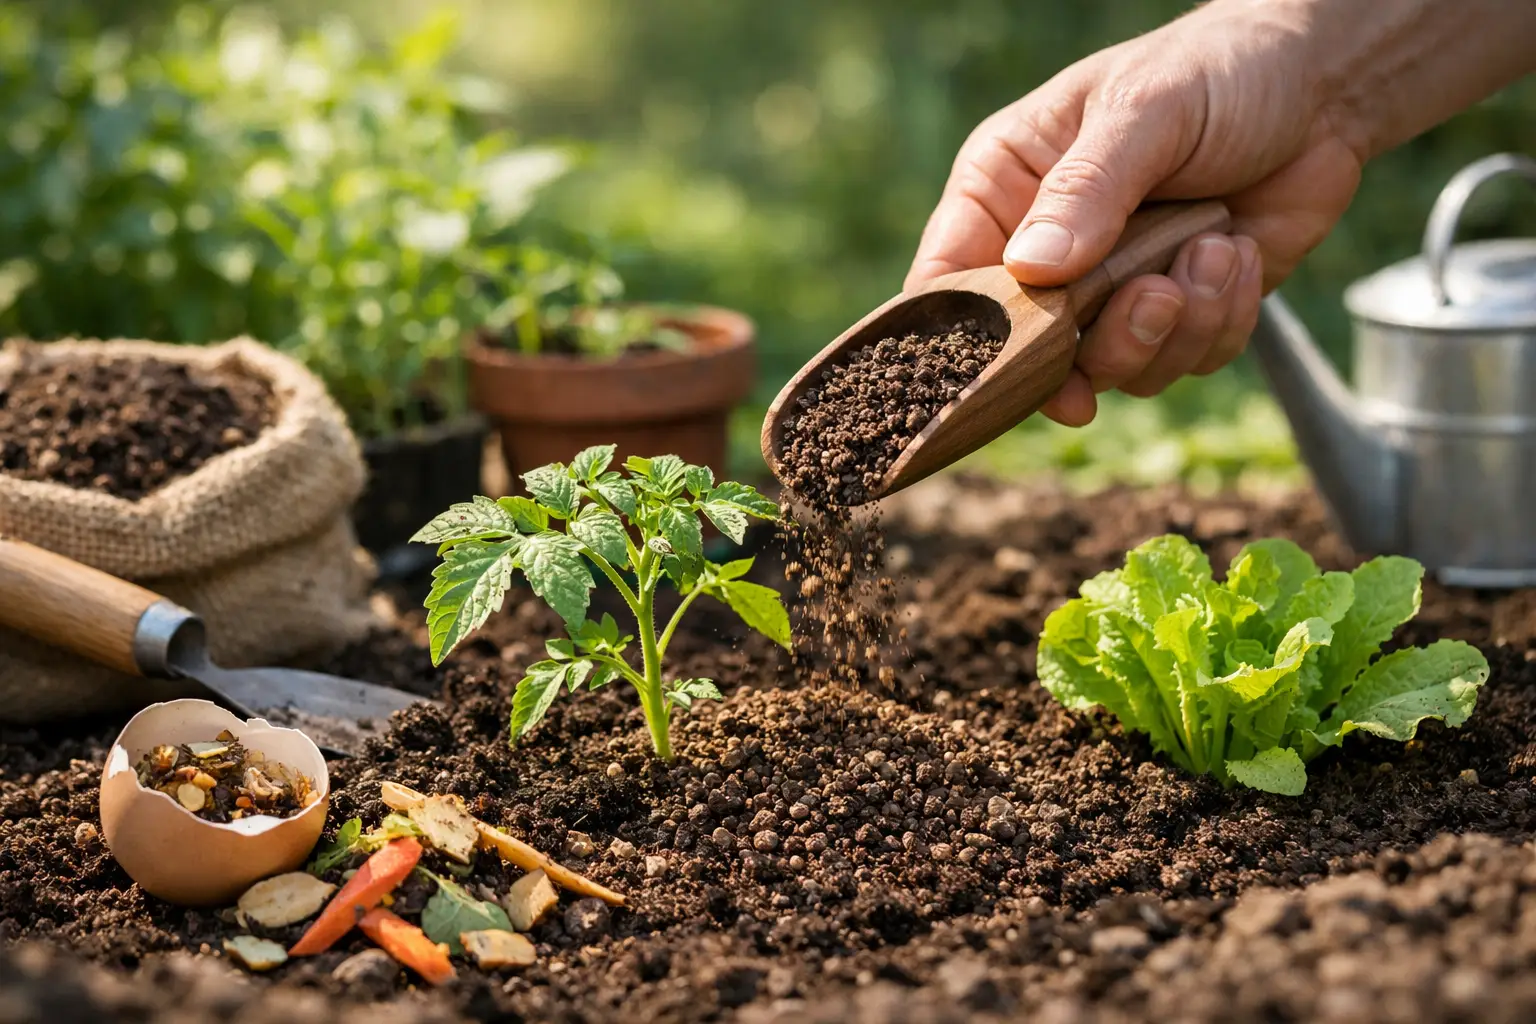
You do not have to wait until every last piece is finished. Screen out the larger bits if you want a finer product, then return those pieces to the bin to keep breaking down. Spread finished compost in a 1- to 2-inch layer over garden beds, mix a handful into planting holes, or blend a modest amount into container soil. Compost feeds the soil life that supports healthy roots, rather than acting like a quick, heavy dose of fertilizer.
Start with the materials you already have, and let your bin be imperfect for a while. A few dry leaves, a bucket of scraps, and a place to pile them are enough to begin turning everyday waste into something your garden will gladly use.