Starting seeds indoors can feel a little magical the first time you do it. A plain tray of damp mix sits under a light for a week, and then suddenly tiny green stems appear. If you have been wondering how to start seeds indoors without fancy equipment or a lot of guesswork, the good news is that it is much simpler than it looks once you understand what seeds actually need.
The biggest mistake new gardeners make is thinking seed starting is all about the seed packet. It is really about creating the right little environment: warmth for germination, light after sprouting, steady moisture, and enough airflow to keep seedlings sturdy. Get those basics right, and you can raise healthy plants for your garden, containers, or raised beds with far less frustration.
Why starting seeds indoors is worth it
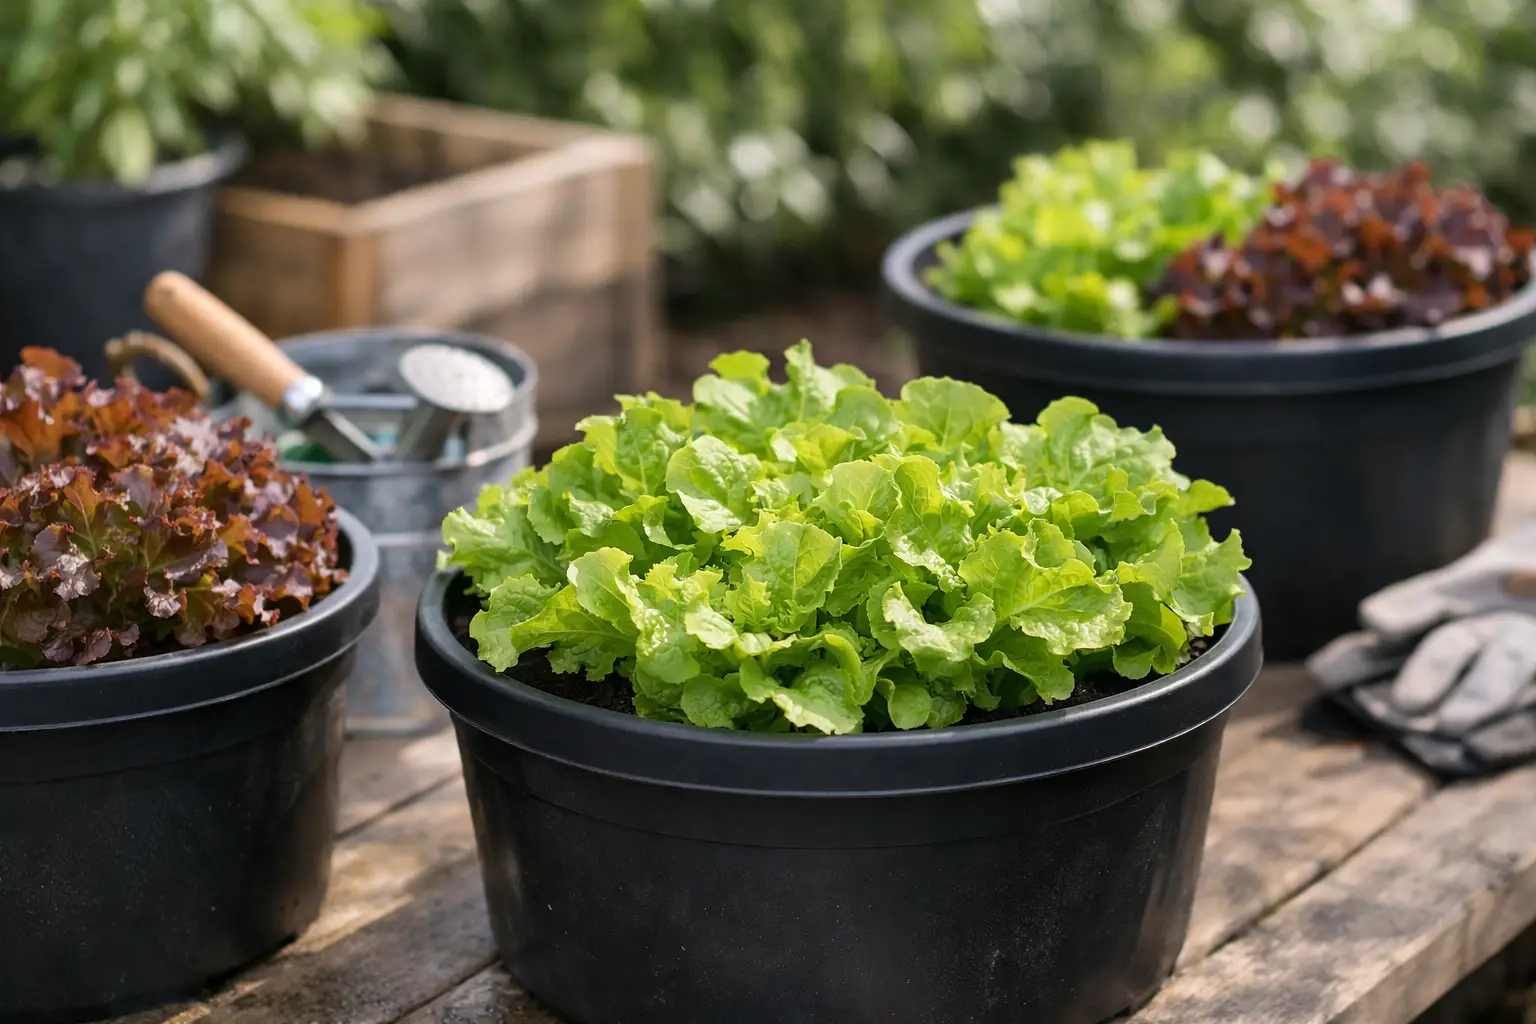
For many home gardeners, starting indoors gives you a head start on the season and a bigger selection than you will usually find at a local garden center. It is especially useful for crops that need a long growing season, like tomatoes, peppers, eggplant, and many herbs. You also get more control over how your plants are grown from day one, which matters if you want to stick with organic methods.
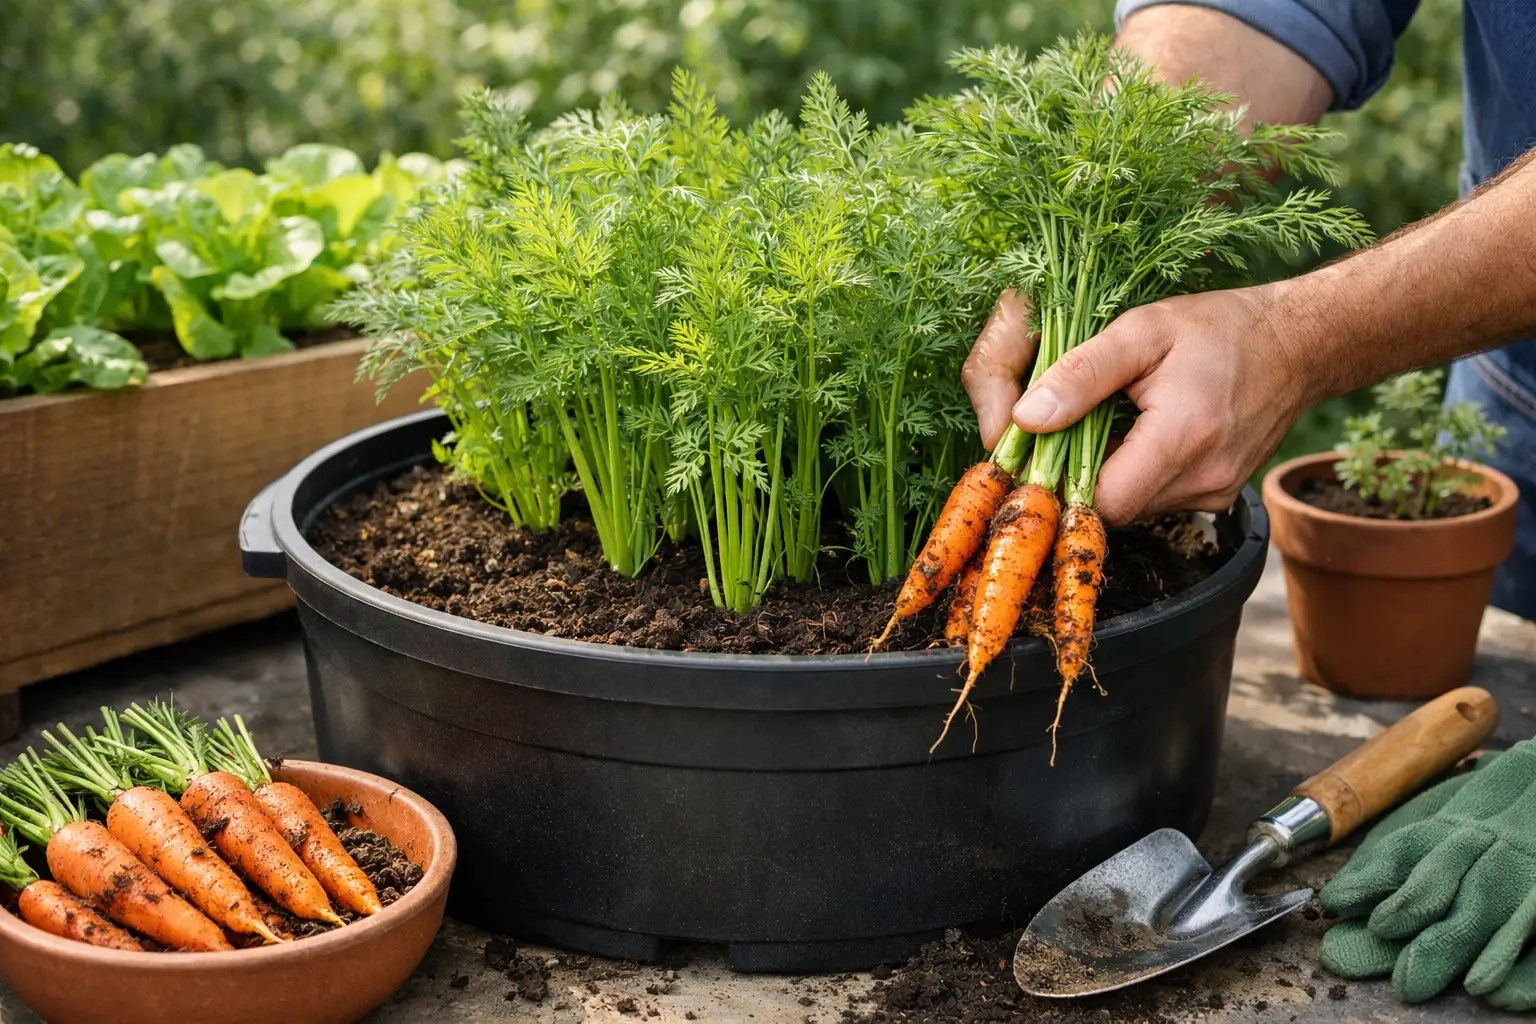
That said, indoor seed starting is not always the best choice for every crop. Fast growers like beans, peas, radishes, and carrots usually do better when sown directly outside. Their roots dislike being disturbed, and they often catch up quickly in the garden anyway. A good seed-starting setup is helpful, but good judgment about what to start indoors matters just as much.
How to start seeds indoors with the right setup
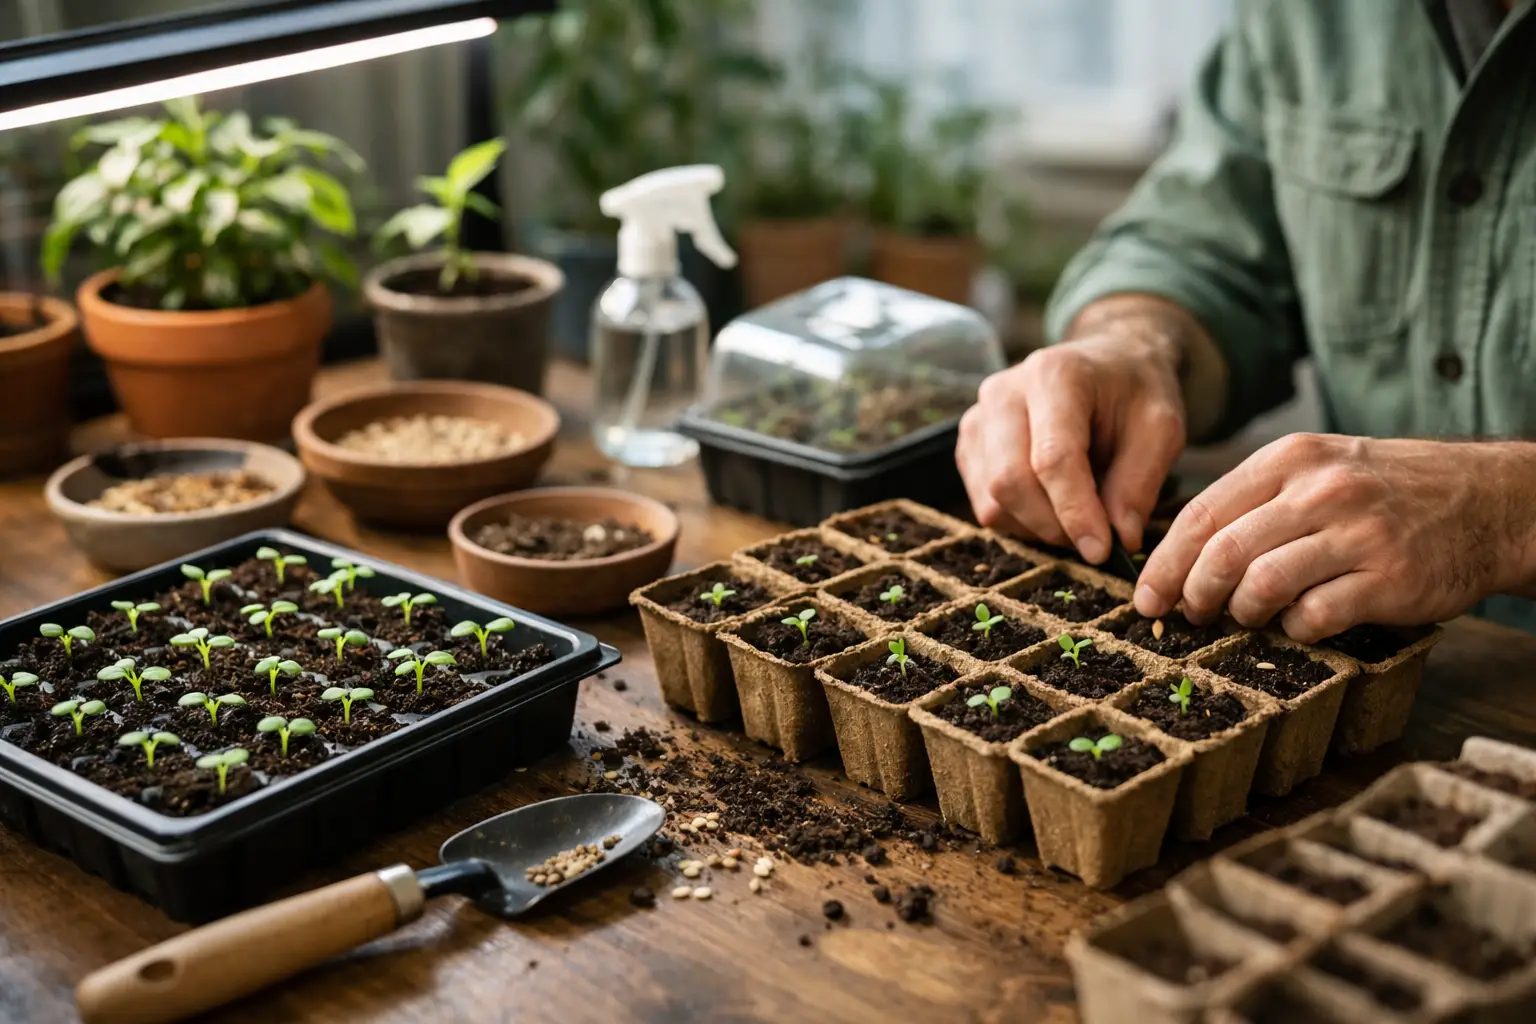
You do not need a greenhouse or a complicated rack system. A simple setup works well if it gives your seedlings four things: containers with drainage, seed-starting mix, strong light, and consistent warmth.
Containers can be cell trays, small nursery pots, or recycled cups with holes poked in the bottom. Clean them well if they have been used before. This lowers the chance of disease problems, which can wipe out tiny seedlings fast.
For the growing medium, use a seed-starting mix instead of regular garden soil. Garden soil is usually too dense for containers and may carry disease spores or weed seeds. A light mix drains better, holds moisture evenly, and makes it easier for roots to grow.
Light is where many seedlings struggle. A sunny window sounds nice, but it rarely gives enough intensity or duration for strong growth. Most seedlings do best under grow lights placed just a couple of inches above the tops of the plants. If the light is too far away, seedlings stretch and get leggy.
Warmth helps seeds sprout, especially warm-season crops. Tomatoes and peppers germinate more reliably when the soil stays warm. A seedling heat mat can help, but if your house stays comfortably warm, you may not need one for every crop. Once seeds sprout, light becomes more important than bottom heat.
Timing matters more than most people think
One reason seed starting feels tricky is that it is easy to begin too early. A tiny tomato plant in March can become a lanky, stressed plant by planting time if your last frost is still far off. Bigger is not always better.
Most seed packets tell you how many weeks before your last frost date to sow indoors. That timing is worth following. Tomatoes are often started about 6 to 8 weeks before the last frost, while peppers may need 8 to 10 weeks. Lettuce, brassicas, and many annual flowers can also be started indoors, but each crop has its own sweet spot.
If you are unsure, err on the side of starting a little late rather than too early. A compact, healthy seedling usually outperforms an oversized one that has spent too long in a small pot.
Sowing seeds without overthinking it
Moisten your seed-starting mix before filling containers so it feels like a wrung-out sponge. Fill the cells or pots, level the surface lightly, and plant seeds at the depth listed on the packet. As a general rule, seeds are planted about twice as deep as they are wide, but there are exceptions. Some very small seeds need light to germinate and should be pressed onto the surface rather than buried.
After sowing, label everything. This sounds obvious until you are staring at six trays of identical green sprouts and trying to guess which pepper is which. Use a simple plant label and include the variety and sowing date.
Covering the tray with a humidity dome or even a loose sheet of plastic can help hold moisture during germination. Remove that cover as soon as most seeds sprout. Too much trapped humidity after germination can encourage fungal problems.
Water, airflow, and the first few weeks
This is the stage where seedlings either get sturdy or start struggling. Keep the mix evenly moist but not soggy. Letting trays dry out can kill tender seedlings quickly, but constant wetness can lead to damping off, a frustrating disease that causes stems to collapse at the soil line.
Bottom watering is often easier than watering from above. Set the tray in a shallow layer of water for a few minutes, then remove it once the mix has absorbed enough moisture. This keeps stems drier and encourages roots to grow downward.
Airflow matters too. A small fan on a gentle setting can help strengthen stems and reduce disease pressure. You do not need a wind tunnel, just light movement in the room. Seedlings raised in still, humid air are often weaker and more prone to problems.
Once seedlings develop their first true leaves, not just the initial seed leaves, they can benefit from light feeding. A diluted organic liquid fertilizer works well here. Go easy. Overfeeding at this stage can create soft, fast growth that does not transplant as well.
Potting up and avoiding common problems
Some seedlings outgrow their original cells before it is time to move outdoors. When roots begin filling the container or the plant has several sets of true leaves, potting up into a slightly larger container gives it more room without causing a setback.
If your seedlings are tall, pale, and floppy, the usual culprit is not enough light. Lower the grow light and make sure it runs long enough each day, usually around 14 to 16 hours. If leaves are yellowing, it could be overwatering, underwatering, or simply that the seedling needs a little nutrition. This is where observation matters more than rigid rules.
Crowding can also become an issue. If you sowed extra seeds in each cell, thin them early by snipping the weaker seedlings at the soil line. It feels a little harsh, but crowded seedlings compete for light and airflow, and they rarely improve with time.
How to start seeds indoors and move them outside safely
Healthy seedlings still need one more step before they go into the garden: hardening off. Indoor-grown plants are tender. Sun, wind, and temperature swings can shock them badly if they move straight from a cozy indoor setup to full outdoor conditions.
About a week before transplanting, start putting seedlings outside in a protected, shady spot for a short period each day. Gradually increase their time outdoors and their exposure to sun and breeze. Keep an eye on the weather. A warm afternoon can be helpful, but a cold night or strong wind can set plants back.
When transplant day comes, water seedlings beforehand and plant them into prepared soil that has been amended with compost if needed. Try to transplant in the evening or on a cloudy day to reduce stress. For crops like tomatoes, planting deeply can encourage strong root growth. Others should be planted at the same depth they were growing in their pots.
Keep it simple, especially your first season
If you are just learning how to start seeds indoors, do not start with twelve kinds of vegetables and a dozen flowers. Pick a few crops that are forgiving and genuinely useful in your garden. Tomatoes, basil, lettuce, and marigolds are all satisfying choices for beginners.
A simple seed-starting system usually beats an elaborate one you do not enjoy using. One tray, one light, and a few well-timed crops can teach you more than a complicated setup ever will. At thenaturalgardner, we have seen again and again that gardeners gain confidence faster when they focus on the basics and let experience build from there.
There is something deeply satisfying about carrying out your own homegrown seedlings and settling them into the garden. You are not just planting vegetables or flowers. You are starting the season with your hands already in it, and that changes the way the whole garden feels.