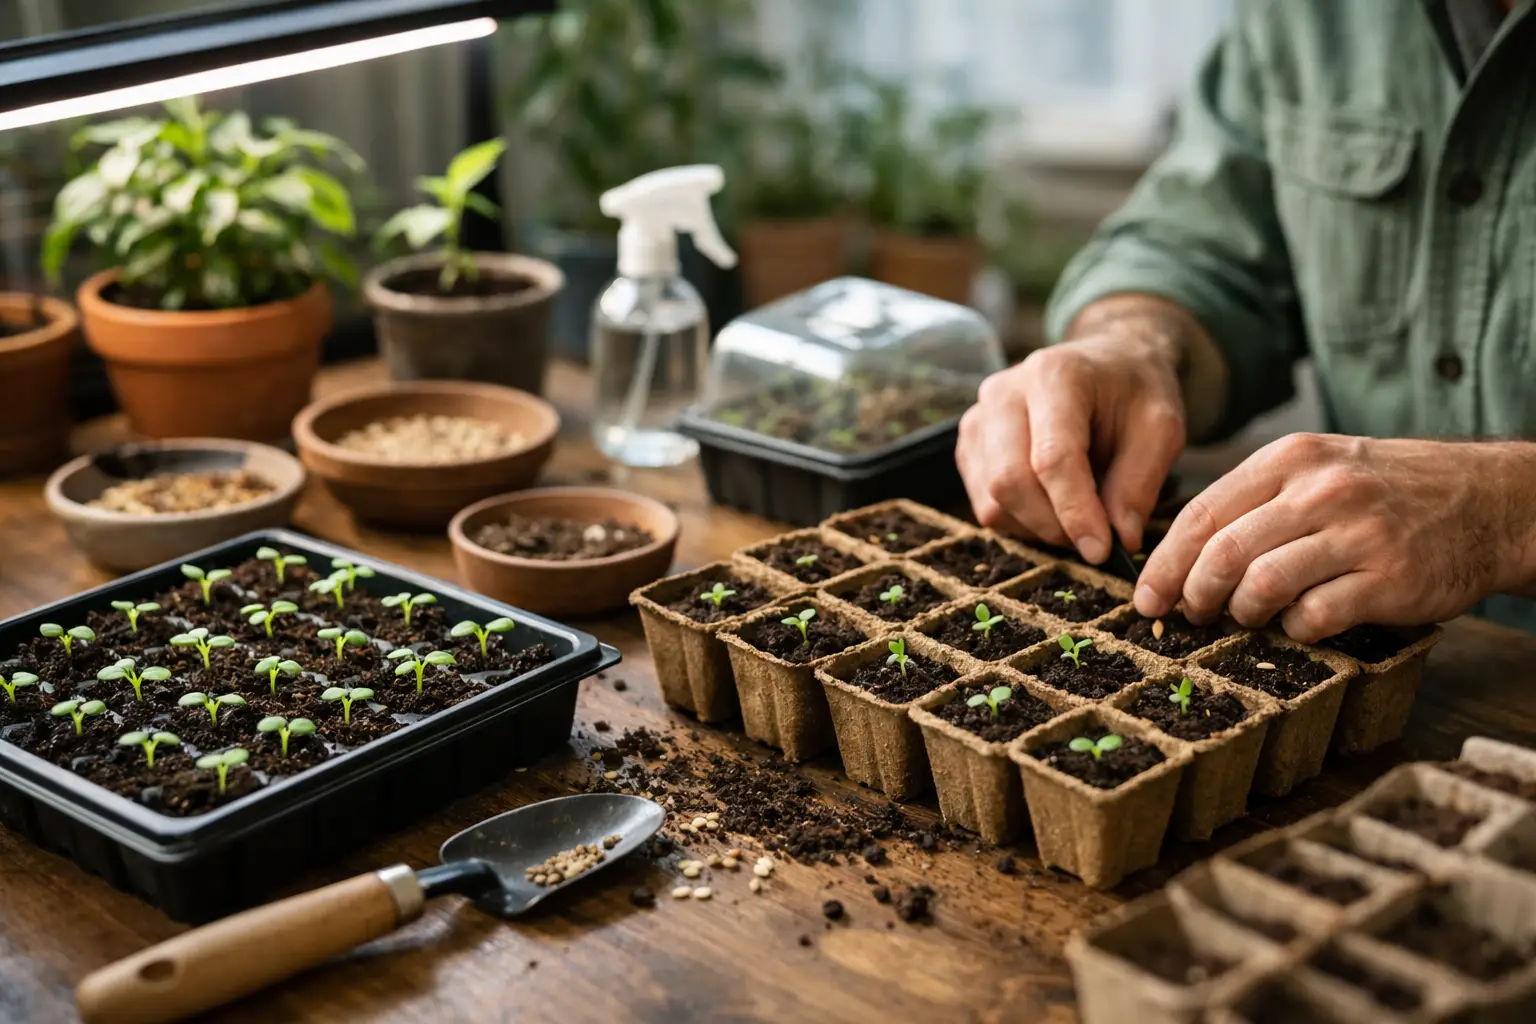
Starting seeds indoors is one of the highest-leverage skills in organic gardening. It lets you grow varieties unavailable at garden centers, save significant money on transplants, and extend your growing season by 6–10 weeks. Done right, indoor seed starting is simple, reliable, and deeply satisfying.
📋 Table of Contents
- Why Start Seeds Indoors?
- 1. Dramatically Extended Growing Season
- 2. Variety Access
- 3. Cost Savings
- 4. Quality Control
- What NOT to Start Indoors
- When to Start Seeds Indoors: The Timing Formula
- Step 1: Find Your Last Frost Date
- Step 2: Count Back from Last Frost
- Equipment: What You Actually Need
- Essential Equipment
- Optional But Useful
- Step-by-Step: How to Start Seeds Indoors
- Step 1: Prepare Your Growing Medium
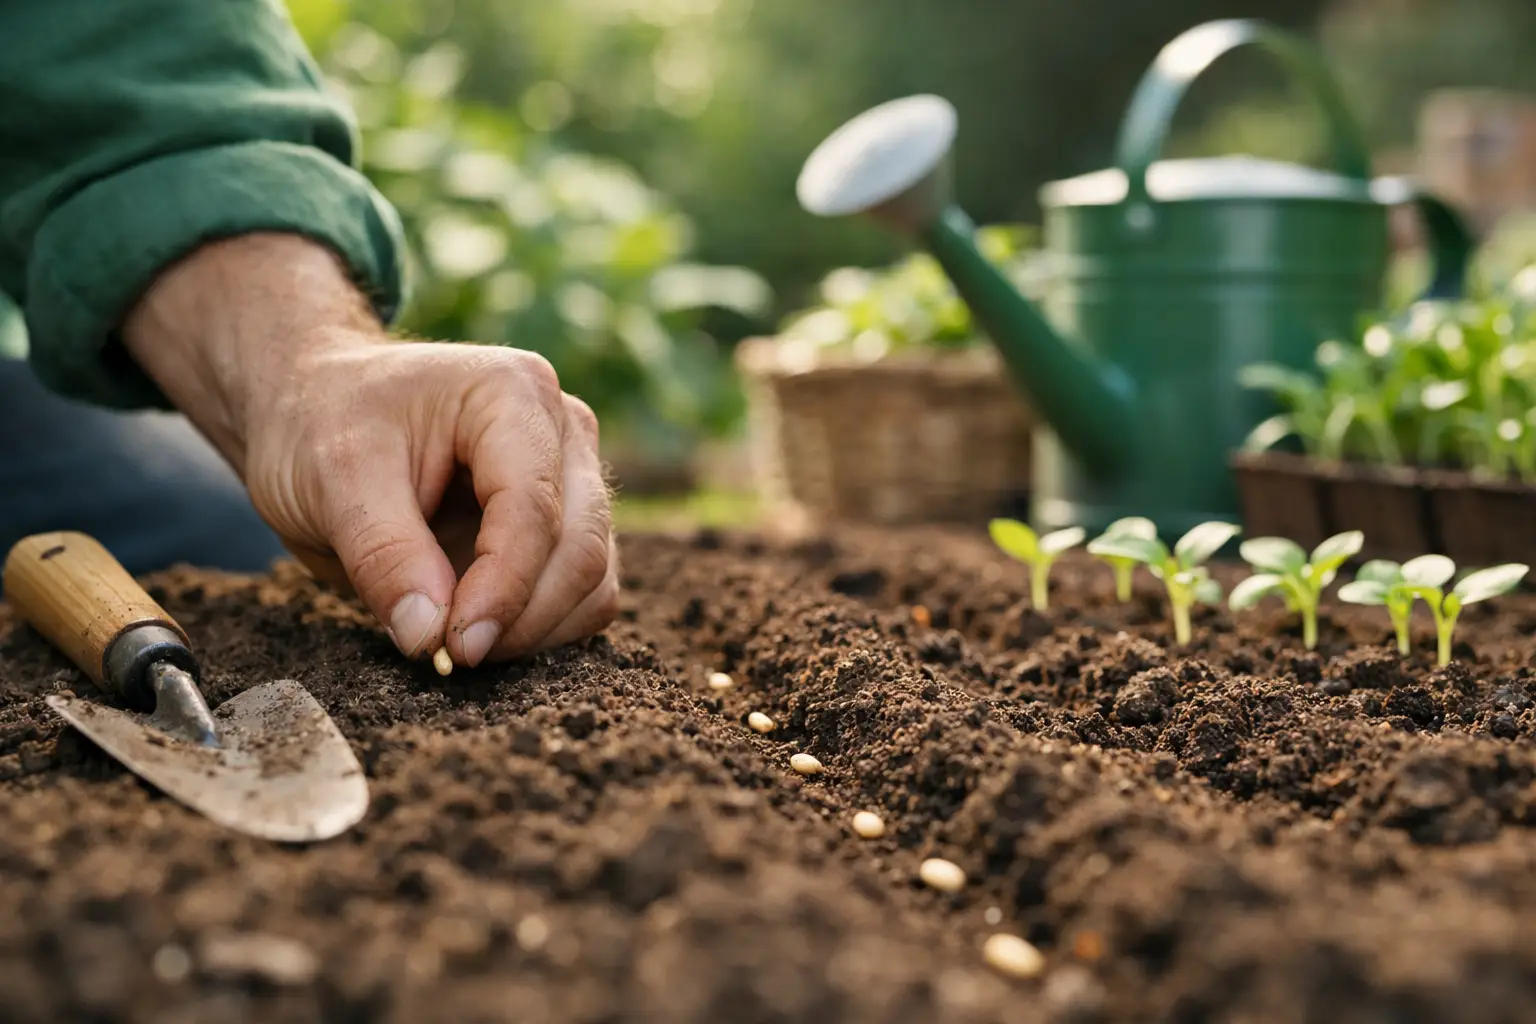
- Step 2: Sow Seeds
- Step 3: Label Everything
- Step 4: Create Germination Conditions
- Step 5: Respond to Germination
- Step 6: Water Correctly
- Step 7: Fertilize After True Leaves Appear
- Step 8: Pot Up (If Needed)
- Step 9: Harden Off
- Common Problems and Solutions
- Leggy, Stretched Seedlings
- Damping-Off (Seedlings Collapse at Soil Line)
- Slow or Uneven Germination
- Yellow Seedlings
- Purple Seedling Leaves
- Seed Starting FAQ
- Recommended Seed Starting Kit (Complete Setup)
- Garden Planning & Growing Guides
This guide covers everything you need — from timing calculations and equipment selection to common problems and their solutions.
Why Start Seeds Indoors?
1. Dramatically Extended Growing Season
In zones 5–7, tomatoes, peppers, eggplant, and basil can’t go outside until late May or June. Starting them indoors in late February or March gives you 10–12 weeks of head start — translating to harvests that begin weeks earlier than if you waited to direct-sow.
2. Variety Access
Garden centers stock 10–20 tomato varieties. Seed catalogs offer 300+. Starting from seed unlocks heirloom varieties, unusual colors, disease-resistant cultivars, and regional varieties bred for your specific climate — none of which you’ll find at big-box stores.
3. Cost Savings
A packet of 20 tomato seeds costs $3–5. A single tomato transplant at a nursery costs $4–8. Starting seeds indoors pays for itself within one season, especially for gardeners growing 6+ tomato plants.
4. Quality Control
You control the seed source (organic, heirloom, disease-free), the growing medium, the fertilizer, and the hardening-off process. Commercial transplants are often grown quickly with synthetic fertilizers and may carry pests or diseases.
What NOT to Start Indoors
Before diving into technique, know which crops do not benefit from indoor starting:
| Direct Sow Only | Reason |
|---|---|
| Carrots, parsnips, beets | Taproot disrupted by transplanting |
| Beans, peas | Fast growers; transplant shock offsets any gain |
| Corn | Requires large quantities; poor transplant success |
| Cucumbers, squash, melons | Fast growers; direct-sow 2–3 weeks before last frost |
| Radishes, turnips | Mature in 25–30 days; indoor starting unnecessary |
These crops benefit most from indoor starting:
Tomatoes, peppers, eggplant, basil, celery, leeks, onions, cabbage, broccoli, cauliflower, Brussels sprouts, kale (early-season head start), lettuces, herbs (parsley, sage, thyme), and flowers (snapdragons, petunias, marigolds).
When to Start Seeds Indoors: The Timing Formula
Step 1: Find Your Last Frost Date
Search “[your city] last frost date” — this is the date after which frost is unlikely in spring. The USDA Frost Date map and university extension services provide these. Common examples:
| City | Average Last Frost |
|---|---|
| Minneapolis, MN | May 10 |
| Chicago, IL | April 22 |
| New York, NY | April 11 |
| Washington, DC | March 25 |
| Portland, OR | March 15 |
| Denver, CO | May 7 |
| Atlanta, GA | March 14 |
| Los Angeles, CA | January 10 |
Step 2: Count Back from Last Frost
| Crop | Weeks to Start Before Last Frost |
|---|---|
| Onions, leeks | 12–14 weeks |
| Peppers | 10–12 weeks |
| Eggplant | 10–12 weeks |
| Tomatoes | 6–8 weeks |
| Celery | 10–12 weeks |
| Cabbage, broccoli, cauliflower | 6–8 weeks |
| Basil | 4–6 weeks |
| Lettuce | 4–6 weeks |
| Marigolds | 4–6 weeks |
| Snapdragons | 8–10 weeks |
| Petunias | 10–12 weeks |
Example calculation (zone 6, last frost April 15):
- Tomatoes (6–8 weeks back): start March 1–15
- Peppers (10–12 weeks back): start January 15–February 1
- Onions (12–14 weeks back): start January 1–15
📖 Read Also: Raised Bed Gardening — The Complete Guide — Raised beds are the best destination for indoor-started transplants.
Equipment: What You Actually Need
Essential Equipment
1. Seed Trays and Cell Packs
Standard 72-cell or 128-cell packs work for most small seeds (tomatoes, peppers, lettuce). 6-cell or 4-inch individual pots are better for larger seeds (cucumbers, squash) or seedlings that will spend 10+ weeks indoors.
Key feature to look for: Trays with bottom drainage holes — standing water causes root rot and damping-off.
Affiliate picks: 72-cell seed starting trays with dome
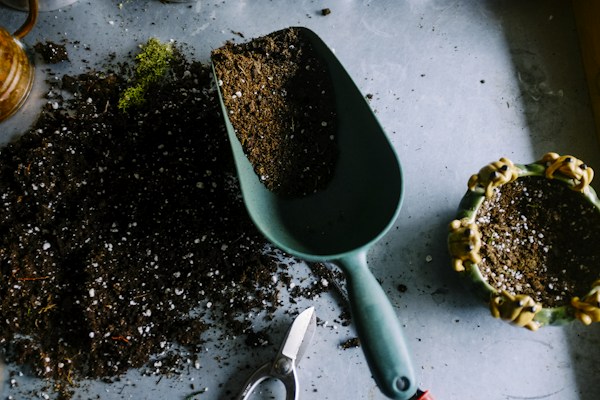
2. Seed Starting Mix
Do not use regular potting soil or garden soil. Seed starting mix is:
- Sterile (no pathogens)
- Finely textured for good seed-to-medium contact
- Well-draining yet moisture-retentive
- Low in nutrients (seedlings need minimal nutrients until true leaves form)
Recommended brands: Jiffy Seed Starting Mix, Pro-Mix BX, or make your own (50% coir + 25% perlite + 25% fine vermiculite).
Affiliate picks: Organic seed starting mix | Coco coir blocks for seed starting
3. Grow Lights
This is the most common failure point for indoor seed starting. A sunny windowsill is not enough for most seeds in most climates. Even south-facing windows in winter deliver insufficient light intensity for compact, stocky seedling growth.
The result of insufficient light: Leggy, stretched seedlings that are weak and difficult to transplant successfully.
Grow light requirements:
- Full-spectrum LED or fluorescent (T5 or T8) recommended
- 16 hours of light per day on timer
- Distance: 2–4 inches from seedling tops (LED may be closer; check manufacturer specs)
- Minimum 2,000–4,000 lux at seedling level (a basic light meter app can confirm this)
Affiliate picks: Full-spectrum LED grow light for seedlings | Fluorescent T5 grow light fixture | Outlet timer for grow lights
4. Heat Mat
Most seeds germinate best at 65–85°F soil temperature. Indoor rooms in winter are often 60–68°F — too cool for fast, even germination of peppers and tomatoes. A seedling heat mat warms the soil 10–20°F above room temperature, dramatically accelerating germination.
Critical: Use the heat mat only until germination occurs, then remove it. Seedlings don’t need bottom heat — they need light.
Affiliate picks: Seedling heat mat | Heat mat thermostat controller
5. Humidity Dome
A clear plastic dome over your seed trays traps moisture and maintains humidity during germination — when seeds need consistent moisture to sprout. Remove the dome as soon as seedlings emerge (within 24 hours) to prevent damping-off.
Optional But Useful
- Soil block maker: Eliminates plastic pots; makes compressed blocks of growing medium. Eco-friendly and seedlings transplant with minimal root disturbance.
- Heat mat thermostat: Maintains precise soil temperature for more consistent germination.
- Seedling fertilizer: Fish emulsion or kelp extract diluted to 1/4 strength, applied once true leaves form.
- Oscillating fan: Running a small fan on seedlings for 1–2 hours per day strengthens stems and reduces damping-off risk.
Step-by-Step: How to Start Seeds Indoors
Step 1: Prepare Your Growing Medium
Fill cells or pots with moistened seed starting mix. “Moistened” means wrung out like a sponge — damp throughout but not dripping. Dry mix repels water; saturated mix causes rot.
Tip: Moisten the whole bag of mix in a large tub before filling trays. Much easier than watering dry trays.
Step 2: Sow Seeds
Small seeds (tomatoes, peppers, lettuce):
- Make a small depression 1/4 inch deep with a pencil tip
- Drop 2 seeds per cell
- Cover with 1/8–1/4 inch of mix and press gently
Medium seeds (basil, broccoli, marigolds):
- Plant 2–3 seeds per cell, 1/4 inch deep
- Thin to 1 per cell after germination
Large seeds (squash, cucumbers, beans):
- Plant 1 seed per large pot, 1/2–1 inch deep
- Sow these directly if possible — they rarely benefit from indoor starting
Step 3: Label Everything
This is non-negotiable. Seedlings of different varieties look identical for the first 3–4 weeks. Use permanent marker on plastic labels or popsicle sticks. Label with variety name AND date sown.
Step 4: Create Germination Conditions
- Cover with humidity dome
- Place on heat mat (if available)
- Temperature goal: 70–80°F soil for tomatoes/peppers; 65–70°F for brassicas/lettuce
- No light needed during germination (seeds don’t need light to sprout)
- Check daily for first signs of emergence
Step 5: Respond to Germination
As soon as you see the first green arching loop pushing through the soil:
- Remove the dome immediately (or within 24 hours)
- Move under grow lights (or to your brightest window)
- Remove from heat mat after most cells have germinated
- Maintain 16 hours of light per day
The window after germination opens is critical: Seedlings deprived of adequate light immediately stretch toward any light source, producing weak, leggy plants that are difficult to recover.
Step 6: Water Correctly
The most common seedling-killing mistake is improper watering — usually overwatering.
Bottom watering (preferred): Fill the tray under cell packs with 1/2 inch of water. Allow cells to absorb water from below over 20–30 minutes. Drain excess. This delivers moisture to roots without wetting leaves (which promotes fungal issues).
Top watering: Use a watering can with a gentle rose head. Water soil surface only — don’t water leaves. Allow soil to partially dry between waterings.
Signs of overwatering: Yellowing lower leaves, wilting despite moist soil, stem rot at soil line
Signs of underwatering: Wilting, dry soil, crispy leaf edges
Step 7: Fertilize After True Leaves Appear
Seed starting mix has minimal nutrients by design. Once seedlings develop their first true leaves (the second set — the first pair are cotyledons/seed leaves), begin fertilizing:
- Use fish emulsion, liquid kelp, or a balanced organic liquid fertilizer
- Dilute to 1/4 of the recommended strength
- Apply every 7–10 days
- Gradually increase to 1/2 strength by the time seedlings are 4+ weeks old
Affiliate picks: Fish emulsion fertilizer | Liquid kelp fertilizer for seedlings
Step 8: Pot Up (If Needed)
For long-season crops like tomatoes and peppers started 10–12 weeks before transplant, pot up from 72-cell trays into 3–4 inch individual pots when:
- Roots are visible at the bottom of the cell
- Seedlings are 3–4 inches tall with 2–3 sets of true leaves
Bury tomato seedlings deep when potting up (up to 2/3 of the stem underground) — tomatoes form roots along their buried stems.
Step 9: Harden Off
This step is skipped by most beginners and causes the most transplant failures.
Hardening off = gradually acclimating indoor-grown seedlings to outdoor conditions over 7–10 days.
Hardening-off schedule:
- Day 1–2: Set seedlings outside in shade for 1–2 hours. Bring in.
- Day 3–4: 3–4 hours in shade. Bring in.
- Day 5–6: 4–5 hours in dappled light/partial sun. Bring in.
- Day 7–8: Full day outdoors in partial shade. Bring in at night.
- Day 9–10: Full day outdoors including some direct sun. Begin leaving out overnight if temps stay above 50°F.
- Day 10+: Transplant to permanent location.
Why this matters: Indoor plants haven’t developed the waxy cuticle layer that protects leaves from UV radiation, wind, and temperature fluctuations. Skipping hardening off leads to leaf scorch, wilting, and transplant shock that can set plants back 2–3 weeks.
📖 Read Also: How to Grow Tomatoes Organically — Complete Guide — For tomato-specific transplanting and aftercare.
Common Problems and Solutions
Leggy, Stretched Seedlings
Cause: Insufficient light — the most common indoor seed-starting problem.
Solution: Move lights closer (2–3 inches from LED tops) or add a second grow light. Run lights 16–18 hours per day. A south-facing window is almost never enough in January–March in zones 5–7.
Prevention: Start with adequate grow lights. A $40–60 LED panel pays for itself in one season by producing stocky, successful transplants instead of weak, leggy ones.
Damping-Off (Seedlings Collapse at Soil Line)
Cause: Fungal pathogens (Pythium, Fusarium, Rhizoctonia) that thrive in wet, poorly ventilated conditions.
Prevention:
- Use sterile seed starting mix (not garden soil)
- Remove humidity dome immediately after germination
- Water from below; avoid wetting leaves
- Ensure good air circulation (a small fan helps)
- Don’t overwater
Treatment: No effective cure. Remove affected seedlings immediately to prevent spread. Start fresh with sterile mix.
Slow or Uneven Germination
Cause: Soil temperature too low (most common), old seeds, or improper planting depth.
Solution: Use a heat mat. Check soil temperature with a thermometer — many heat mats don’t deliver as much warmth as expected in cold rooms. Increase heat mat settings or add a thermostat.
Yellow Seedlings
Cause (in young seedlings): Nitrogen deficiency from depleted seed starting mix.
Solution: Begin fertilizing at 1/4 strength with fish emulsion.
Cause (in any seedlings): Overwatering.
Solution: Reduce watering frequency; check that trays drain fully.
Purple Seedling Leaves
Cause: Phosphorus deficiency or cold temperatures (below 55°F slows phosphorus uptake).
Solution: Increase soil/room temperature; apply diluted liquid fertilizer with phosphorus.
Seed Starting FAQ
Q: Can I reuse seed starting mix from last year?
A: Not recommended. Used mix may harbor fungal pathogens (damping-off organisms). Fresh, sterile mix costs little and prevents major problems. You can amend used mix with 50% fresh perlite for outdoor container growing.
Q: Do seeds need light to germinate?
A: Most vegetables don’t — they germinate in the dark. Some lettuce varieties are light-dependent (check seed packet), but most vegetable seeds germinate based on temperature and moisture only. Light becomes critical immediately after germination.
Q: How do I know if my seeds are still viable?
A: Do a germination test: place 10 seeds on a damp paper towel, fold, seal in a plastic bag, and leave in a warm spot for 5–10 days. Count how many sprout. If fewer than 7/10 sprout, expect poor germination from that seed packet.
Q: Can I use fluorescent shop lights instead of grow lights?
A: Yes — standard cool-white fluorescent T8 or T5 bulbs work for seed starting. They’re not as efficient as modern LEDs but they work. Keep them 2–4 inches above seedlings, 16 hours per day.
Q: What’s the cheapest way to start seeds indoors?
A: Repurpose egg cartons (small cells), yogurt containers, or takeout trays (punch drainage holes). Use toilet paper rolls as biodegradable pots. A south-facing window may work for brassicas and lettuce (which need less light than tomatoes). This budget approach works — but invest in proper lighting if you want reliable results with tomatoes and peppers.
Recommended Seed Starting Kit (Complete Setup)
| Item | Budget Option | Recommended |
|---|---|---|
| Trays | Repurposed containers | 72-cell standard trays with dome |
| Growing medium | Seed starting mix | Pro-Mix BX or coir/perlite/vermiculite blend |
| Light | South window | Full-spectrum LED panel on timer |
| Heat | Warm room | Seedling heat mat + thermostat |
| Fertilizer | Fish emulsion (diluted 4x) | Neptune’s Harvest Fish + Seaweed |
| Total cost | $5–15 | $80–150 (one-time; lasts years) |
Last updated: October 2026 | thenaturalgardner.com
This article contains affiliate links. As an Amazon Associate, we earn from qualifying purchases at no extra cost to you.