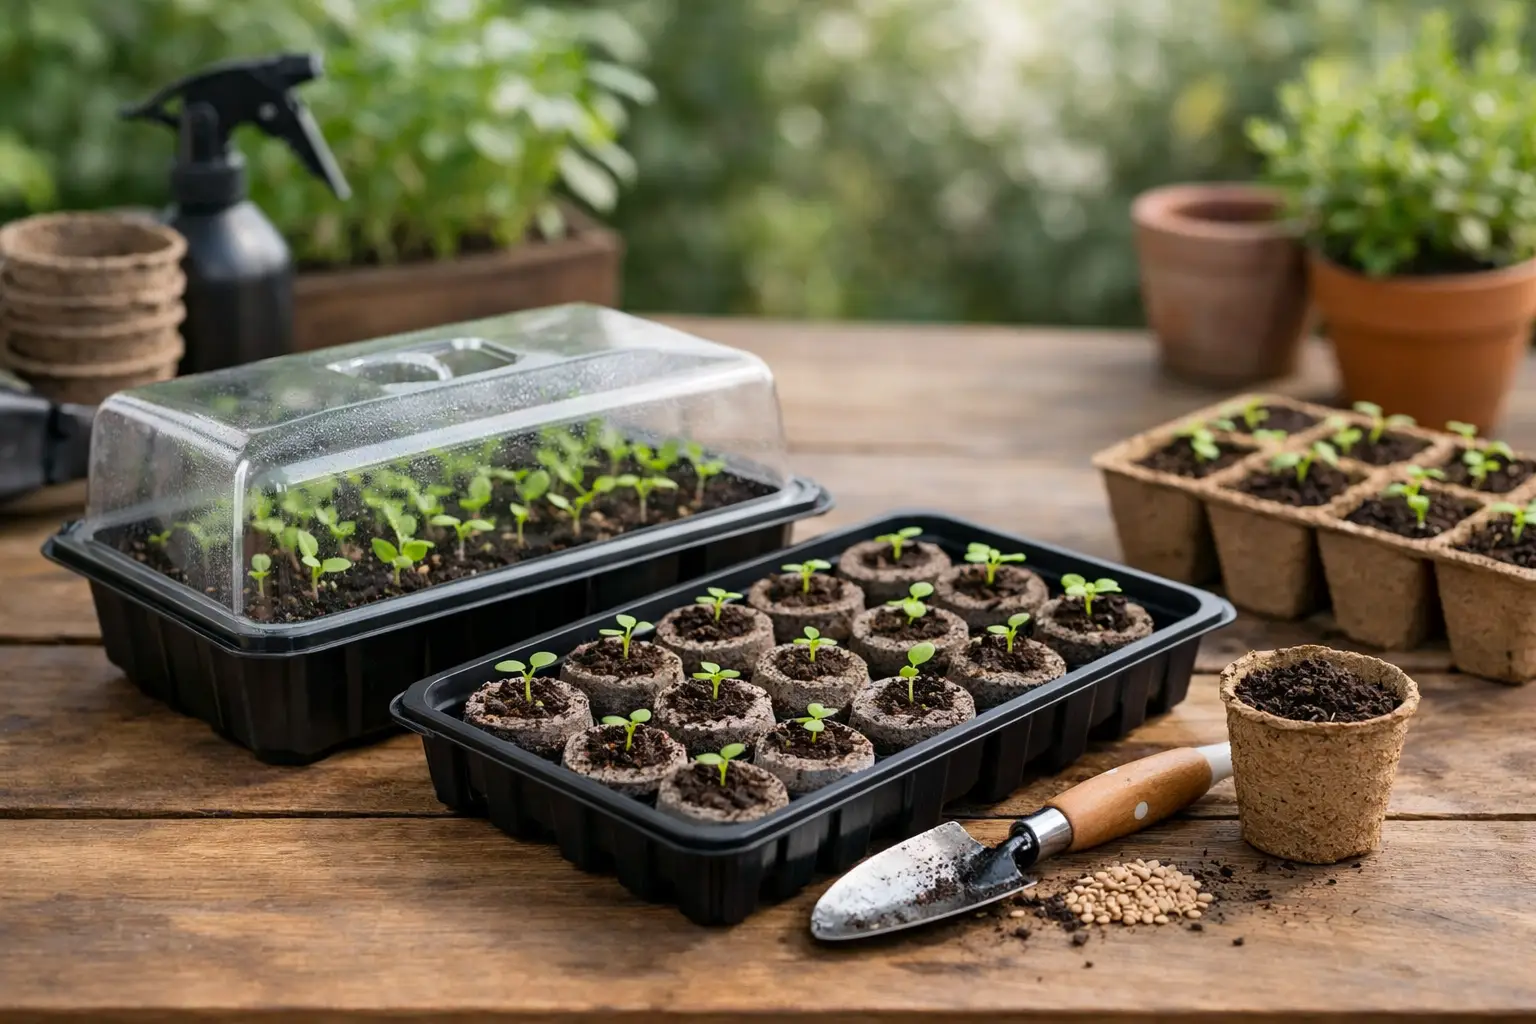
A seed starting tray can look like one of the simplest purchases in the garden aisle. Then you bring one home, fill it with soil, and discover the cells are too shallow, the bottom leaks across the table, or the clear dome turns your seedlings into a fuzzy mold experiment. This seed starting tray review focuses on what makes a tray useful in a real home garden, not just attractive in its packaging.
The right tray will not replace good light, fresh seed-starting mix, or careful watering. But it does make those jobs easier. For gardeners raising tomatoes, peppers, herbs, flowers, or leafy greens indoors, a dependable tray keeps seedlings organized, makes watering less messy, and gives young roots a better start.
The best seed starting tray depends on what you grow
There is no single best tray for every gardener. A gardener sowing 72 lettuce plants for a spring bed needs something different from someone starting six heirloom tomatoes for patio containers. Before choosing, think about how long seedlings will stay in the tray and whether you plan to pot them up before they go outdoors.
Small-cell trays, often with 50 to 72 cells, are efficient for quick crops such as lettuce, kale, basil, marigolds, and onions. They use less soil and let you start plenty of plants in a small area. The trade-off is that roots fill those cells quickly. If weather delays planting, seedlings can become cramped and stressed.
Larger six-cell or 12-cell inserts are a better fit for crops that dislike frequent transplanting or need more growing time indoors. Tomatoes, peppers, eggplant, cucumbers, squash, and larger flowers appreciate the extra root room. They take up more shelf space, of course, but fewer plants are usually needed for a home garden.
For most beginner gardeners, a tray with interchangeable inserts is the most forgiving choice. You can use large cells for tomatoes one season and smaller cells for greens or flowers the next, without collecting a pile of single-purpose plastic.
What we look for in a seed starting tray review
A good tray setup has several parts: the cell insert or pots, a solid bottom tray, and sometimes a humidity dome. Each one affects how easily seedlings grow.
Strong, reusable plastic is worth paying for
Thin black plastic cell packs are inexpensive and can work for a season. They also crack easily, flex when you lift them, and make it hard to remove seedlings without damaging roots. If you start seeds more than once a year, sturdier reusable trays are usually the better value and create less waste over time.
Look for thick, rigid plastic that stays flat when filled with damp mix. The bottom tray matters just as much as the cell insert. A flimsy bottom tray can buckle, spill water, and turn moving seedlings from a sunny window to a grow-light shelf into an awkward two-handed task.
Reusable plastic is not automatically a problem for an eco-conscious garden. The more sustainable option is often the tray you can clean and use for many years. At the end of the season, brush off soil, wash the tray with warm soapy water, and let it dry completely before storing it. If disease was an issue, disinfect according to the product directions before reusing it.
Drainage should be clear, not excessive
Seedling cells need drainage holes. Without them, water settles around tender roots and invites rot. Still, drainage holes work only when the cells sit inside a watertight bottom tray. This lets you bottom-water, which is one of the easiest ways to keep foliage dry and reduce damping-off problems.
To bottom-water, add a shallow layer of water to the solid tray and let the cells draw it up for about 15 to 30 minutes. Once the mix is evenly moist, pour away any water left behind. Leaving seedlings sitting in water all day is just as troublesome as watering from above too often.
Avoid trays with holes in the outer base unless you plan to use another waterproof tray underneath. They are designed for greenhouse benches, where extra water can drain away. On a kitchen counter, basement shelf, or windowsill, they are more likely to make a mess.
Humidity domes are helpful only at the beginning
Clear domes can be useful while seeds are germinating, especially for peppers, tomatoes, basil, and other warmth-loving crops. They hold moisture near the soil surface so you do not have to mist constantly. A dome with adjustable vents gives you a little more control, though it is not essential.
The key is removing the dome as soon as most seeds emerge. Seedlings need airflow and light, not a permanently humid little greenhouse. Leaving the cover on after sprouting is a common reason gardeners see mold, stretched stems, or seedlings that collapse at the soil line.
A tall dome can be convenient for holding early growth, but it should not be used to avoid transplanting plants that have outgrown their cells. When seedlings need more room, pot them up or prepare them for planting outdoors.
Cell shape affects transplanting more than you might expect
Round pots are familiar and easy to find, but square cells use tray space more efficiently. More important than the shape is whether you can remove the seedling with its root ball intact. Flexible inserts with a hole at the bottom allow you to gently push from below. That is much kinder to roots than tugging on a stem.
Deep cells are especially useful for plants that develop longer roots early, including tomatoes and peppers. Shallow trays are fine for fast-growing greens, but they can dry out quickly and give larger seedlings very little room for error.
Which tray styles are worth considering?
Basic plastic cell trays are the practical workhorse. They are affordable, easy to sanitize, and available in many cell sizes. Choose a heavier reusable version with a matching bottom tray if you want the least complicated, most reliable setup.
Soil-blocking trays are a different approach. Instead of growing seedlings in plastic cells, you form blocks of compressed soil and set them in a waterproof tray. This reduces plastic use and can encourage dense, healthy root systems, but it takes more practice to make blocks that hold together. It is a satisfying method for gardeners who enjoy hands-on seed starting, not necessarily the easiest first setup.
Peat or fiber pots appeal to gardeners who want fewer plastic materials. They can be useful, but they are not always as simple as advertised. If the pot does not break down quickly after planting, it can restrict roots or wick moisture away from the surrounding soil. If you use them, tear away the rim and loosen the sides before planting so no part of the pot remains above the soil line.
Self-watering trays can be helpful for busy households, especially when paired with a wicking mat. They keep moisture more even, which is useful for germination. The downside is that they can hide overwatering. Check the mix with a finger rather than assuming a full reservoir means every cell needs more water.
A practical setup for most home gardeners
For a simple, low-fuss system, choose a sturdy waterproof bottom tray, reusable inserts in two sizes, and one clear dome. Use small cells for quick crops and larger cells for tomatoes, peppers, and flowers that will stay indoors longer. Add a plant label to every variety the day you sow it. Memory is surprisingly unreliable when six kinds of basil start looking identical.
Fill cells with a light seed-starting mix rather than dense garden soil. Moisten the mix before sowing until it feels like a wrung-out sponge. Plant at the depth listed on the seed packet, cover lightly, and use the dome only until germination. Once seedlings emerge, place them under a bright grow light or in your strongest available light, keeping the light close enough to prevent leggy growth.
The tray is only the container. Your attention to moisture, light, and timing is what turns it into a successful nursery.
The verdict: buy for durability and root room
The best choice in this seed starting tray review is not the one with the most accessories. It is a sturdy, reusable tray system that drains well, supports bottom-watering, and offers enough cell depth for the crops you actually grow. A clear dome is useful, but not a requirement. Fancy labels and decorative colors do not matter nearly as much as a rigid base and easy transplanting.
Start with a modest setup and learn how quickly your favorite seedlings outgrow their cells. After one season, you will know whether you need more trays, deeper inserts, or simply better lighting. That kind of observation is where confident gardening begins – with a small, manageable experiment and the pleasure of seeing those first green leaves show up right on schedule.