The first time you press a soil blocker into a tray of moist mix and lift it to reveal tidy little cubes, it feels a bit like a garden magic trick. But a soil blocker is not a shortcut to perfect seedlings. This soil blocker review looks at what these tools do well, where they can be fussy, and whether they make sense for an everyday home garden.
For gardeners who start vegetables, herbs, and flowers from seed, soil blocks can replace plastic cell trays with a simple cube of growing mix. The seedling grows directly in that cube, without a pot around it. Done well, it is a low-waste system that produces healthy transplants with roots ready to head into the garden.
What a Soil Blocker Actually Does
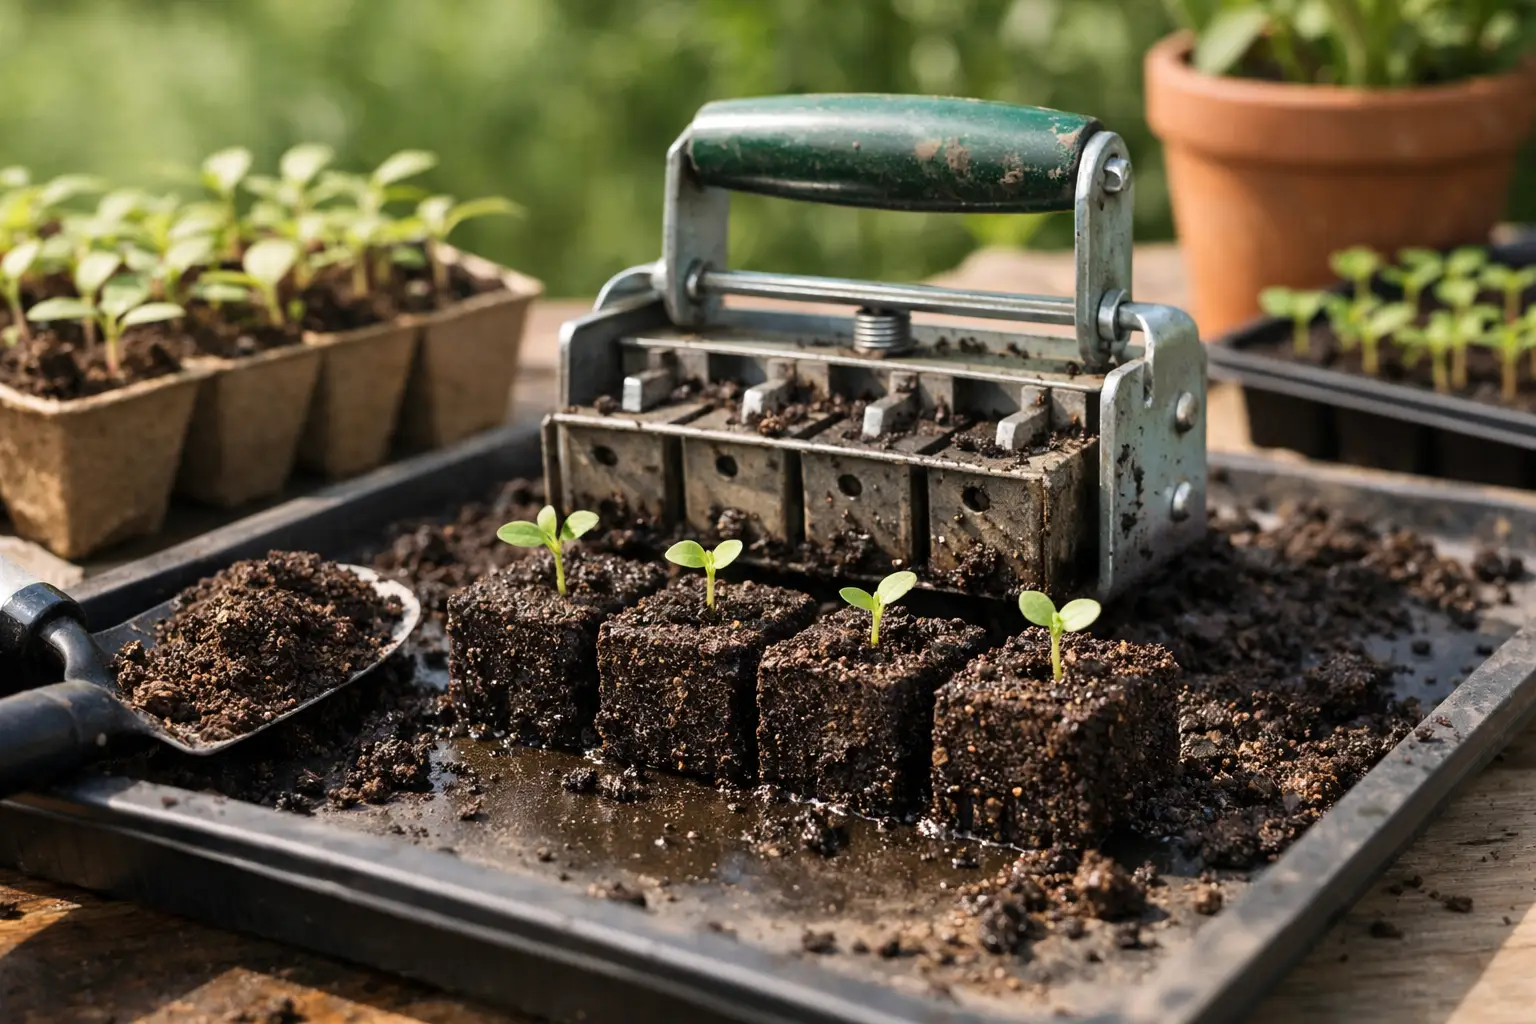
A soil blocker is a hand tool with one or more square metal molds. You press it into a damp soil-blocking mix, compress the mix, then release finished blocks into a waterproof tray. Most models create four blocks at a time, although smaller mini blockers can make many more.
The key difference is that each block has exposed sides. When roots reach the air at the edge of the block, their tips stop extending rather than circling around a plastic cell. This is called air pruning. The plant responds by making more fine, branching roots within the block, which can mean less root disturbance at transplanting time.
That benefit is real, especially for seedlings that spend several weeks indoors. Still, a soil blocker does not fix poor light, old seed, cold soil, or inconsistent watering. Think of it as a useful tool in a good seed-starting setup, not the setup itself.
Soil Blocker Review: The Benefits That Matter
The biggest advantage is less plastic. If you start dozens of seedlings each season, flimsy cell packs crack, get misplaced, and eventually need replacing. A well-made metal blocker can last for years, while reusable bottom trays are much easier to manage than a stack of individual pots.
Soil blocks also make transplanting pleasantly simple. There is no seedling to tug from a cell and no root ball to tease apart. You lift the block from the tray and set it into a prepared planting hole. Tomatoes, lettuce, basil, kale, peppers, and many annual flowers all adapt well to this approach.
There is a practical space-saving benefit, too. Four 2-inch blocks fit into a compact arrangement, and you can sow exactly the number of plants you want. For a small raised-bed garden, that may be 12 tomatoes rather than a whole tray of 72 seedlings you do not have room to plant.
Finally, the process encourages better attention to potting mix. Soil blocks need a mix that holds together, which leads many gardeners away from light, dry seed-starting blends that collapse the moment they are watered. A well-made block stays moist without becoming a swamp.
The Trade-Offs Before You Buy
The honest downside is the learning curve. The mix must be wetter than most gardeners expect, almost like thick oatmeal or brownie batter. Too dry, and the blocks crumble as you release them. Too wet, and they slump, smear, or stay saturated around delicate seedlings.
Block making can also be messy. You will need a tub or bucket for mixing, a tray for the blocks, and a place where spilled mix is not a disaster. I find it easiest to work outdoors, in a garage, or on a covered table with a large tray underneath. It is not difficult, but it is more hands-on than filling cell packs from a bag.
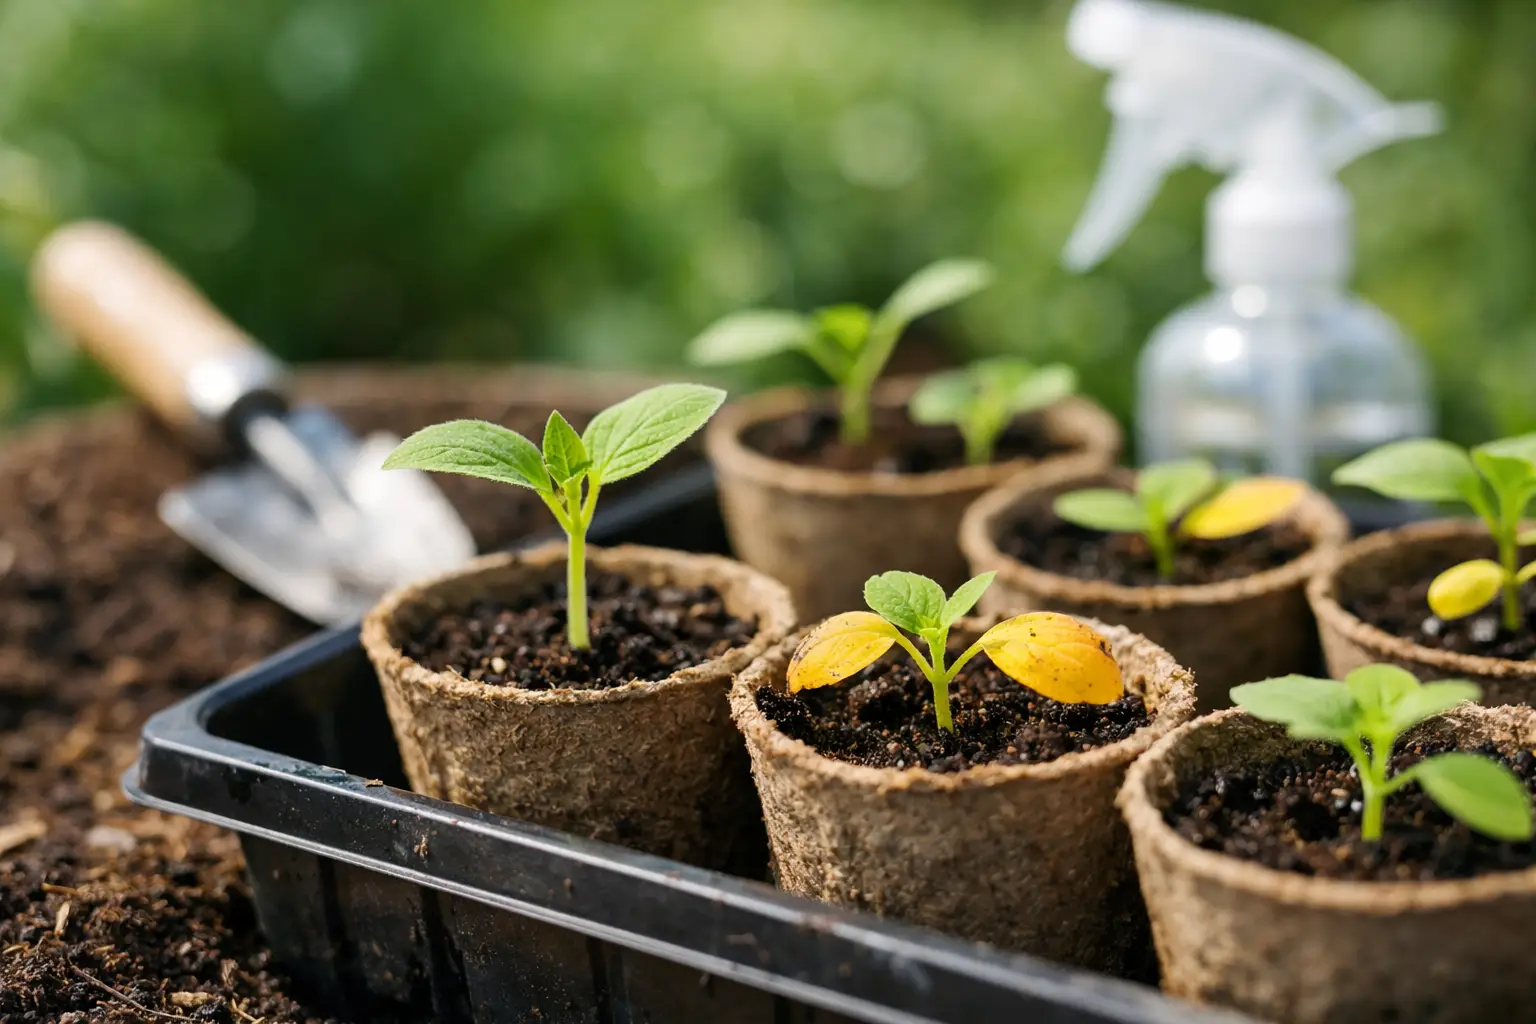
Watering requires a small adjustment as well. Because blocks have exposed sides, they can dry faster than plug trays in a warm, sunny room. Bottom watering is usually the gentlest method. Add a shallow layer of water to the tray, let the blocks drink for a few minutes, and pour off any excess. Keeping blocks constantly soggy invites algae and weak roots.
A soil blocker may not be worth it if you start only a handful of seeds once a year, have very limited indoor space, or prefer the fastest possible seed-starting routine. In that case, sturdy reusable cell trays are still a sensible low-waste option. The tool earns its place when you enjoy starting seeds and want to reduce disposable plastic over many seasons.
Which Soil Blocker Size Is Best?
For most home gardeners, a 2-inch blocker is the best starting point. It makes a generously sized block for seedlings that will grow indoors for three to five weeks before planting outside. It works especially well for lettuce, brassicas, basil, marigolds, and other crops that do not need a long indoor stay.
The small 3/4-inch mini blocker is useful for starting many tiny seeds. It is often paired with a larger blocker that has a small indentation or insert, allowing the little block to be potted up into a 2-inch block later. This nesting system is clever, but it adds a second step and is not essential for beginners.
Larger 4-inch blocks are helpful for long-season seedlings such as peppers, eggplants, and tomatoes started early in cooler regions. They take more mix and tray space, however, so they are best for gardeners who already know they like the system.
When comparing tools, look for sturdy metal construction, a comfortable handle, and a smooth ejector mechanism. A blocker that is hard to release will turn a calming seed-starting project into a wrestling match. The cheapest option is not always the best value if the mold bends or the handle loosens after one season.
How to Make Blocks That Hold Together
Success starts with the mix. A commercial soil-blocking mix is convenient, but you can make your own with screened compost, peat moss or coco coir, perlite, and a small amount of garden soil or mineral-rich amendment. The exact recipe matters less than the texture: it should contain enough fine material and organic matter to bind together while still draining well.
Moisten the mix gradually in a tub. Squeeze a handful in your fist. It should hold its shape and release only a little water, not drip steadily. Let it sit for a few minutes so the dry ingredients absorb moisture, then mix again before forming blocks.
Press the blocker firmly into the mix, give it a slight twist, and scrape the bottom against the tub edge to level it. Set the blocker on the tray and push the release handle slowly and evenly. If blocks crack, add a bit more water and compress more firmly. If they stick inside the mold, the mix may be too wet or too fibrous.
Make the blocks close together in a tray with no drainage holes, leaving only a narrow gap between them. This helps them support one another while still allowing air pruning. Label the tray immediately. Once several varieties of greens begin to sprout, they look remarkably alike.
Who Will Get the Most From This Tool?
A soil blocker is especially satisfying for gardeners who grow food organically, start seeds each spring, and dislike throwing away cracked plastic packs. It fits a practical, lower-waste garden routine without requiring fancy equipment. A simple heat mat, strong grow light, bottom tray, and dependable potting mix are enough.
It is also a good choice for gardeners who have struggled with root-bound seedlings. If your plants frequently sit too long in cells while you wait for the weather to settle, blocks offer a little more flexibility. They will not keep a tomato happy forever, but the air-pruned roots are generally better behaved than a tightly circling root ball.
Beginners can use one successfully, provided they begin small. Make a single tray of 2-inch blocks for lettuce, kale, basil, or flowers. Learn how the mix feels and how quickly it dries in your home before committing to every seed you grow.
A Soil Blocker Is Worth It When It Fits Your Routine
My recommendation is simple: choose a 2-inch metal blocker if you start seeds regularly and want a reusable alternative to plastic cells. Do not buy a full set of sizes until you know you enjoy making and tending blocks. The basic tool handles a surprising range of seedlings, and a good tray plus careful watering will take you far.
The real reward is not perfectly square soil cubes. It is the moment you plant a sturdy seedling, roots intact and ready to grow, knowing you raised it with less plastic and a little more care. Start with one tray this season, get your hands dirty, and let your garden tell you whether the method belongs in your yearly rhythm.