That first tray of seedlings can be strangely humbling. One row pops up overnight, another sits there doing nothing, and somehow the basil gets leggy while the tomatoes look like they own the place. A beginner guide to seed starting should make this feel simpler, not more mysterious, because the basics really are manageable once you know what matters most.
Seed starting is just the process of helping plants through their earliest stage with the right light, moisture, warmth, and timing. You do not need a greenhouse or a shelf full of fancy gear. What you do need is a setup you can keep an eye on, a few good seed choices, and the willingness to make small adjustments as you go.
Why seed starting is worth it
For many home gardeners, starting seeds indoors saves money and opens up more variety than the average garden center carries. It also gives warm-season crops like tomatoes, peppers, and eggplant a head start, which can matter a lot in places with shorter growing seasons.
There is another benefit people do not always mention. When you raise your own seedlings, you know exactly how they were grown. If you care about organic gardening, that matters. You can choose a gentle seed-starting mix, avoid unnecessary chemical inputs, and build healthy plants from the beginning.
That said, seed starting is not always the best choice for every crop. Beans, peas, carrots, radishes, and beets often do better when sown directly outdoors. They grow quickly or dislike root disturbance, so indoor starting can create extra work without better results. Good seed starting is not about growing everything from seed. It is about starting the right plants in the right way.
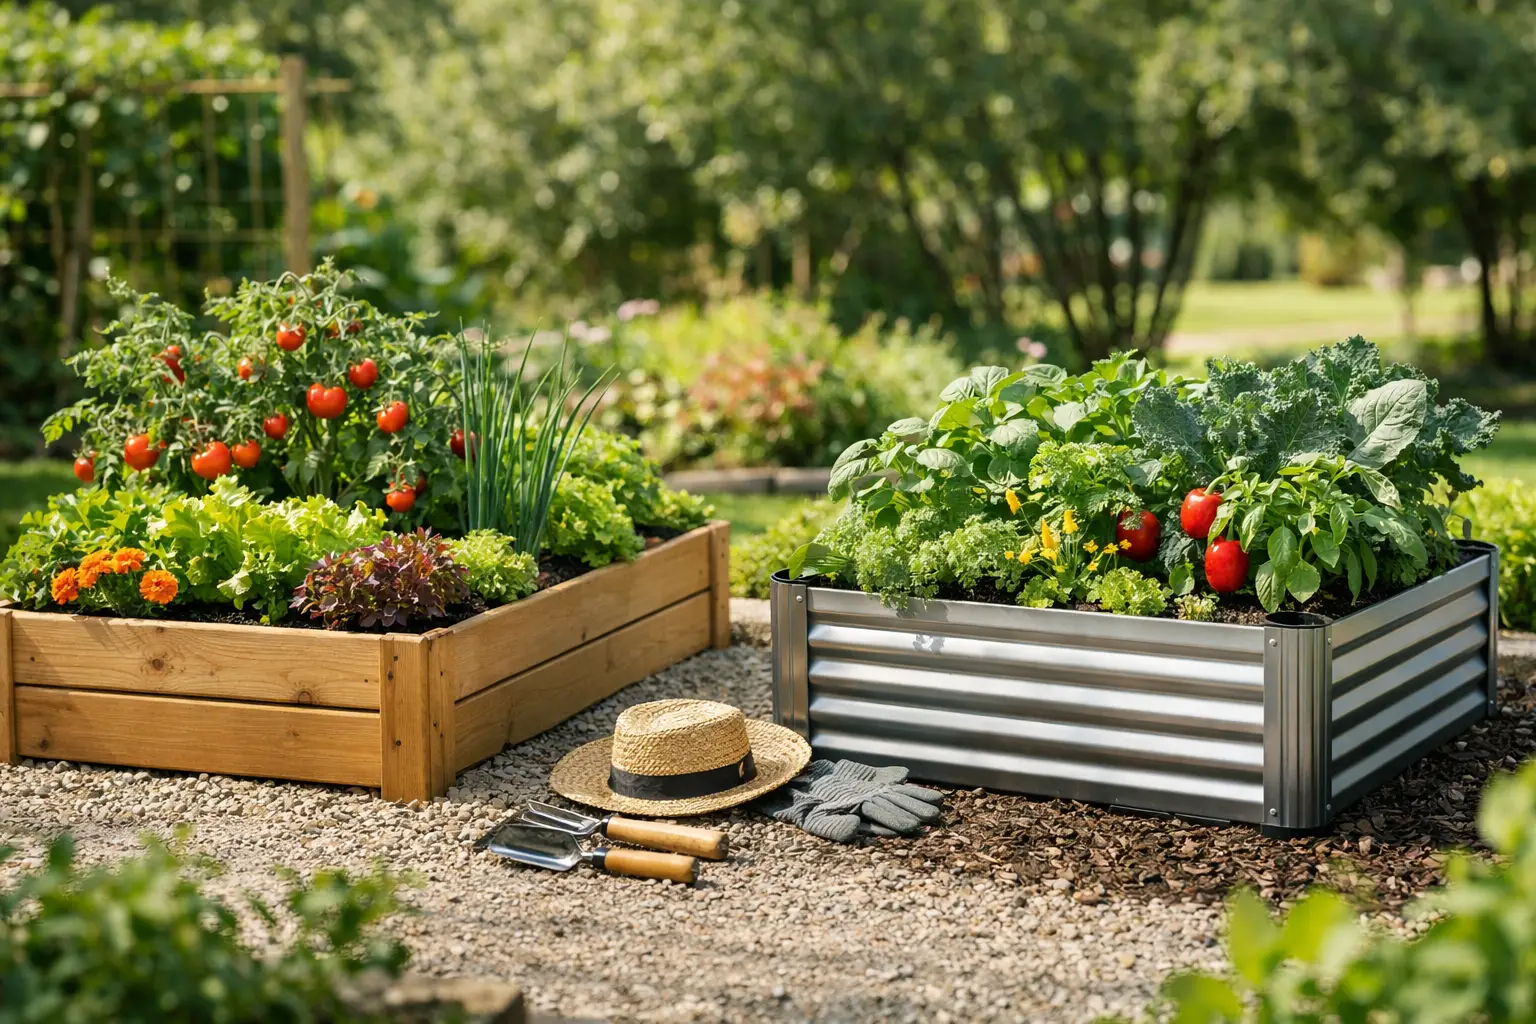
Beginner guide to seed starting: what you actually need
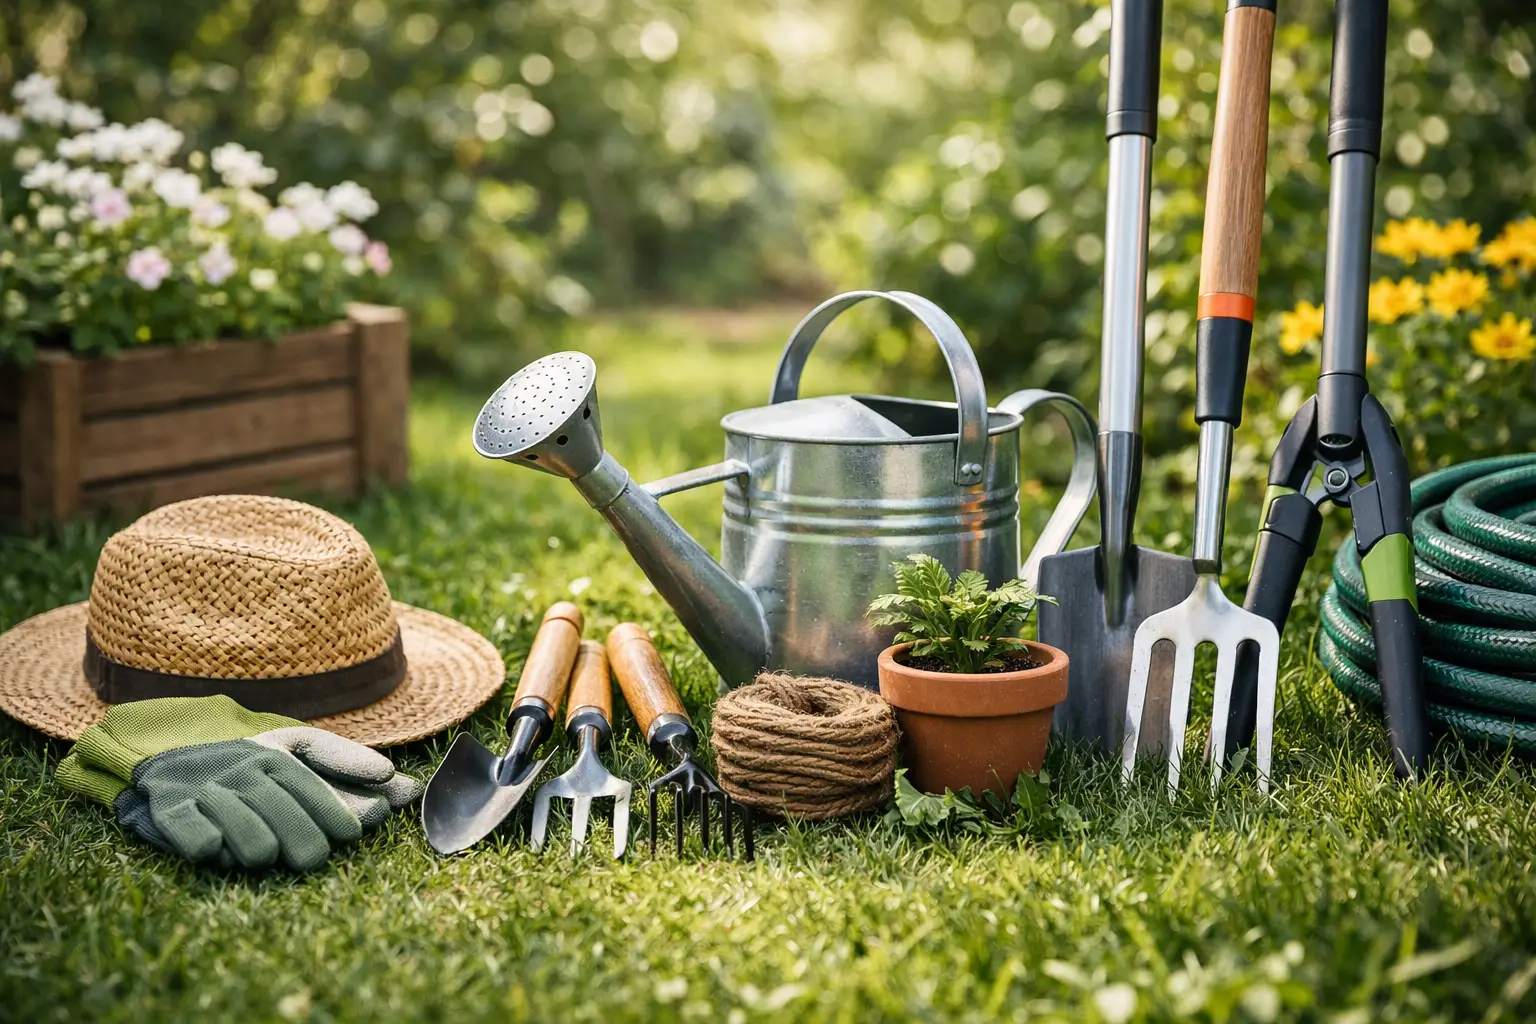
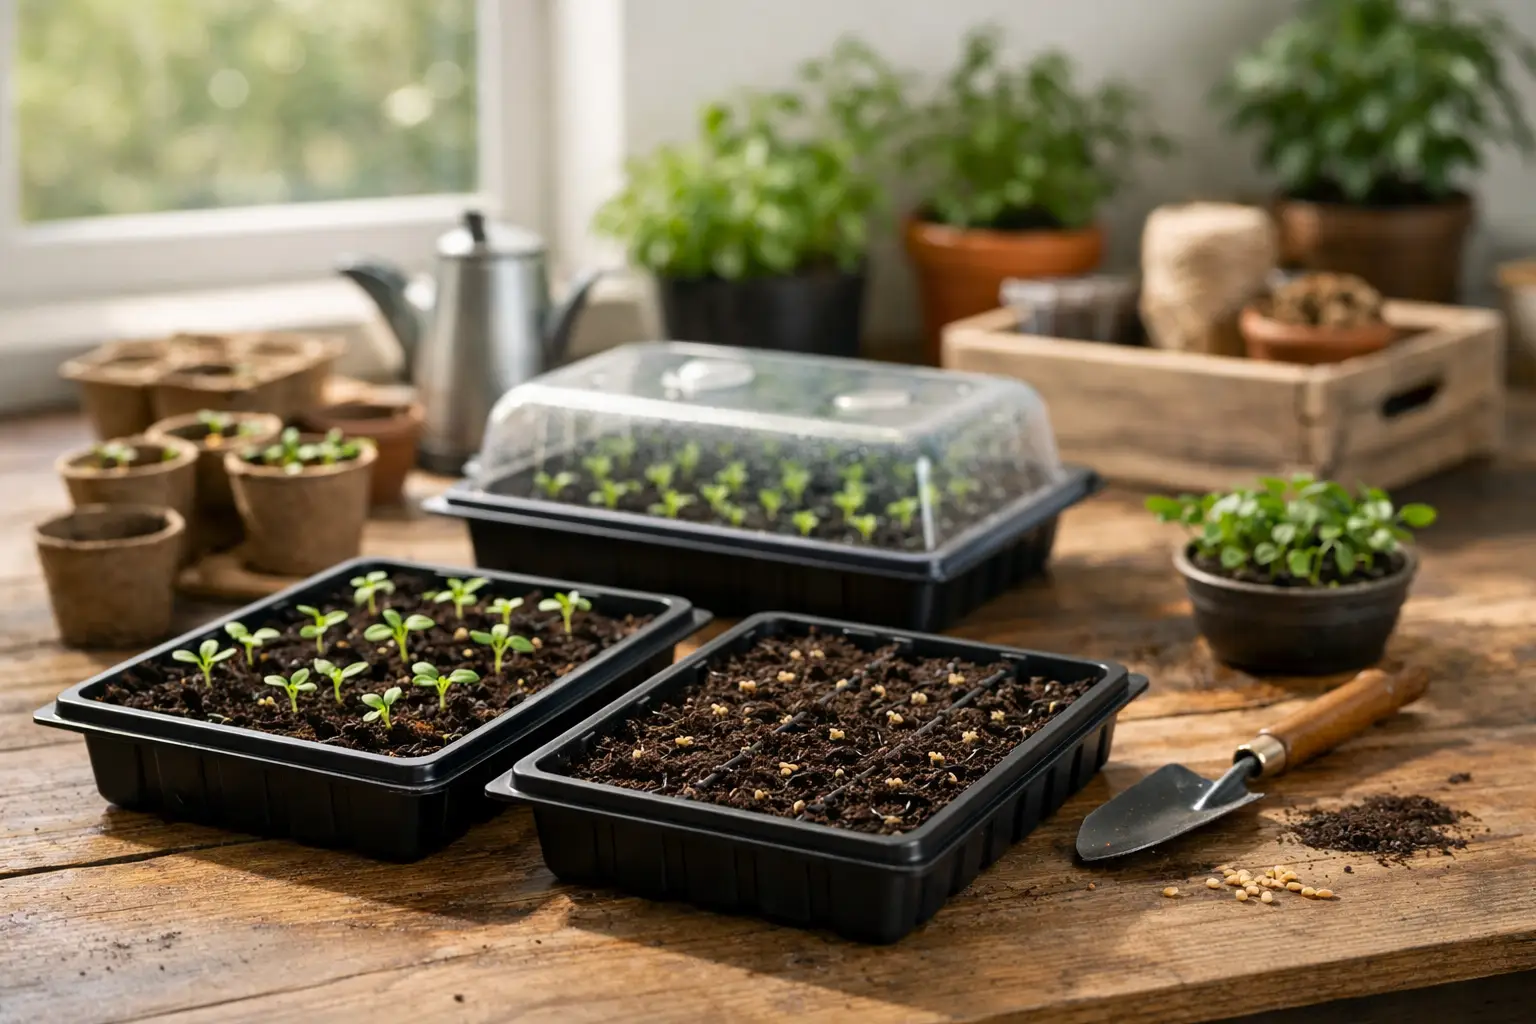
A simple setup works well. You need seeds, containers with drainage, seed-starting mix, water, labels, and a strong light source. A sunny window usually sounds like enough, but for most seedlings it is not consistent enough to keep growth compact and healthy. Grow lights make a real difference, especially for beginners.
You can use cell trays, small pots, or even recycled containers if they are clean and have drainage holes. Keep it practical. The best container is the one that holds moisture evenly and does not leave roots sitting in water.
For your growing medium, use a seed-starting mix rather than heavy garden soil. Seedlings need a light, fine-textured mix that drains well while still holding enough moisture. Dense soil compacts too easily indoors and can lead to poor germination or damping off, which is the frustrating collapse of tiny seedlings at the soil line.
Start with easy seeds
If this is your first season, give yourself an easy win. Tomatoes, basil, lettuce, calendula, zinnias, and kale are forgiving choices. Peppers can also be started indoors, but they are slower and pickier about warmth, so they test your patience more than tomatoes usually do.
Read the seed packet before you sow anything. That small packet tells you when to start, how deep to plant, how long germination may take, and whether the seeds need light or darkness to sprout. Most beginner problems start with skipping that step.
Timing matters more than people think. Starting too early is a very common mistake. Tiny seedlings turn into overgrown, stressed plants if they have to wait too long indoors for the weather to warm up. Count backward from your average last frost date and use the packet directions as your guide. In many parts of the US, tomatoes are started about six to eight weeks before the last frost, while peppers may need eight to ten.
How to sow seeds without overthinking it
Fill your containers with pre-moistened seed-starting mix. It should feel damp like a wrung-out sponge, not dripping wet. Gently firm it so there are no large air pockets, but do not pack it down.
Plant seeds at the depth listed on the packet. As a general rule, larger seeds go deeper and very tiny seeds are barely covered or just pressed onto the surface. Then label everything right away. You will absolutely think you will remember what is where, and then two weeks later every green sprout will look suspiciously similar.
After sowing, mist lightly or water gently so you do not wash seeds out of place. Many gardeners use a humidity dome at first to keep moisture more even during germination. That can help, but remove it soon after most seeds sprout. Too much trapped humidity after emergence can invite disease.
Light, warmth, and water make the difference
This is the part of the beginner guide to seed starting that changes everything. Seeds need consistent moisture to germinate, but once they sprout, light becomes the biggest factor in whether they grow sturdy or weak.
Keep grow lights just a few inches above the seedlings and raise them as the plants grow. If the light is too far away, seedlings stretch and become thin and floppy. Aim for about 14 to 16 hours of light a day. A simple timer helps because plants do best with consistency.
Warmth matters most at germination. Many seeds sprout faster in warm soil, and heat mats can help with crops like peppers, tomatoes, and basil. Once seedlings are up, slightly cooler conditions are often better because they slow stretching and encourage stockier growth.
Watering is where a lot of beginners get tripped up. Seedlings do not want to dry out completely, but they also do not want soggy roots. Bottom watering works well because it encourages roots to grow downward and keeps the soil surface from staying overly wet. Still, it depends on your setup. Small trays under bright lights can dry quickly, while cooler rooms may hold moisture longer. Check the mix with your finger instead of watering on autopilot.
Feeding seedlings the natural way
Seed-starting mix usually contains little or no fertilizer, and that is fine at first. Seeds carry enough energy to get started. Once seedlings develop their first true leaves, they benefit from light feeding.
Use a diluted organic liquid fertilizer, fish emulsion, seaweed-based feed, or another gentle option you trust. The key is weak and steady, not strong and occasional. Overfeeding young seedlings can burn roots or push fast, soft growth that struggles later outdoors.
A small breeze from a fan can also help. It sounds minor, but gentle air movement strengthens stems and reduces stale, damp conditions that disease likes. Keep it light. You are trying to mimic outdoor movement, not flatten the tray.
Common seed-starting mistakes and how to fix them
Leggy seedlings usually mean they need stronger light, closer light, or both. If plants are stretching hard, improve light before doing anything else. Burying tomato seedlings deeper when potting up can help, but that trick does not apply to every crop.
Poor germination often comes down to old seed, inconsistent moisture, or wrong temperature. Some seeds are simply slower than others, so give them the full germination window before you give up. Peppers are a classic example of making gardeners wonder if anything is happening.
Mold on the soil surface is usually a sign of too much moisture and not enough airflow. Let the top dry slightly between waterings, remove humidity domes after sprouting, and increase ventilation.
If seedlings suddenly topple over at the base, damping off may be the problem. Preventing it is easier than fixing it. Use clean containers, fresh seed-starting mix, good airflow, and careful watering from the start.
Potting up and getting ready for outdoors
Some seedlings will outgrow their first cells before planting time. When roots fill the container or leaves start crowding each other, move them into a slightly larger pot with fresh potting mix. Handle seedlings by their leaves rather than delicate stems whenever possible.
Before transplanting outdoors, seedlings need to be hardened off. This simply means introducing them to sun, wind, and outdoor temperatures gradually over about a week. Skip this step, and even healthy indoor seedlings can scorch or stall.
Start with a little shade and short outdoor visits, then increase exposure each day. Keep an eye on the weather. A breezy 55-degree day can feel a lot harsher to indoor-grown plants than it does to you.
Keep your first season simple
It is easy to turn seed starting into a big project, but it does not have to be. Start with a few crops you actually like to grow and eat. Use a small setup you can manage. Pay attention more than you purchase.
That is really the heart of it. Seed starting rewards steady care more than perfect equipment. A bright light, a clean tray, a gentle organic feeding routine, and a little patience will take you much farther than an elaborate setup you do not enjoy using.
If your first batch is not flawless, that is normal. Every tray teaches you something, and the next one usually goes much better. The real win is not perfect seedlings. It is learning how to raise healthy plants with confidence, one tray at a time.