That bowl of onion skins, coffee grounds, and carrot peels on the counter is not trash in waiting. It is future garden soil. If you have ever wondered how to compost kitchen scraps without a big setup, bad smells, or a lot of guesswork, the good news is that it can be much simpler than people make it sound.
A lot of gardeners put off composting because they picture a complicated system or a backyard project that needs constant turning and perfect ratios. In real life, a good compost routine can be as basic as collecting scraps in the kitchen, adding them to the right kind of bin or pile, and keeping a rough balance between moist food waste and dry carbon-rich material. That is enough to get started.
How to compost kitchen scraps without overthinking it
Composting works because microbes break down organic matter into a dark, crumbly material that feeds soil. Kitchen scraps are usually considered greens, which means they add nitrogen and moisture. To keep the pile healthy, those greens need to be paired with browns like dry leaves, shredded paper, cardboard, or straw.
If you add only kitchen scraps, the pile tends to turn wet, compacted, and smelly. If you add only dry material, it sits there and takes forever to break down. The sweet spot is a mix that feels like a wrung-out sponge – damp but not soggy, loose enough for air to move through it.
For most home gardeners, there are three practical ways to compost kitchen scraps. A backyard compost pile or bin is the easiest if you have outdoor space. A tumbler works well if you want something tidier and a little faster. Worm composting is a great fit for patios, garages, or small-space homes, especially if you mainly want to recycle kitchen waste rather than yard debris.
Pick the compost method that fits your space
The best compost system is the one you will actually use. That sounds obvious, but it matters more than buying the perfect bin.
Backyard pile or bin
If you have a yard, this is often the most forgiving option. You can use a simple open pile, a wire enclosure, or a basic compost bin. This setup handles both kitchen scraps and yard waste, which makes balancing greens and browns much easier.
A backyard pile is great if you have access to dry leaves, pulled plants, and grass clippings. The trade-off is that it takes some space and may attract pests if food scraps are left exposed.
Compost tumbler
Tumblers are popular because they look neat and make turning easier. They can speed things up, especially for gardeners who do not want to fork through a pile by hand. They also help keep rodents out better than an open heap.
The catch is capacity. Tumblers fill up faster than people expect, and if you generate a lot of scraps or yard debris, you may outgrow one quickly.
Worm bin
A worm bin, also called vermicomposting, is ideal for smaller households or gardeners without much outdoor room. Red wigglers eat many common kitchen scraps and turn them into rich castings that plants love.
This option is low-odor when managed well, but it is less forgiving of extremes. Too much wet food, too little bedding, or very hot conditions can stress the worms.
What kitchen scraps to compost
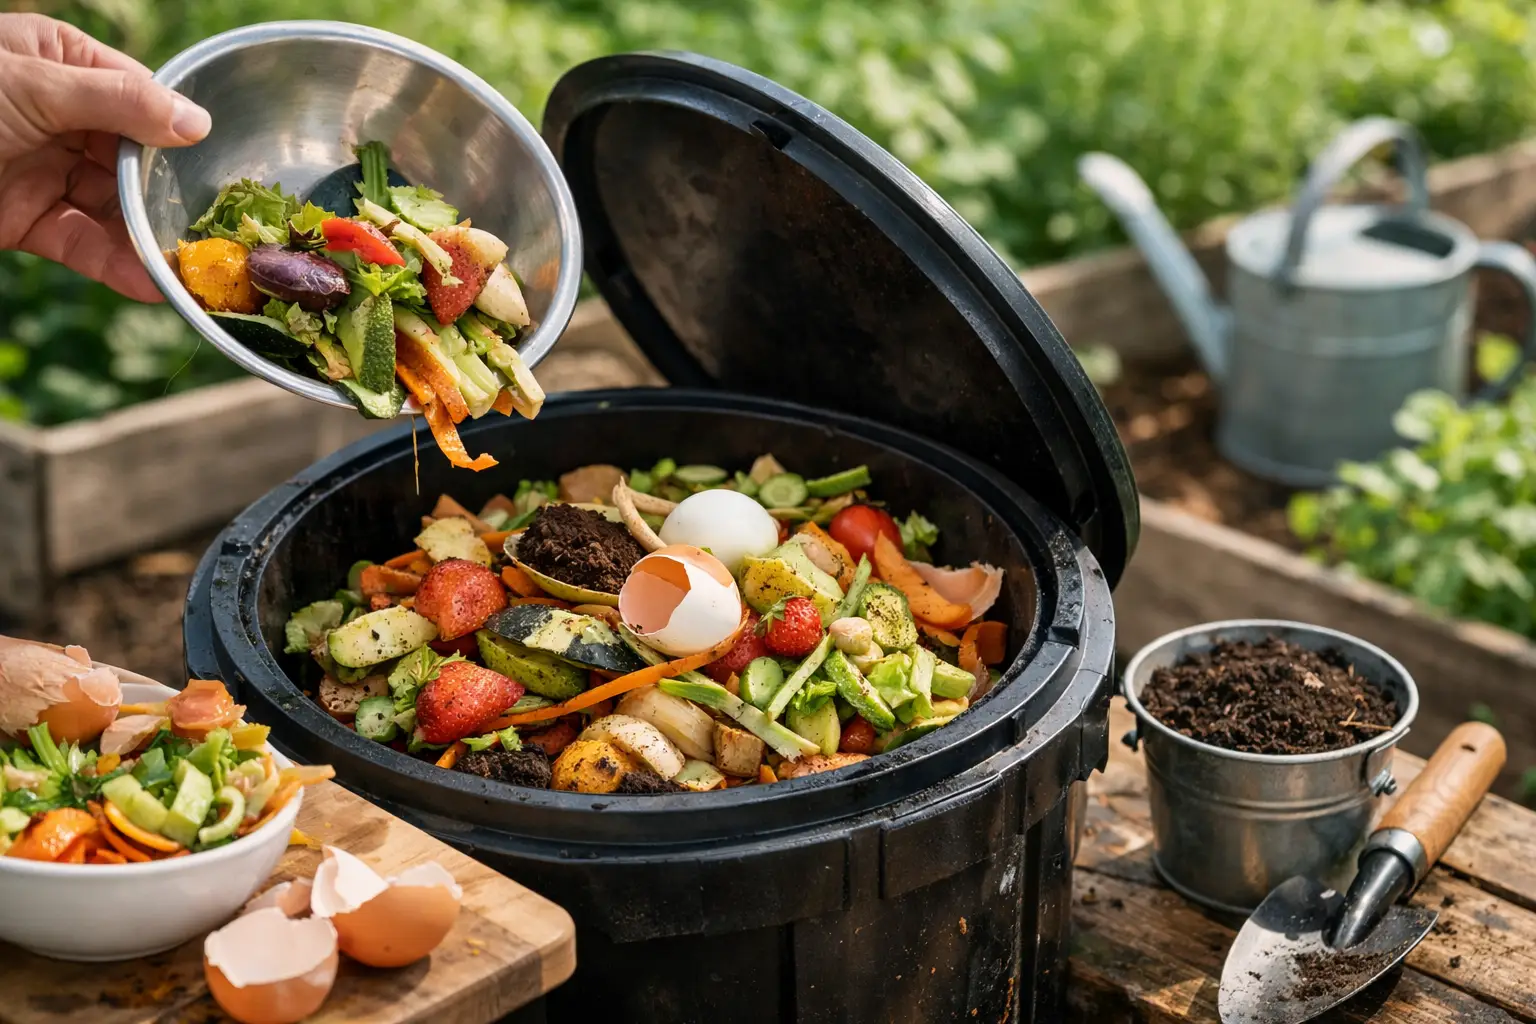
Most everyday produce waste composts beautifully. Fruit and vegetable peels, cores, leafy tops, coffee grounds, tea leaves, eggshells, stale bread, plain rice, and small amounts of pasta are usually fine. Coffee filters and uncoated paper napkins can often go in too, since they count as browns.
Chop larger scraps if you want them to break down faster. You do not need to mince everything, but a whole squash takes longer than squash peels. Crushing eggshells helps too.
What you avoid matters just as much. Meat, fish, bones, dairy, greasy foods, and oily leftovers can create odor and attract pests, especially in a basic backyard setup. Compostable in theory does not always mean practical at home. Citrus, onions, and spicy foods are okay in moderation for regular compost piles, but in worm bins they are better used sparingly.
If you are ever unsure, ask one simple question: will this break down cleanly without making the bin unpleasant or attracting animals? If the answer is probably not, leave it out.
Build a compost habit that stays easy
The easiest compost systems are built around routine. Keep a small container in the kitchen for daily scraps. It does not need to be fancy. A lidded crock, a reused food tub, or a small bucket works fine. Empty it often enough that it never becomes a science experiment on the counter.
When you add scraps to your outdoor bin or pile, cover them with browns right away. This one habit prevents most beginner problems. A layer of shredded leaves, torn cardboard, or dry plant material helps absorb moisture, reduce smells, and discourage flies.
It also helps to keep a stash of browns nearby at all times. Many gardeners have no trouble collecting greens but run out of dry material. Fall leaves are gold for compost. If you can bag some up and store them dry, you will have an easy fix for wet piles all year.
How to know if your compost is working
A healthy compost pile does not have to look perfect. It just needs signs of life. You may notice it warming up in the center, shrinking over time, and developing an earthy smell. The original scraps gradually become harder to recognize.
If it seems too wet, matted, or sour-smelling, add more browns and fluff it to let in air. If it looks dry and inactive, add some greens or a little water. Compost is not an exact science in the backyard. Most of the time, small adjustments are enough.
Turning helps, but it is not mandatory every week. If you want faster compost, turn the pile every week or two. If you prefer a slower, lower-effort approach, you can turn occasionally and let time do more of the work. Both methods can succeed.
Common problems when composting kitchen scraps
Smell is usually the first thing people worry about, and it is often caused by too many wet scraps and not enough air. A compost pile should smell earthy, not rotten. Add dry browns, mix the pile, and stop dumping large amounts of food in one spot.
Fruit flies are another common issue, especially in warm weather. Bury fresh scraps in the center of the pile or cover them completely after each addition. In worm bins, freezing scraps first can help reduce fly eggs.
If animals are getting into your compost, rethink what you are adding and how you are storing it. Avoid meat and greasy foods, use a secure bin if needed, and always cover fresh kitchen waste. In some areas, especially where raccoons are bold, a tumbler or rodent-resistant bin is worth it.
Slow decomposition can be frustrating, but the fix is usually simple. Compost breaks down faster when pieces are smaller, the mix is balanced, and moisture is steady. Cold weather will slow everything down too, so patience is part of the process in many climates.
When compost is ready to use
Finished compost is dark, crumbly, and smells like soil after rain. You may still see a few stubborn bits like avocado skins or small twigs, and that is fine. You can sift them out or toss them into the next batch.
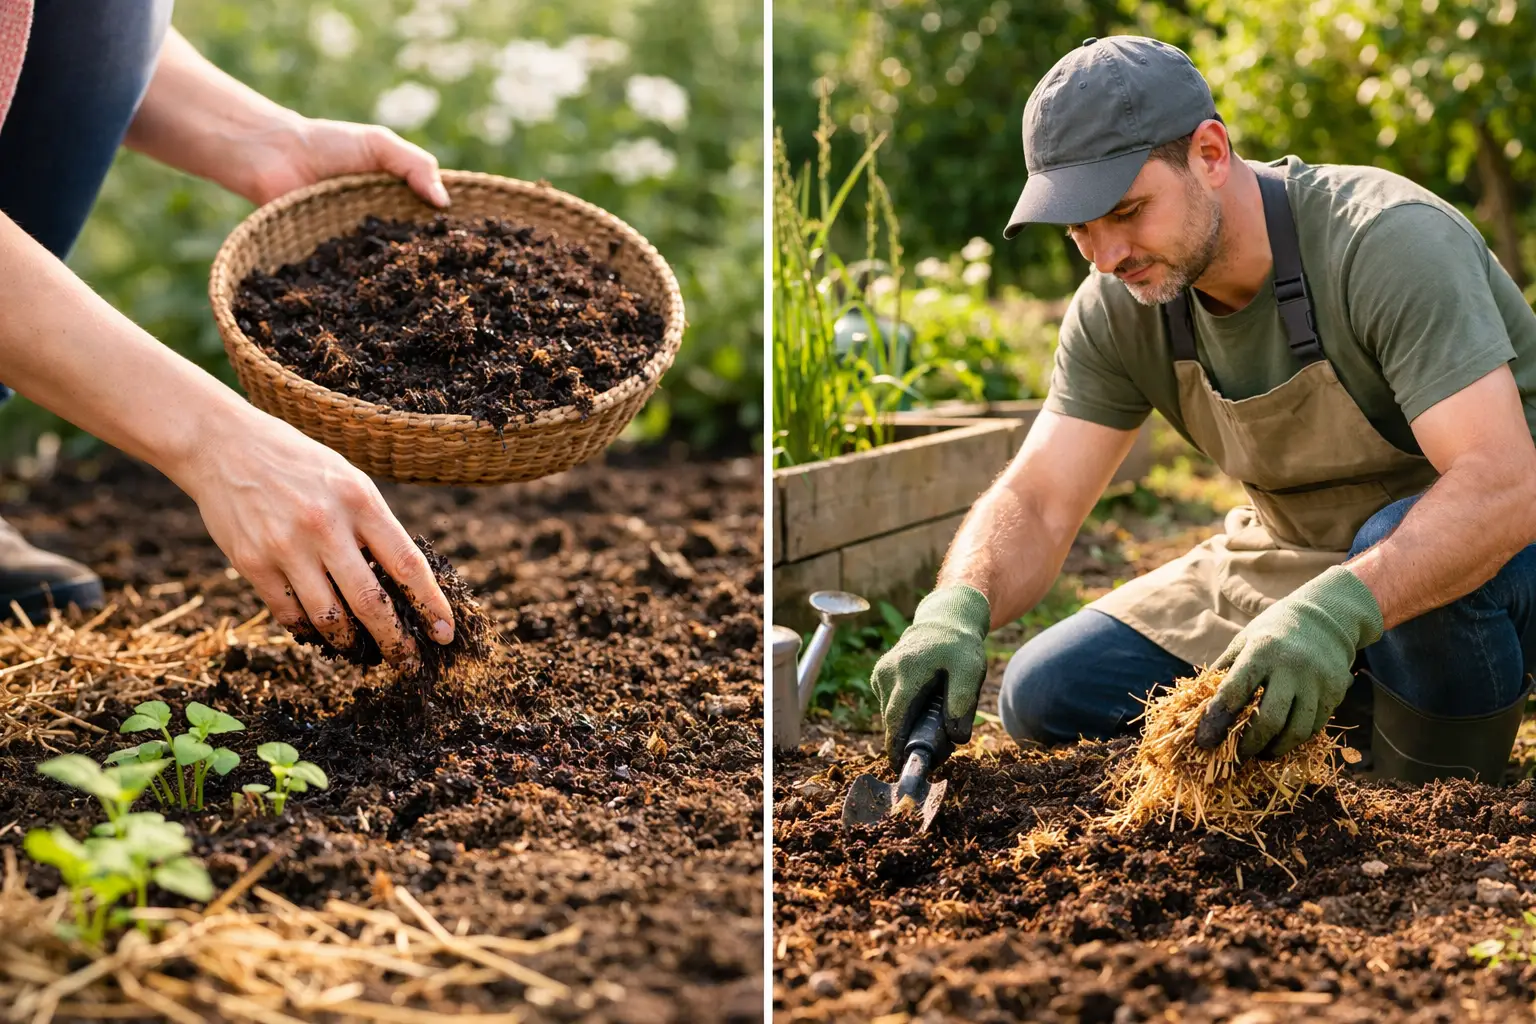
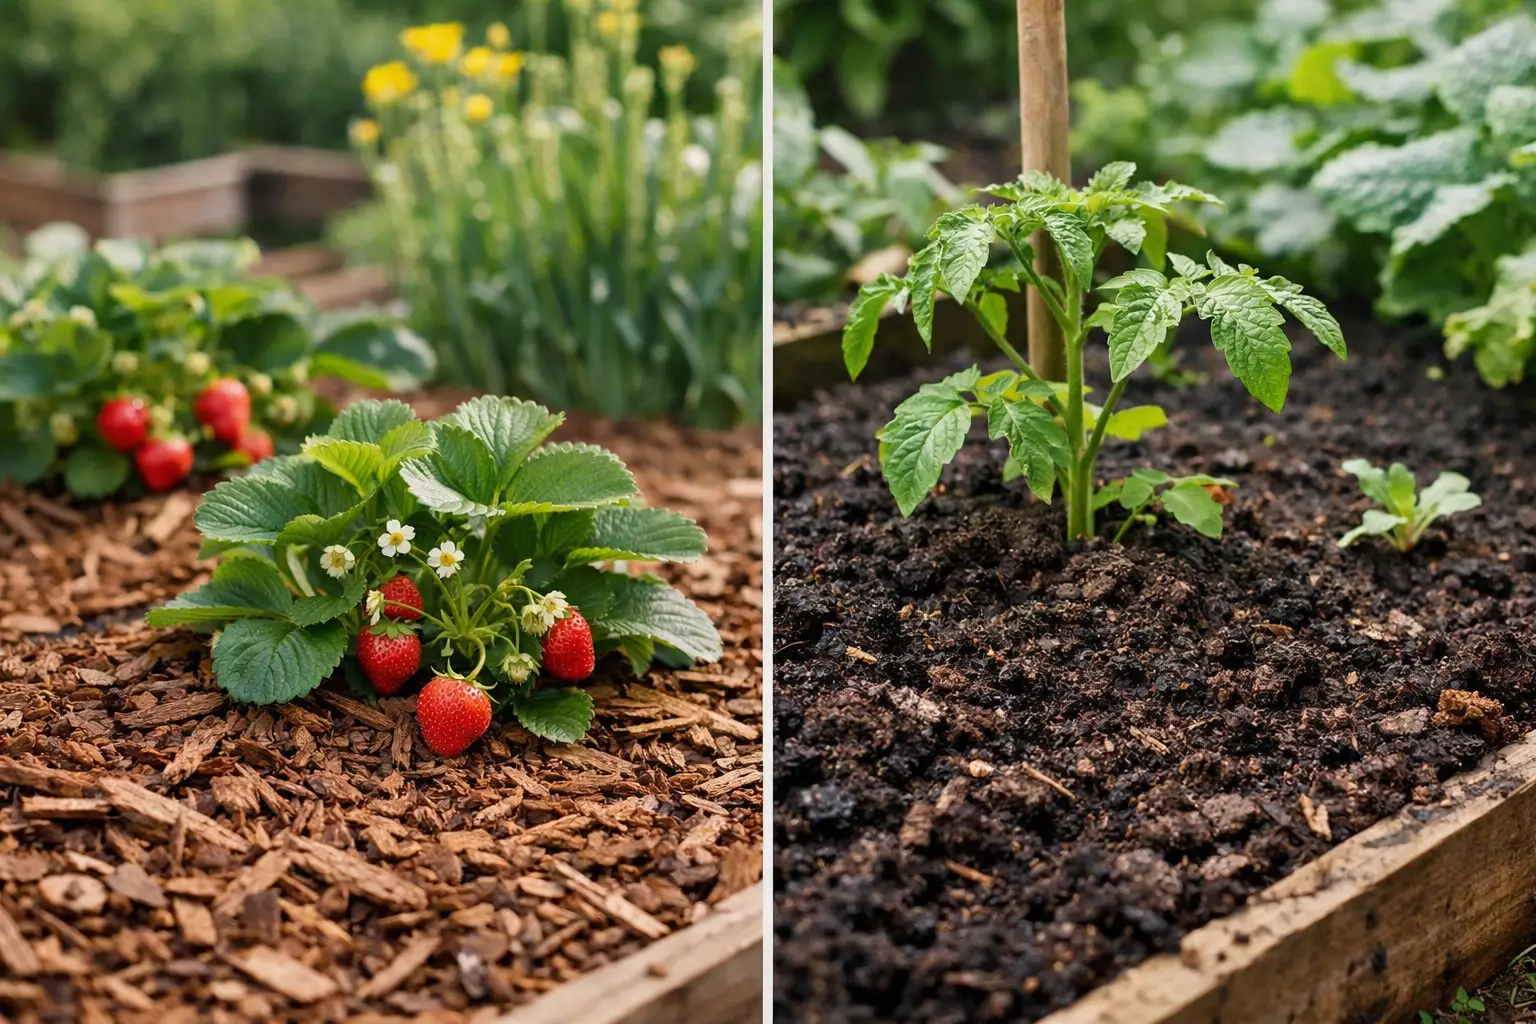
Use finished compost wherever you want healthier soil. Spread it in vegetable beds, mix it into container blends, side-dress tomatoes and peppers, or top-dress around perennials. It is one of the simplest ways to improve soil structure, support beneficial life underground, and feed plants gently over time.
If you are just getting started, do not wait for a perfect system. Start with one container for scraps, one source of browns, and one compost spot that fits your space. That is enough to turn kitchen waste into something useful. And once you see your first batch feeding the garden, composting starts to feel a lot less like a chore and a lot more like common sense.