A healthy little tomato plant can look ready for anything on a sunny windowsill, then wilt dramatically within an hour of reaching the garden. That is not a sign that you have a black thumb. Learning how to transplant vegetable seedlings is mostly about helping tender young plants adjust to a big change in light, wind, temperature, and soil moisture without asking too much of them all at once.
📋 Table of Contents
A careful transplant gives seedlings the strong start they need to develop deep roots, resist stress, and begin growing steadily. The good news is that this does not require special equipment or complicated techniques. A little timing, gentle handling, and attentive watering go a long way.
Prepare seedlings before transplanting
The garden bed is only half the equation. Seedlings need to be ready for outdoor conditions before they go into the ground. Plants started indoors have lived a sheltered life with consistent temperatures, still air, and filtered light. Direct sun and spring breezes can be a shock.
Harden off seedlings gradually
Hardening off is the process of exposing seedlings to outdoor conditions over seven to 10 days. Start by placing them outside in a protected, shady spot for an hour or two. Add a little more time each day, slowly introducing gentle morning sun and light wind.
By the end of the week, most seedlings can stay outside for a full day. Bring them in overnight if temperatures are expected to dip below what the crop can handle. Warm-season vegetables such as tomatoes, peppers, cucumbers, basil, and squash are especially sensitive to cold. Cool-season crops, including lettuce, kale, broccoli, and cabbage, are more forgiving, but they still benefit from a gradual transition.
Do not harden off plants by placing them immediately in hot afternoon sun. I have seen sturdy-looking seedlings go pale and limp after one overly ambitious day outside. Shade first, sun later is the gentler route.
Check the weather and soil
Choose a calm, cloudy day if you can, or transplant in the late afternoon when the strongest sun has passed. This gives plants a night to settle in before they face a full day of light and heat.
Soil temperature matters as much as the air temperature. Tomatoes and peppers may survive in cold soil, but they often sit still for weeks rather than growing. In much of the US, it is worth waiting until nighttime temperatures are reliably above 50°F before planting these heat-loving crops outdoors. Patience here often produces a better harvest than planting early and hoping for the best.
Prepare the bed or container before you bring seedlings outside. Loosen compacted soil, pull weeds, and mix in finished compost if your soil needs a boost. Compost improves texture and supports soil life without giving plants a sudden blast of fertilizer.
How to transplant vegetable seedlings step by step
Once your seedlings are hardened off and the weather is suitable, the actual planting process is simple. Work steadily, but do not leave bare roots exposed while you move from one task to the next.
- Water the seedlings first. Give seedlings a thorough drink an hour or two before transplanting. A moist root ball stays together more easily, and hydrated plants recover from handling faster. Avoid transplanting plants that are already wilted or bone dry.
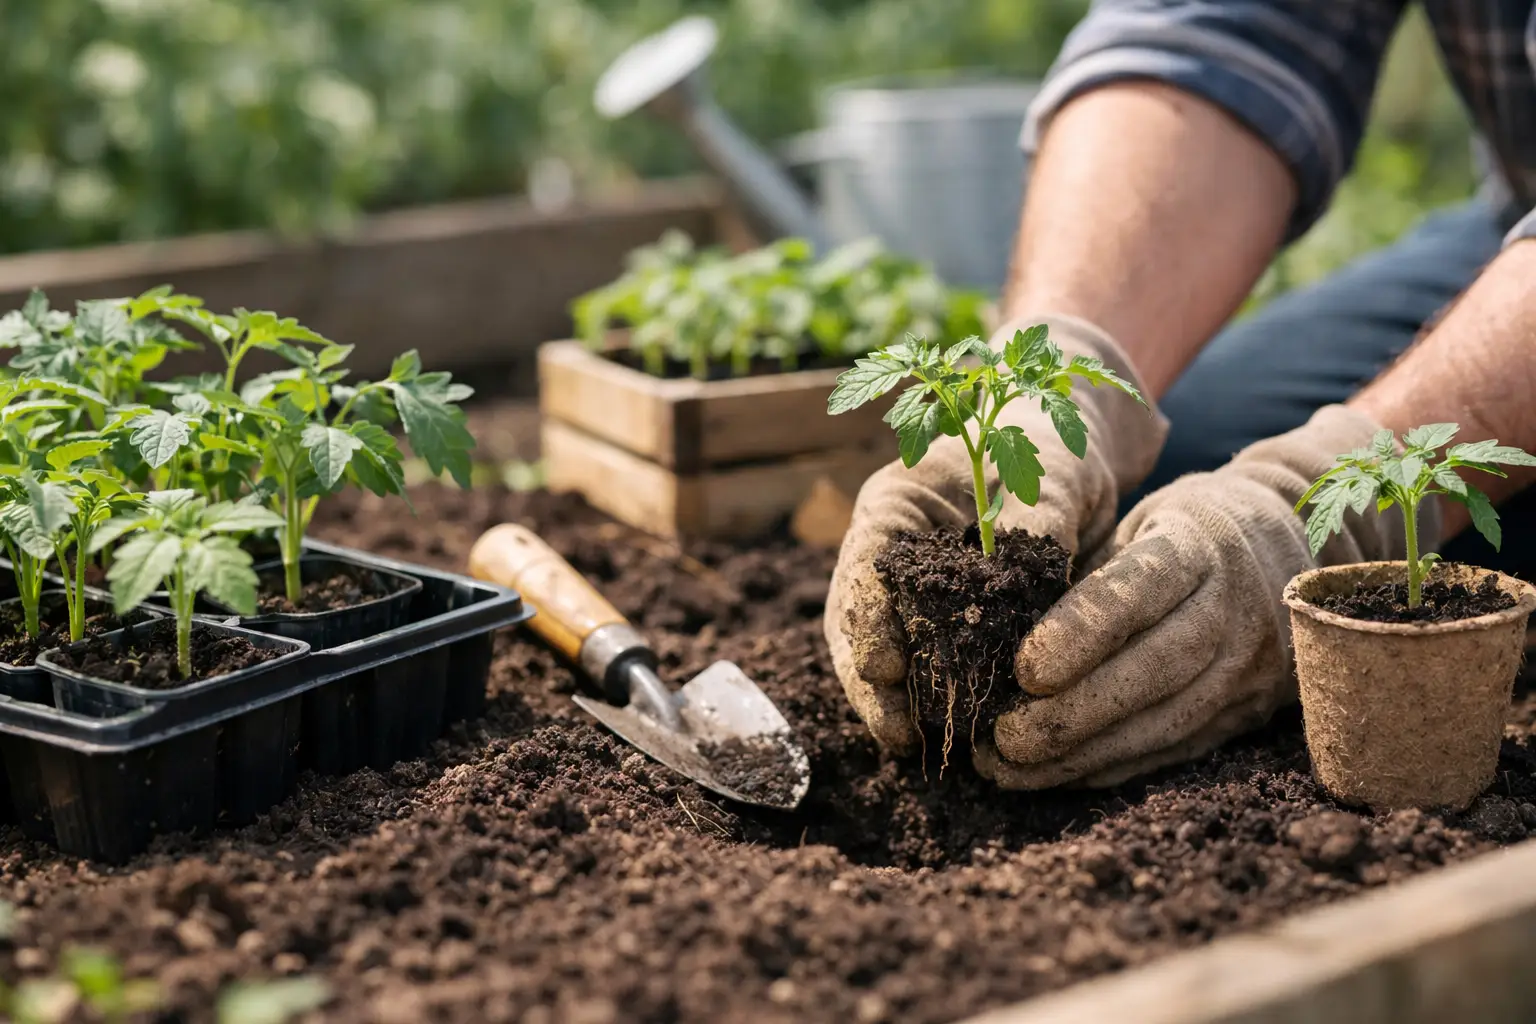
- Dig a hole slightly wider than the root ball. The hole should be about as deep as the seedling’s original pot, unless you are planting tomatoes. Tomatoes can be planted deeper because they form roots along their buried stems. Remove the lower leaves and bury a portion of the stem for a sturdier plant.
- Ease the plant out by its root ball. Support the soil with one hand, gently turn the pot over, and slide the seedling free. Never pull a plant out by its stem. If roots are circling tightly around the pot, loosen only the outermost roots with your fingers. Teasing them apart a bit encourages them to grow outward into the surrounding soil.
- Set the seedling at the right depth. Most vegetables should sit at the same soil level they had in their pot. Burying the stem of peppers, lettuce, brassicas, or squash too deeply can slow them down or cause rot. Firm the soil around the roots lightly so there are no large air pockets, but do not pack it hard.
- Water slowly and deeply. Pour water around the base of each plant right after planting. This settles soil around the roots and helps eliminate air gaps. A slow soak is more useful than a quick splash across the bed.
- Add a light mulch after the soil has warmed. A layer of shredded leaves, untreated straw, or dry grass clippings can hold moisture, reduce weeds, and keep soil from splashing onto leaves. Keep mulch an inch or two away from the stem so it does not trap excess moisture against the plant.
Give each crop enough room to grow
Crowding is one of the easiest transplanting mistakes to make, especially when every tiny seedling seems too small to need much space. But seedlings are not staying small for long. Airflow and sunlight around mature plants help prevent fungal problems and make harvesting easier.
Read the spacing recommendation on the seed packet or plant label, then take it seriously. Lettuce can often be planted closer together if you plan to harvest baby leaves. Tomatoes, peppers, zucchini, and cucumbers need more breathing room, particularly in humid areas where crowded foliage stays wet longer.
Containers need thoughtful spacing too. A single tomato plant may be happier in a large container than sharing a small one with several herbs. More plants do not always equal more food. Healthy, well-spaced plants usually outproduce stressed, crowded ones.
Protect new transplants from early stress
For the first week, check transplants every day. The goal is not to fuss over them constantly, but to catch drying soil, pest damage, or cold nights before they become bigger problems.
Seedlings may droop a little after planting, especially in warm weather. If they perk back up in the evening or by the next morning, they are usually adjusting. If they remain limp despite moist soil, give them temporary shade with an overturned basket, a piece of shade cloth, or a propped-up chair for a day or two.
Watch for slugs, cutworms, rabbits, and other early visitors. A simple collar made from a cut paper cup or cardboard tube can help protect young stems from cutworms. Hand-picking slugs in the evening and keeping weeds down around the bed are practical, chemical-free ways to reduce damage.
Do not rush to fertilize immediately. Fresh compost in the planting area is usually enough for the first week or two. Heavy fertilizer can encourage soft, leafy growth before roots are established. Once plants begin putting out new leaves, a gentle organic fertilizer or compost tea can be useful if your soil is low in nutrients.
Common transplanting mistakes to avoid
The biggest mistake is planting according to the calendar instead of the conditions. A warm April afternoon can be followed by a cold night, and seedlings remember the stress. Check your local forecast and be ready to cover tender plants if an unexpected chill arrives.
Another common issue is inconsistent watering. Newly transplanted seedlings have small root systems and cannot reach deep moisture yet. Keep the root zone evenly moist, not soggy, for the first several days. As roots grow outward, shift toward deeper, less frequent watering so plants learn to reach into the soil.
Finally, resist the urge to make every seedling perfect. A damaged leaf or brief afternoon wilt does not mean the plant is doomed. Gardening has a learning curve, and plants are often more resilient than they look.
Give your seedlings a calm start, then let them get to work. A few quiet minutes spent planting carefully can turn a tray of fragile starts into the tomatoes, salad greens, beans, and peppers you will be proud to bring to the table.