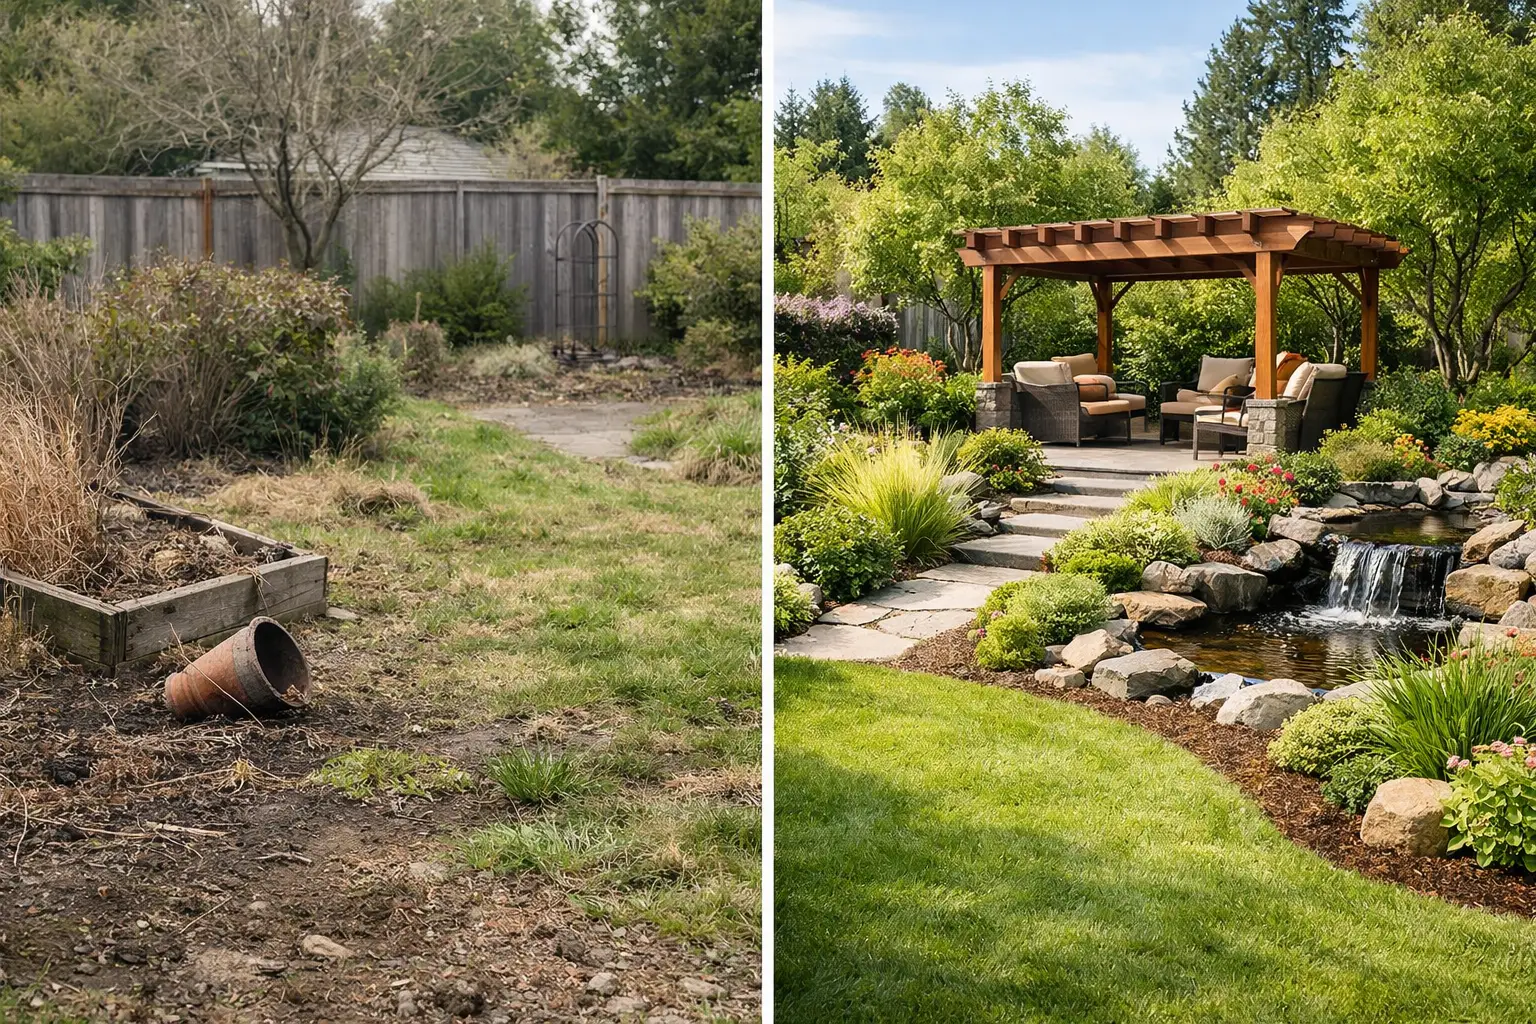
A good before and after garden makeover is not about covering every bare spot with new plants over one busy weekend. The most satisfying transformations happen when a garden starts working better: water sinks in instead of running off, weeds lose their grip, vegetables get enough sun, and the space invites you outside more often.
I have seen plenty of gardens that looked tired for reasons that had nothing to do with the gardener’s effort. The soil was compacted, a once-sunny bed had become shady, or a few oversized shrubs were swallowing the whole border. Start by noticing what your garden is already telling you. Then make changes that support the plants, pollinators, and people who use the space.
Start With the Real “Before” Picture
Before buying a single plant, walk through the garden at three different times of day. Notice where the sun lands, where rainwater collects, and which areas you avoid because they are muddy, prickly, exposed, or simply awkward to reach. Take photos from the same few spots. They make planning easier now and make the eventual change much more rewarding to see.
Look beyond what seems unattractive. A patchy lawn may be struggling because tree roots and shade make turf a poor fit there. Yellowing vegetables may point to tired soil or inconsistent watering, not a need for stronger fertilizer. A crowded flower bed may need division and better spacing more than it needs more plants.
It also helps to decide what the garden needs to do for your household. Maybe you want a productive raised bed near the kitchen, a safe place for children to explore, more privacy on a patio, or a front yard that supports bees without requiring constant attention. A makeover becomes much easier when every choice serves a clear purpose.
Keep the Parts That Already Work
It is tempting to clear everything out when a garden feels messy, but that can erase valuable structure. Mature trees provide cooling shade. Existing shrubs may offer winter shelter for birds. Perennials that look unimpressive in early spring might become reliable pollinator plants later in the season.
Keep healthy plants that suit the location, and remove or relocate only what creates a real problem. If a shrub is crowding a walkway, pruning or moving it may be enough. If a plant is repeatedly diseased or needs far more water than you can reasonably provide, that is a better candidate for removal.
Build the Makeover Around Healthy Soil
The quickest way to spend too much on a garden makeover is to plant into soil that has not been prepared. New plants may look wonderful for a few weeks, then struggle through heat, dry spells, or heavy rain because their roots have nowhere welcoming to grow.
Start by pulling weeds and removing obvious debris. For compacted soil, loosen the top few inches gently with a garden fork rather than aggressively turning the entire bed. This protects more of the soil structure and the helpful organisms living in it.
Spread one to two inches of finished compost over planting areas, then top it with mulch after planting. Compost improves moisture retention and gives soil life a steady food source. Mulch helps prevent weeds, moderates soil temperatures, and reduces how often you need to water. Shredded leaves, untreated wood chips, pine needles, and straw can all work, depending on what is available and where you are gardening.
Keep mulch a few inches away from plant stems and tree trunks. Piling it against them can trap moisture and invite rot or pests. Think of mulch as a blanket over the soil, not a volcano around the plant.
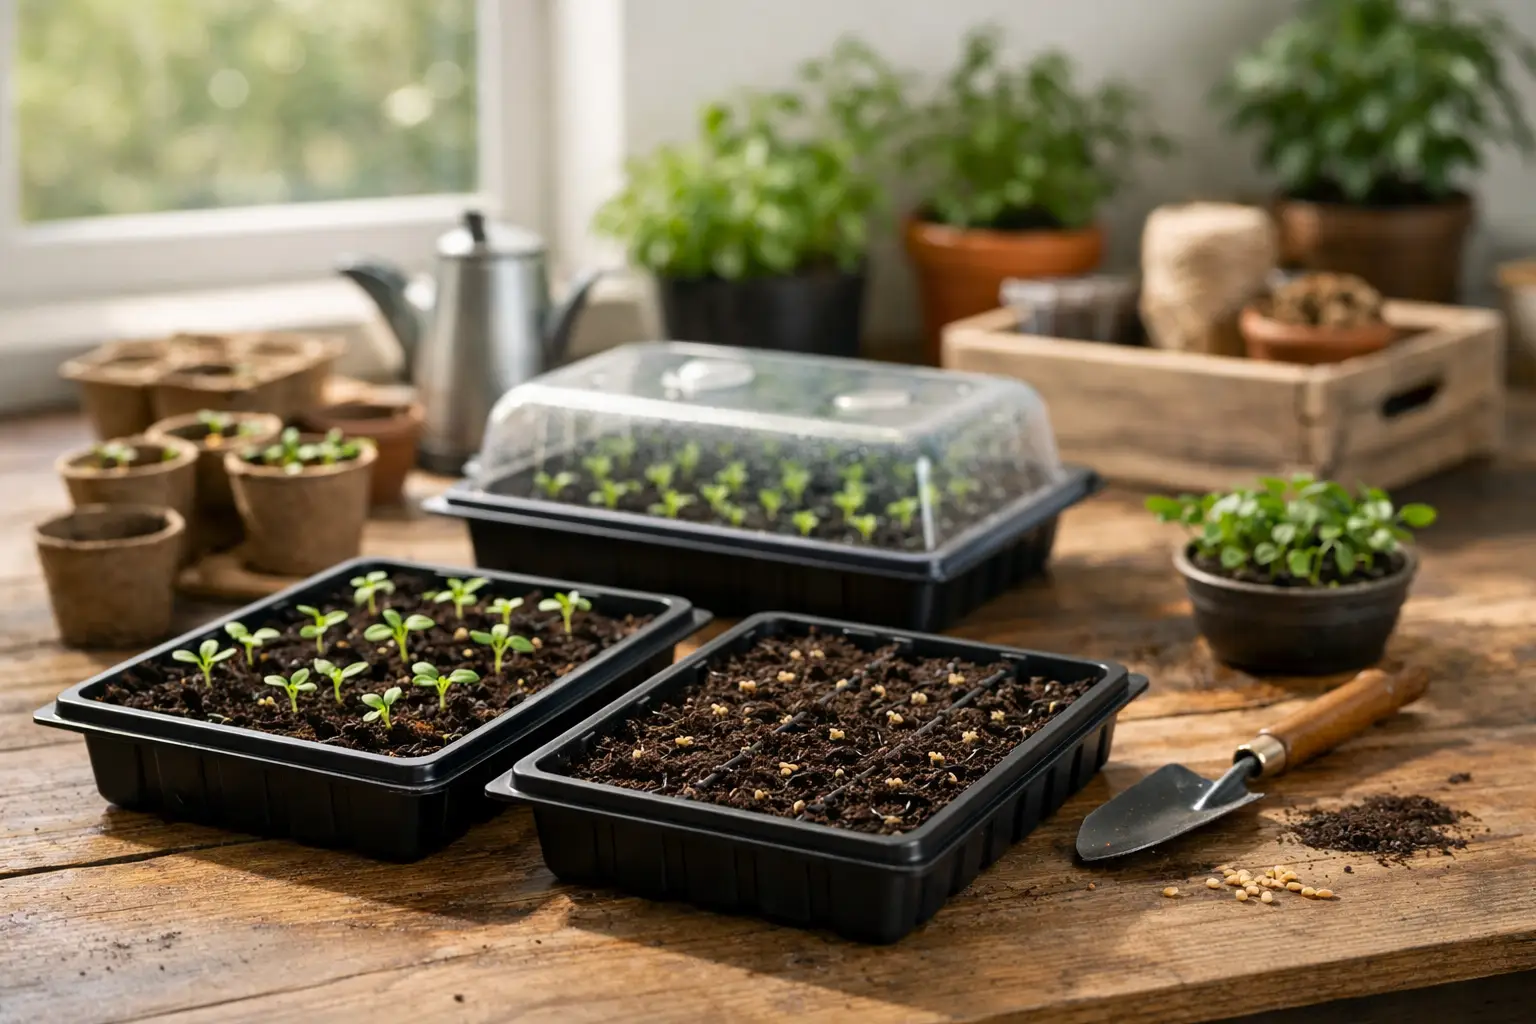
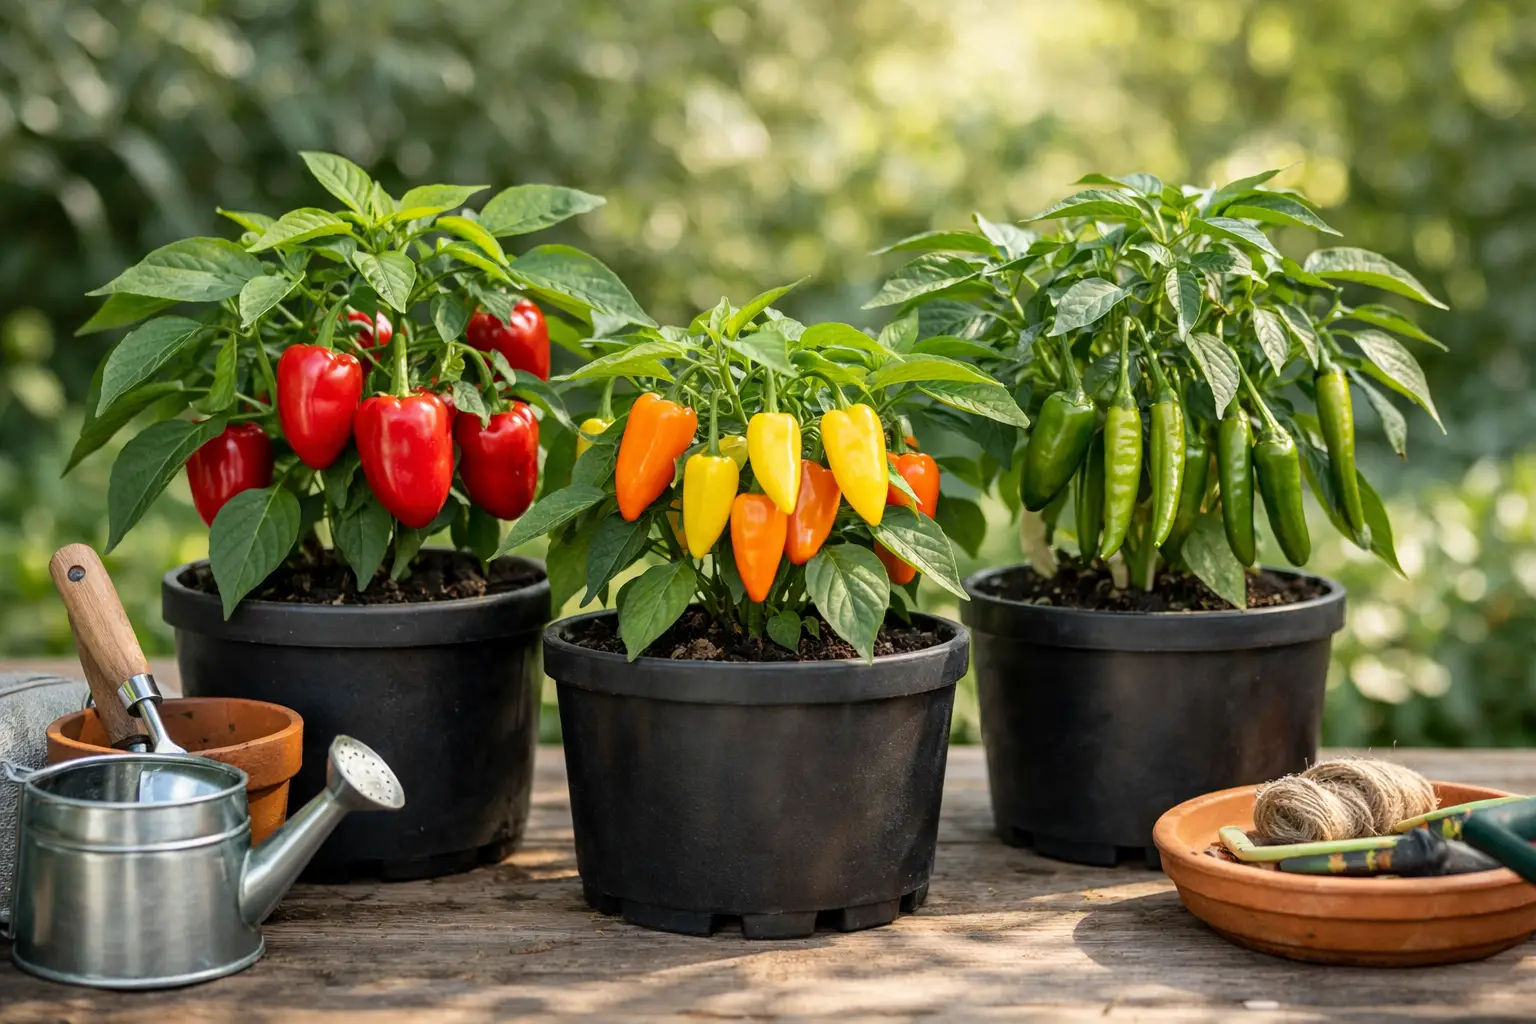
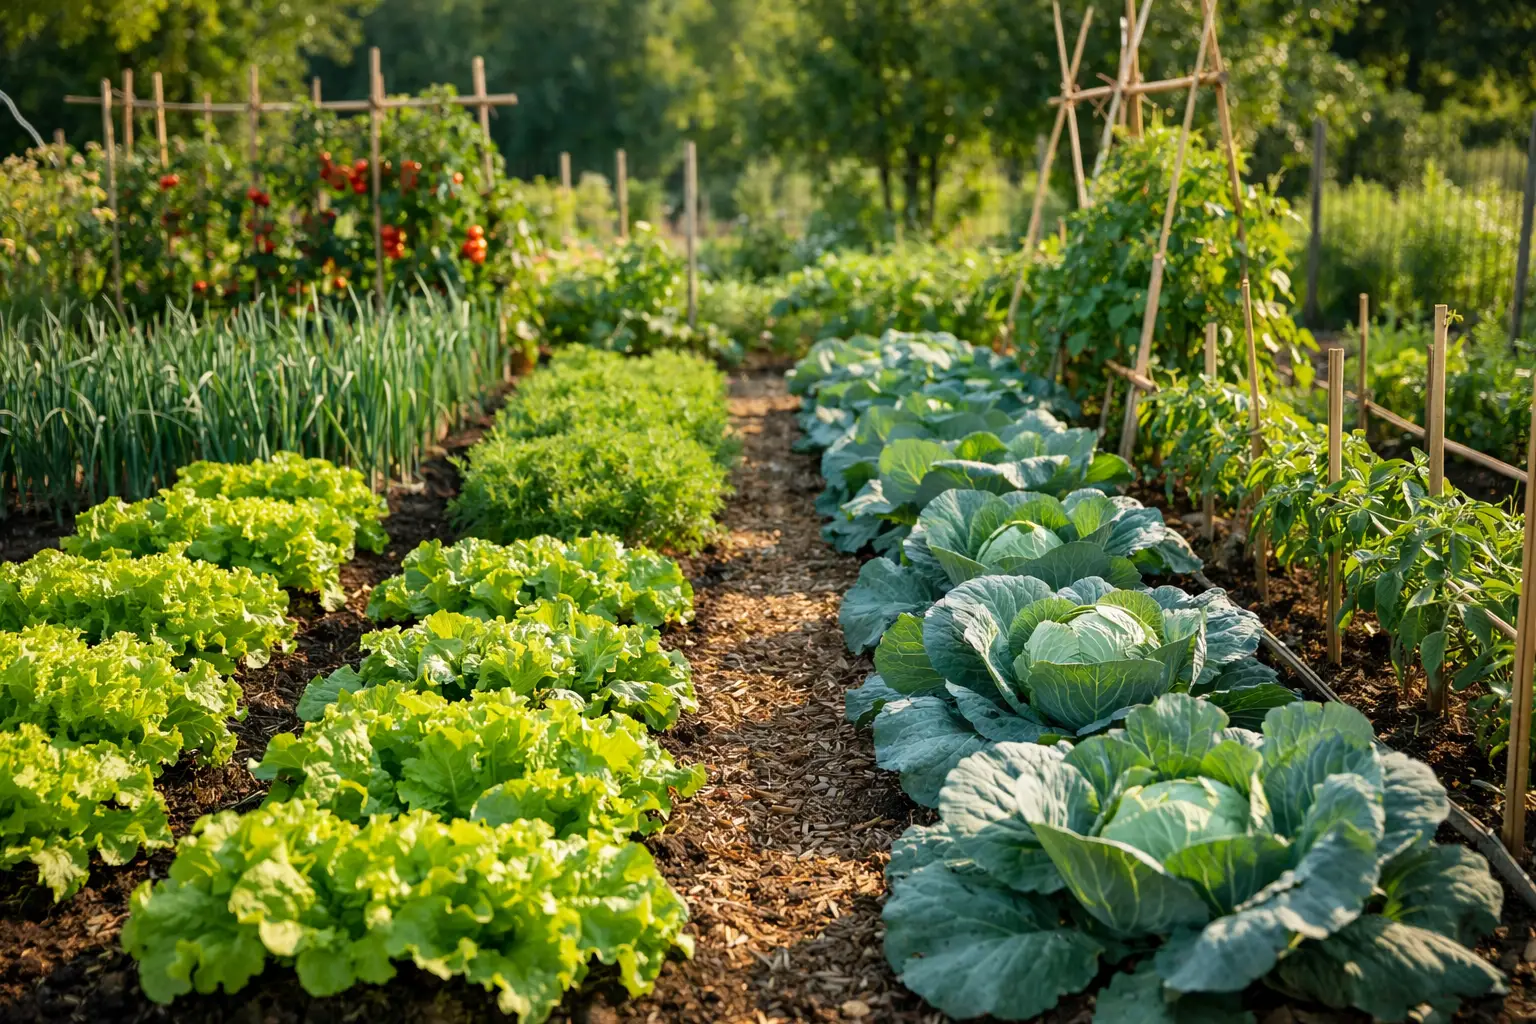
If you are adding a vegetable bed, choose the sunniest practical location and make it easy to reach from all sides. A four-foot-wide bed is comfortable for most gardeners because you can tend the center without stepping on the soil. If your only sunny spot is a patio, containers can be a smart part of the plan rather than a compromise.
Design in Layers, Not One Plant at a Time
The most natural-looking makeovers usually have layers. In a border, that might mean a few taller shrubs or grasses at the back, medium-sized flowering perennials through the middle, and lower plants along the edge. The result feels fuller and more connected than a row of unrelated plants spaced evenly apart.
Choose plants according to the conditions you observed, especially sunlight and moisture. A plant label may say “full sun,” but a bed that gets four hours of direct afternoon light under a large tree is not truly full sun. Matching plants to the site saves water, reduces disease pressure, and cuts down on disappointment.
For a manageable home garden, repeat a few dependable plants instead of buying one of everything. Repetition gives the space a calmer look and makes care easier. You might use the same native flowering perennial in several spots, pair it with ornamental grasses, and tuck in annual flowers near the front for seasonal color.
Native plants are especially useful when they fit your region and site. Once established, many need less supplemental water and provide food or shelter for local wildlife. Still, native does not automatically mean carefree. Some spread enthusiastically, and others need specific soil or drainage. Read the tag, give plants room, and choose varieties that match the size of your space.
Make Food Growing Part of the Design
A garden that produces food can look just as welcoming as an ornamental border. Place herbs near paths where you can brush against them and snip a handful for dinner. Use colorful lettuces, kale, peppers, and Swiss chard in containers or along bed edges. Add a simple trellis for beans, cucumbers, or small-fruited tomatoes to bring height without taking up much ground.
If deer, rabbits, or neighborhood pets are regular visitors, plan for protection from the beginning. A low decorative border rarely stops hungry rabbits, and a single spray will not solve ongoing deer pressure. Physical barriers, such as fencing or netting used carefully, are usually more dependable than repeated applications of repellent.
Create a Watering Plan You Can Keep
A beautiful garden that depends on daily hand watering can become stressful fast, especially during a hot summer week. Group plants with similar water needs where possible, and prioritize deep, less frequent watering while plants establish. Deep watering encourages roots to grow downward, where the soil stays cooler and moist longer.
Soaker hoses and drip irrigation are excellent options for beds because they water the soil rather than soaking foliage. That can reduce fungal problems on vegetables and leaves less water to evaporate. In containers, check moisture more often. Pots dry out quickly, particularly terracotta and dark-colored containers in full sun.
There is a trade-off here. A large new planting needs consistent attention during its first season, even if you chose low-maintenance plants. Start smaller than you think you should if time is limited. You can always expand next year when the first area is settled and thriving.
Let the “After” Grow In Naturally
The after photo is often taken just after fresh mulch, new edging, and perfectly placed plants. That is satisfying, but the better after is the one you see a season or two later. Perennials have filled out, compost has improved the soil, birds are visiting, and you know exactly where you like to sit with your morning coffee.
Give your new garden time, and resist the urge to keep rearranging it every week. Check in regularly for weeds, dry soil, pest damage, and plants that need a little more room. Hand-pull small weeds before they seed, prune only when there is a clear reason, and leave some spent seedheads standing through fall when they can feed birds and add winter texture.
For pest problems, begin with the least disruptive response. Identify the pest before treating it, remove damaged leaves when appropriate, and use a strong spray of water for aphids on sturdy plants. Encourage beneficial insects with flowering plants and avoid broad-spectrum pesticides that can harm the helpers along with the pests.
A Garden Makeover Should Feel Like Yours
The best garden transformations do not look copied from a showroom. They reflect real life: a bench in the shady spot where you actually rest, a path wide enough to carry a wheelbarrow, a tomato plant close to the back door, and a little room for a child, dog, or visiting butterfly.
Start with one bed, one problem corner, or a set of containers if that is what your season allows. Healthy soil, well-matched plants, and a realistic care routine will carry your garden farther than a rushed overhaul ever could. Take the before photo, make the first thoughtful change, and let the garden show you what it can become.