That dark, sunken patch on the bottom of a tomato can feel like a personal insult after weeks of tending your plants. The good news is that learning how to prevent blossom end rot usually does not require sprays, harsh treatments, or a shelf full of products. It comes down to helping your plant take up calcium consistently, especially while young fruits are forming.
Blossom end rot is most common on tomatoes, but peppers, zucchini, squash, and eggplant can get it too. Once you understand what triggers it, you can make a few simple changes that protect the fruit still developing on the plant.
What Blossom End Rot Really Means
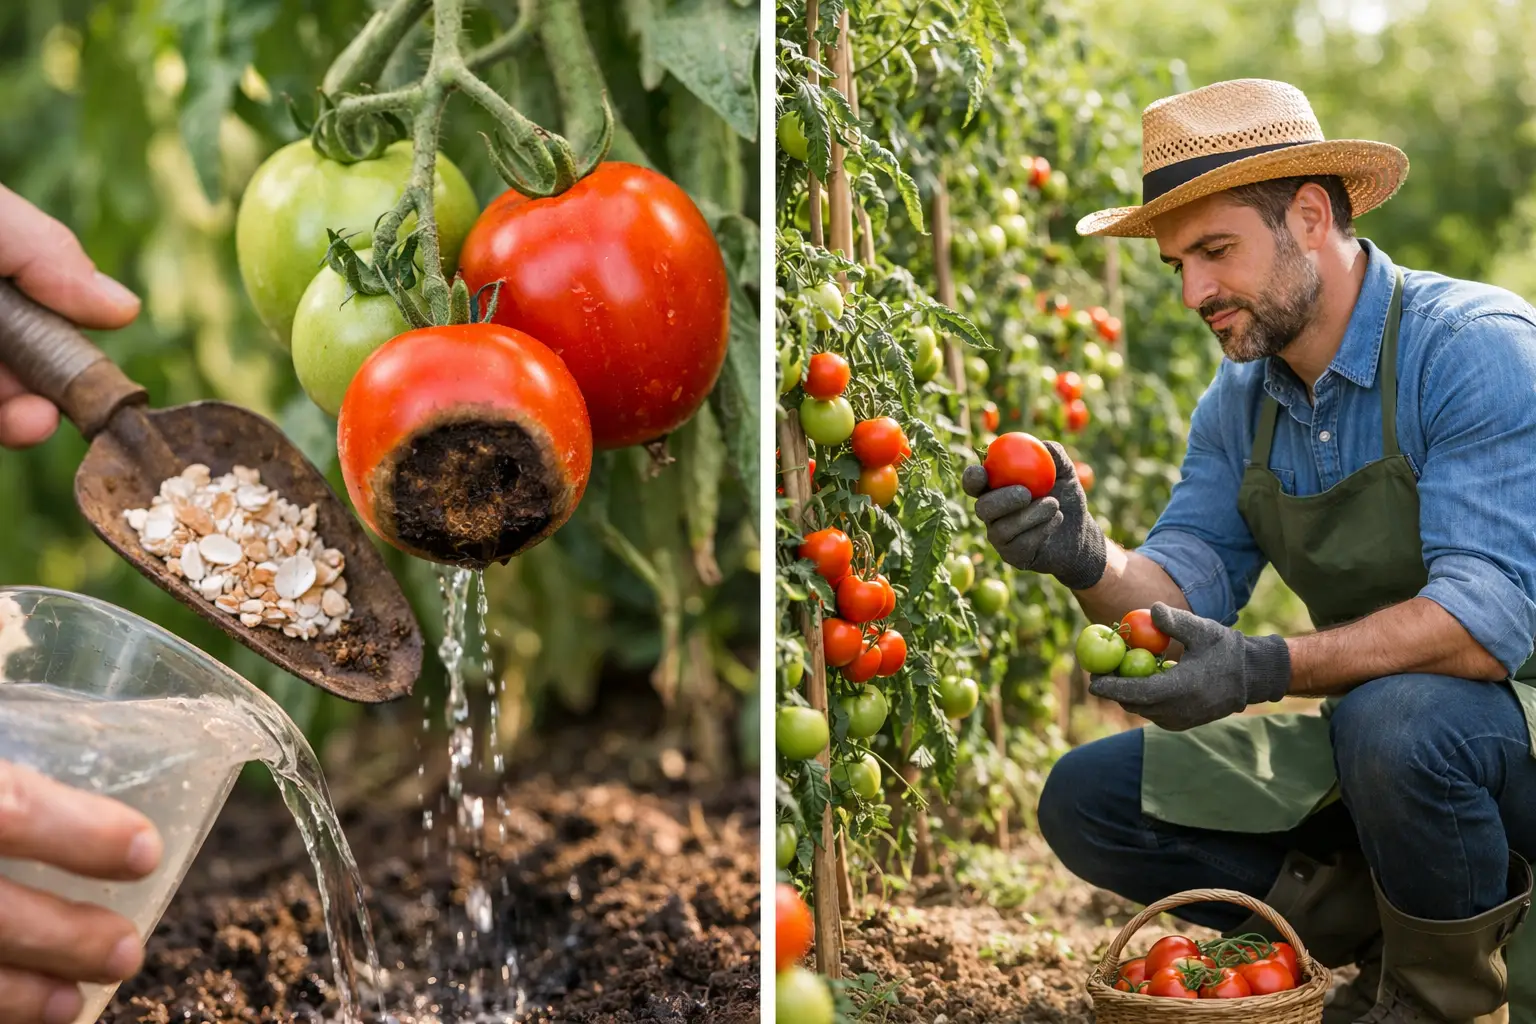
Blossom end rot begins as a pale, water-soaked-looking spot at the blossom end of the fruit, opposite the stem. It soon turns brown or black and becomes leathery and sunken. The damaged fruit will not recover, but the plant can still produce healthy fruit afterward.
The problem is linked to calcium. Plants need calcium to build strong cell walls in developing fruit. But blossom end rot does not automatically mean your garden soil has no calcium. More often, calcium is present in the soil but the plant cannot move enough of it into the fruit at the right time.
Irregular moisture is the usual culprit. A tomato plant that dries out hard, then receives a flood of water, struggles to take up nutrients evenly. Root damage, overfertilizing, compacted soil, and sudden weather swings can create the same problem. That is why adding calcium without changing watering habits often disappoints gardeners.
How to Prevent Blossom End Rot With Steady Moisture
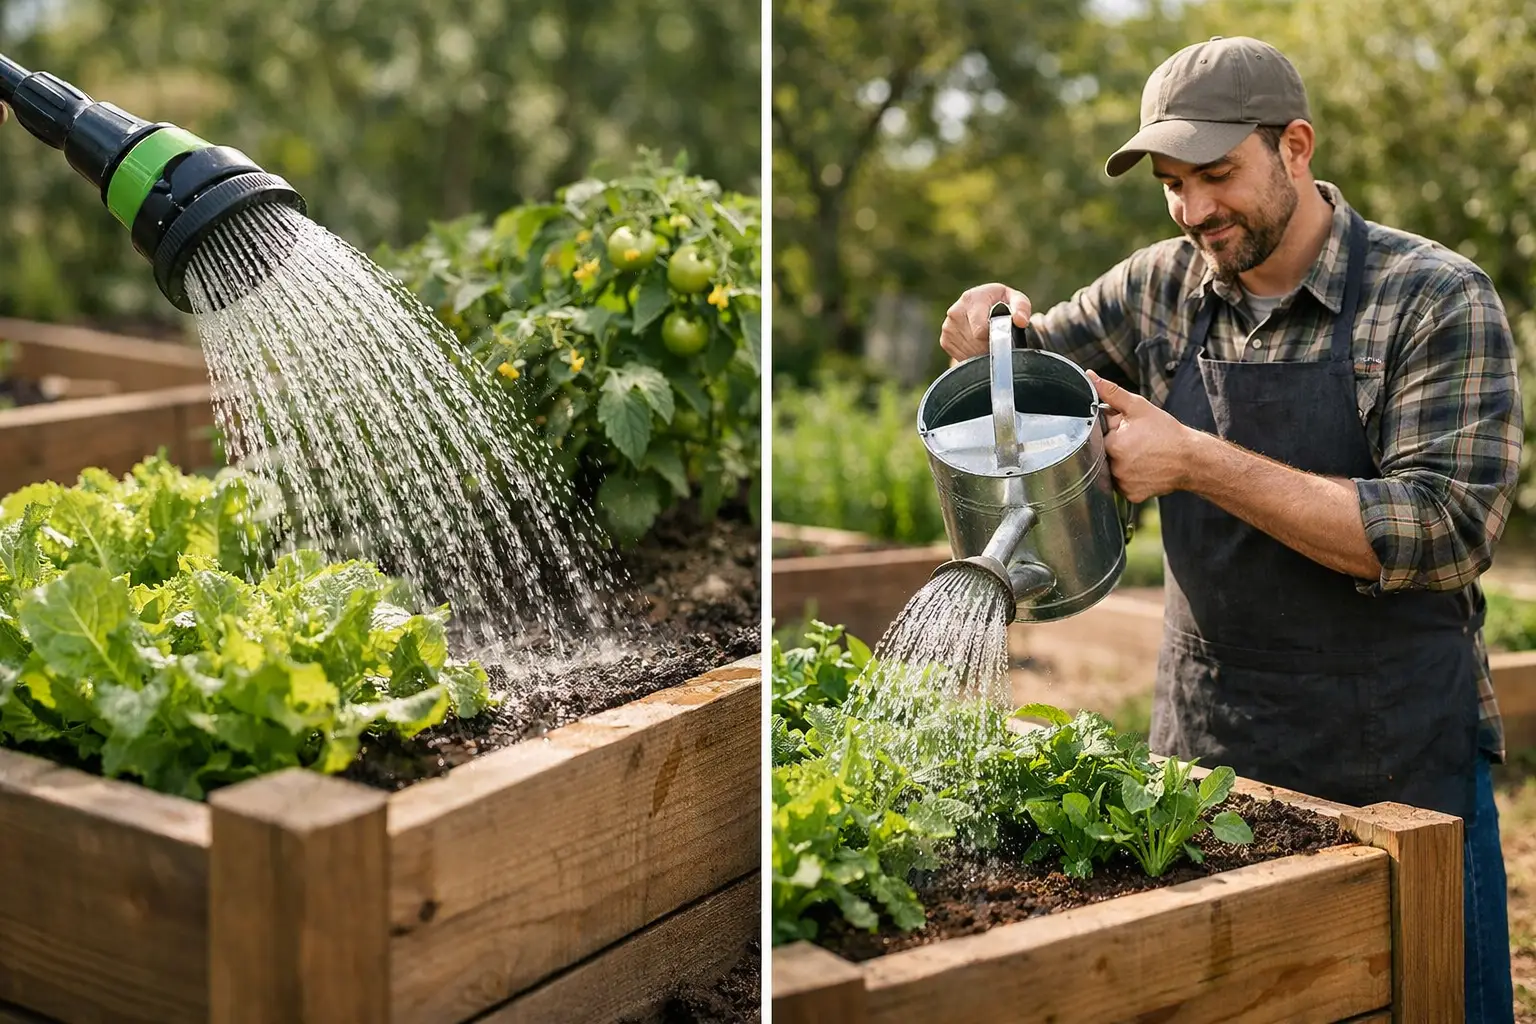
Consistent watering is the most useful habit you can build. Tomato roots prefer soil that stays evenly moist, not soggy and not bone-dry. The goal is not to water on a strict calendar. It is to check the soil and water deeply when the top inch or two feels dry.
In a garden bed, one or two deep waterings each week may be enough during mild weather. During a hot, windy stretch, plants may need water more often. Sandy soil dries quickly, while clay soil holds moisture longer, so let your soil guide you rather than copying a schedule from someone else’s garden.
Water slowly at the base of the plant so moisture reaches the root zone. A soaker hose or drip irrigation system makes this easier, but a watering can or hose set to a gentle flow works well too. Try to avoid the cycle of letting plants wilt badly and then soaking them. One dramatic rescue watering cannot undo the stress that happened earlier in the day.
Mulch Makes Consistency Easier
A 2- to 3-inch layer of organic mulch is one of the simplest ways to prevent moisture swings. Straw, shredded leaves, untreated grass clippings, or finished compost all help shade the soil and reduce evaporation.
Keep mulch a couple of inches away from the stem so the plant base has good air circulation. In cool spring weather, wait until the soil has warmed before applying a thick layer. In the heat of summer, mulch can be the difference between soil that stays comfortably damp and soil that dries out by lunchtime.
Build Soil That Supports Healthy Roots
Healthy roots are better at taking up water and calcium. Before planting, work finished compost into the bed to improve soil structure and help it hold moisture evenly. Compost is not a quick fix for an active blossom end rot problem, but it is excellent long-term support for productive vegetable beds.
Avoid digging or hoeing deeply around established tomato plants. Tomato roots often spread close to the surface, and cutting them can interfere with water uptake just when fruit is developing. Pull weeds carefully by hand, or use mulch to keep them from getting started.
If blossom end rot is a repeated problem in the same bed, a soil test is worth the small effort. It can tell you whether your soil is actually low in calcium and whether its pH needs adjusting. Tomatoes grow best in slightly acidic soil, generally around pH 6.0 to 6.8. When pH is far outside that range, nutrients may be present but harder for plants to use.
A test also helps you avoid unnecessary amendments. Gardeners often reach for lime, crushed eggshells, gypsum, or calcium sprays as soon as they see a black-bottomed tomato. Those products have their place in certain soils, but they are not universal remedies.
Eggshells, for example, break down slowly and will not solve blossom end rot on this season’s fruit. Lime can raise soil pH too much if your soil does not need it. Gypsum adds calcium without changing pH, but it is still best used when a soil test shows a real need. More is not always better in the garden.
Fertilize Gently, Not Aggressively
Tomatoes need nutrients, but too much nitrogen can push them into making lots of lush leaves at the expense of steady fruit development. Excess nitrogen can also contribute to the conditions that make blossom end rot more likely.
Choose a balanced organic vegetable fertilizer, or one formulated for tomatoes, and apply it according to the label. Do not add extra fertilizer simply because a plant looks vigorous. A large, dark-green tomato plant is not always a well-balanced one.
If you are growing in a bed enriched with compost, your plants may need less fertilizer than you expect. Watch for overall plant health, not just fast growth. Strong stems, normal green foliage, and gradual fruit development are better signs than a plant racing upward with little fruit set.
Give Container Tomatoes Extra Attention
Blossom end rot is especially common in containers because potting mix dries out much faster than garden soil. On a hot patio, a fruiting tomato in a small container may need water every day, and occasionally twice a day during extreme heat.
Use the largest container you can manage. A 5-gallon container is a practical minimum for many determinate tomatoes, while larger indeterminate varieties are happier in 10 gallons or more. Bigger containers hold more moisture and give roots room to grow.
Choose a quality potting mix rather than garden soil, which compacts in containers. Make sure the pot has drainage holes, but do not let it sit in a saucer full of water for long periods. The aim is even moisture, not constantly saturated roots.
It can help to check containers each morning with a finger. If the potting mix is dry an inch below the surface, water thoroughly until a little runs out of the drainage holes. A mulch layer on top of the container also slows drying and keeps roots cooler.
What to Do When You Already See It
Remove fruit with clear signs of blossom end rot. It will not become edible again, and taking it off lets the plant direct energy toward healthy new growth. If only a tiny spot is present, you can leave it briefly to confirm the diagnosis, but there is no benefit in waiting for the damaged area to improve.
Then focus on the next fruit, not the lost one. Check the soil moisture, add mulch if needed, and review your fertilizer routine. Do not panic-apply several amendments at once. Changing watering practices is usually the most effective response.
You may still lose a few fruits during a heat wave or a stretch of uneven rain. That does not mean you have failed or that your whole crop is doomed. Once moisture becomes more consistent, many plants begin producing normal fruit within the next flush.
A Few Situations That Need a Different Approach
If you water regularly and blossom end rot continues on nearly every fruit, look more closely at the roots and soil. Plants that are severely root-bound, recently transplanted, damaged by pests, or planted in compacted ground may struggle regardless of how carefully you water.
Hot weather can complicate things too. During prolonged high temperatures, tomatoes may take up water unevenly even in a well-managed bed. Provide afternoon shade only if heat is truly intense in your location, since too much shade can reduce fruit production. A light shade cloth during a heat wave can be a reasonable temporary compromise.
For the healthiest harvest, think of blossom end rot as a moisture-management message from the plant. Keep the root zone evenly watered, protect the soil with mulch, feed gently, and give roots room to do their work. Your next tomato cluster has every chance of ripening smooth, full, and ready for a summer sandwich.